
ZAPWORKS

The first instruction for the second part of this tutorial was to make sure I was logged into an account. I used my personal email to make sure that I was later able to access all the provided information at home if it became necessary. Through the image above, I selected “Projects” and then “new projects” to begin.
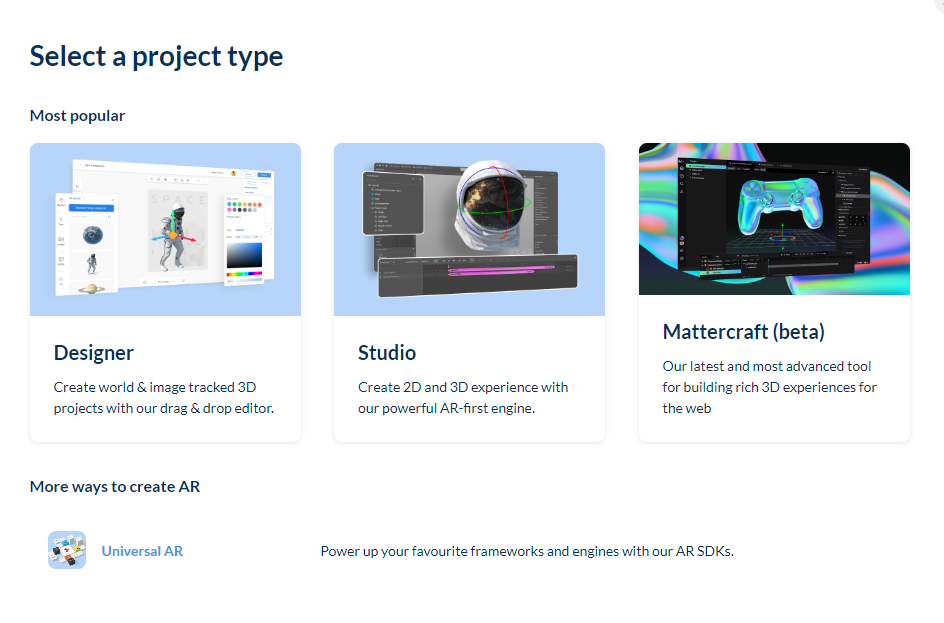
I then selected “Universal AR”, which is the option at the bottom of the screen, as the other 3 selections provided different formats and were not what we were looking for at the moment.
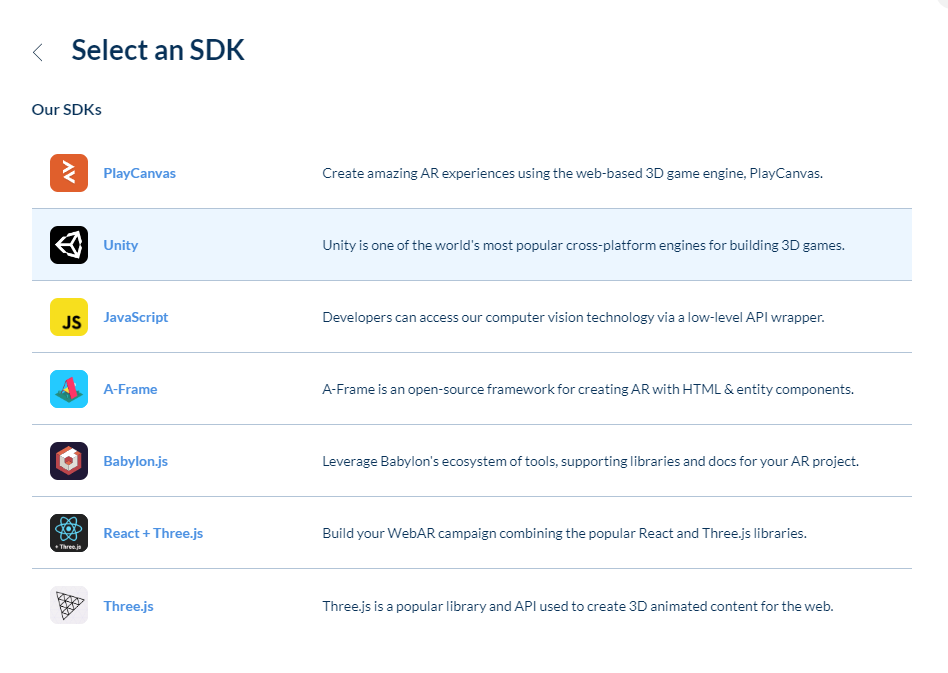
Then selecting “Unity” as our project was programmes to Unity, other programs were there to provide for other software, not what we wanted at the moment.
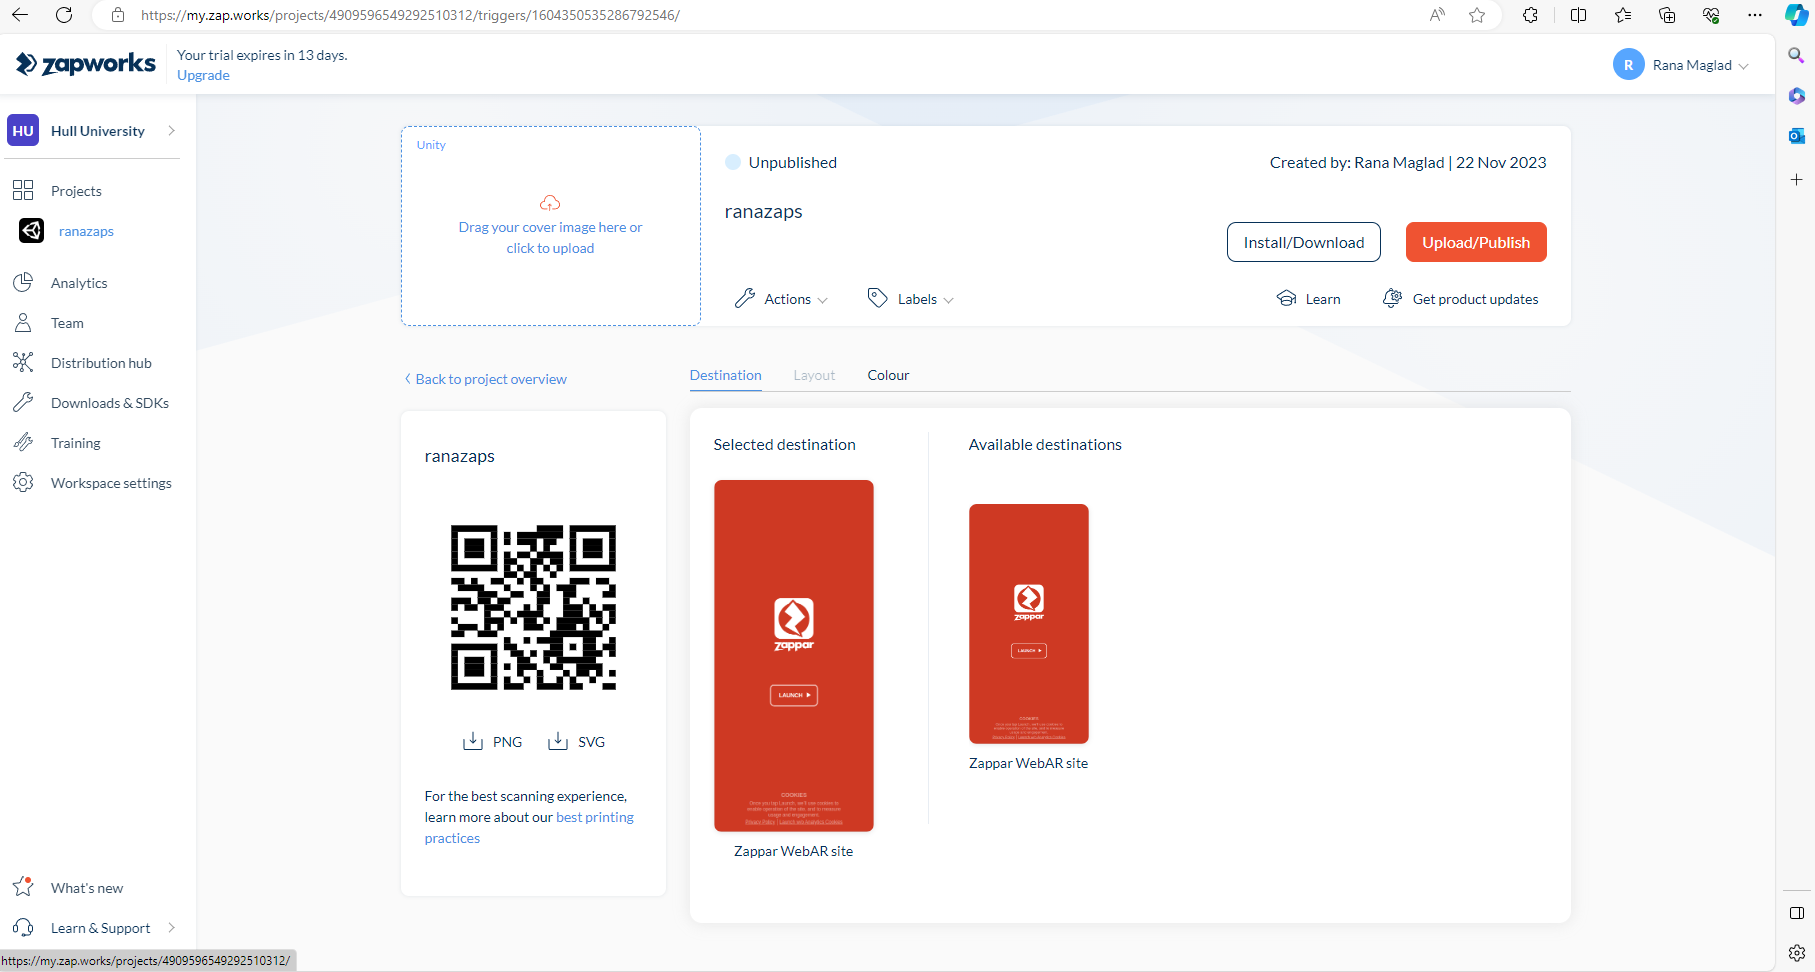
Then selected the “untitled project” and renamed it to an appropriate name for the Zapworks program, this name would be displayed on the link and in other cases if needed, so an appropriate name was required.
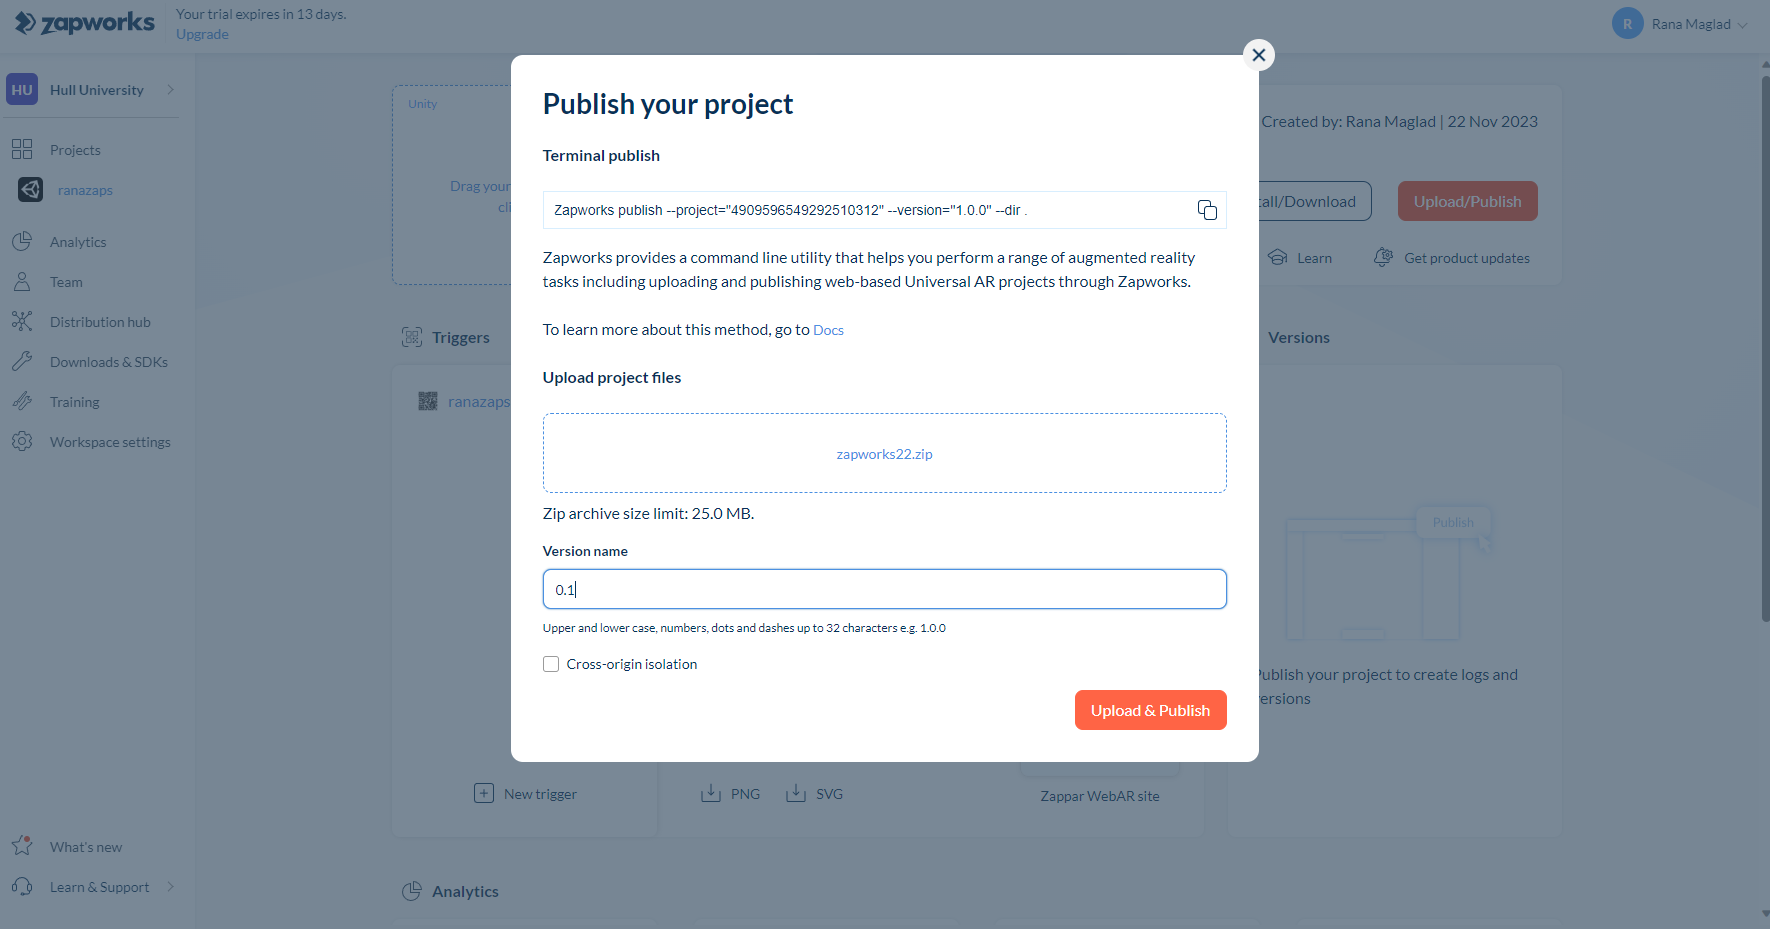
I then linked the file we had saved earlier from tutorial one, onto the “Upload Project Here” section, and left everything else to its presented ways, as altering them could prevent the project from working later. Then I clicked “Upload to Publish”.