
ZAPWORKS
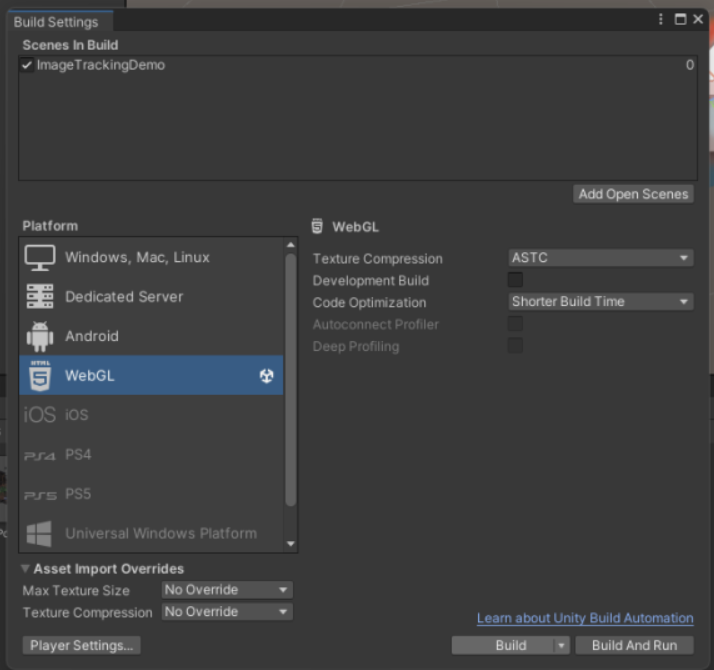
For my Zapworks to work, the first thing that needed to be done was to make sure that my Unity program was set to WebGL, for the program to be a web-based project. I completed this by changing the settings provided in the figure above.
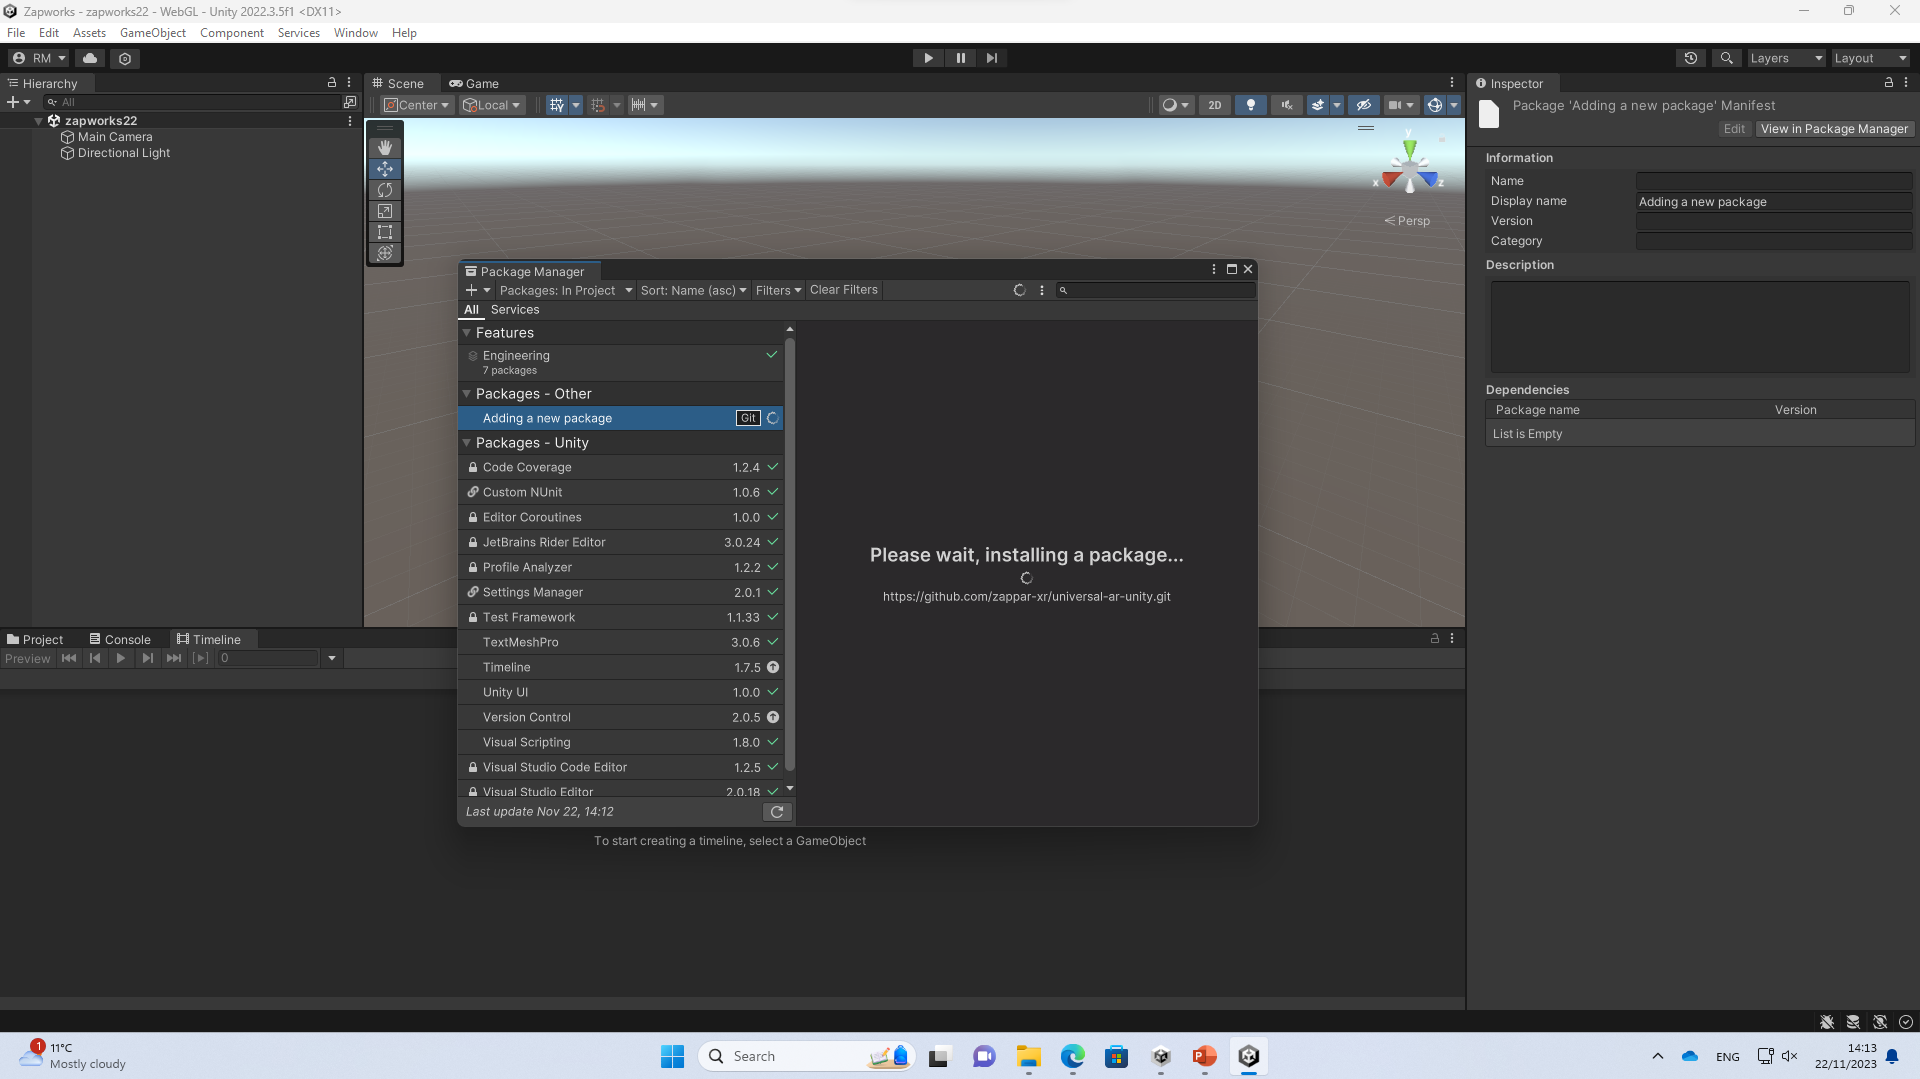
After changing the program, I then needed to add a package from the ‘Git’ section to complete the following tasks. I added this by going to Windows > Package Manager, then added the provided link: https://github.com/zappar-xr/universal-ar-unity.git
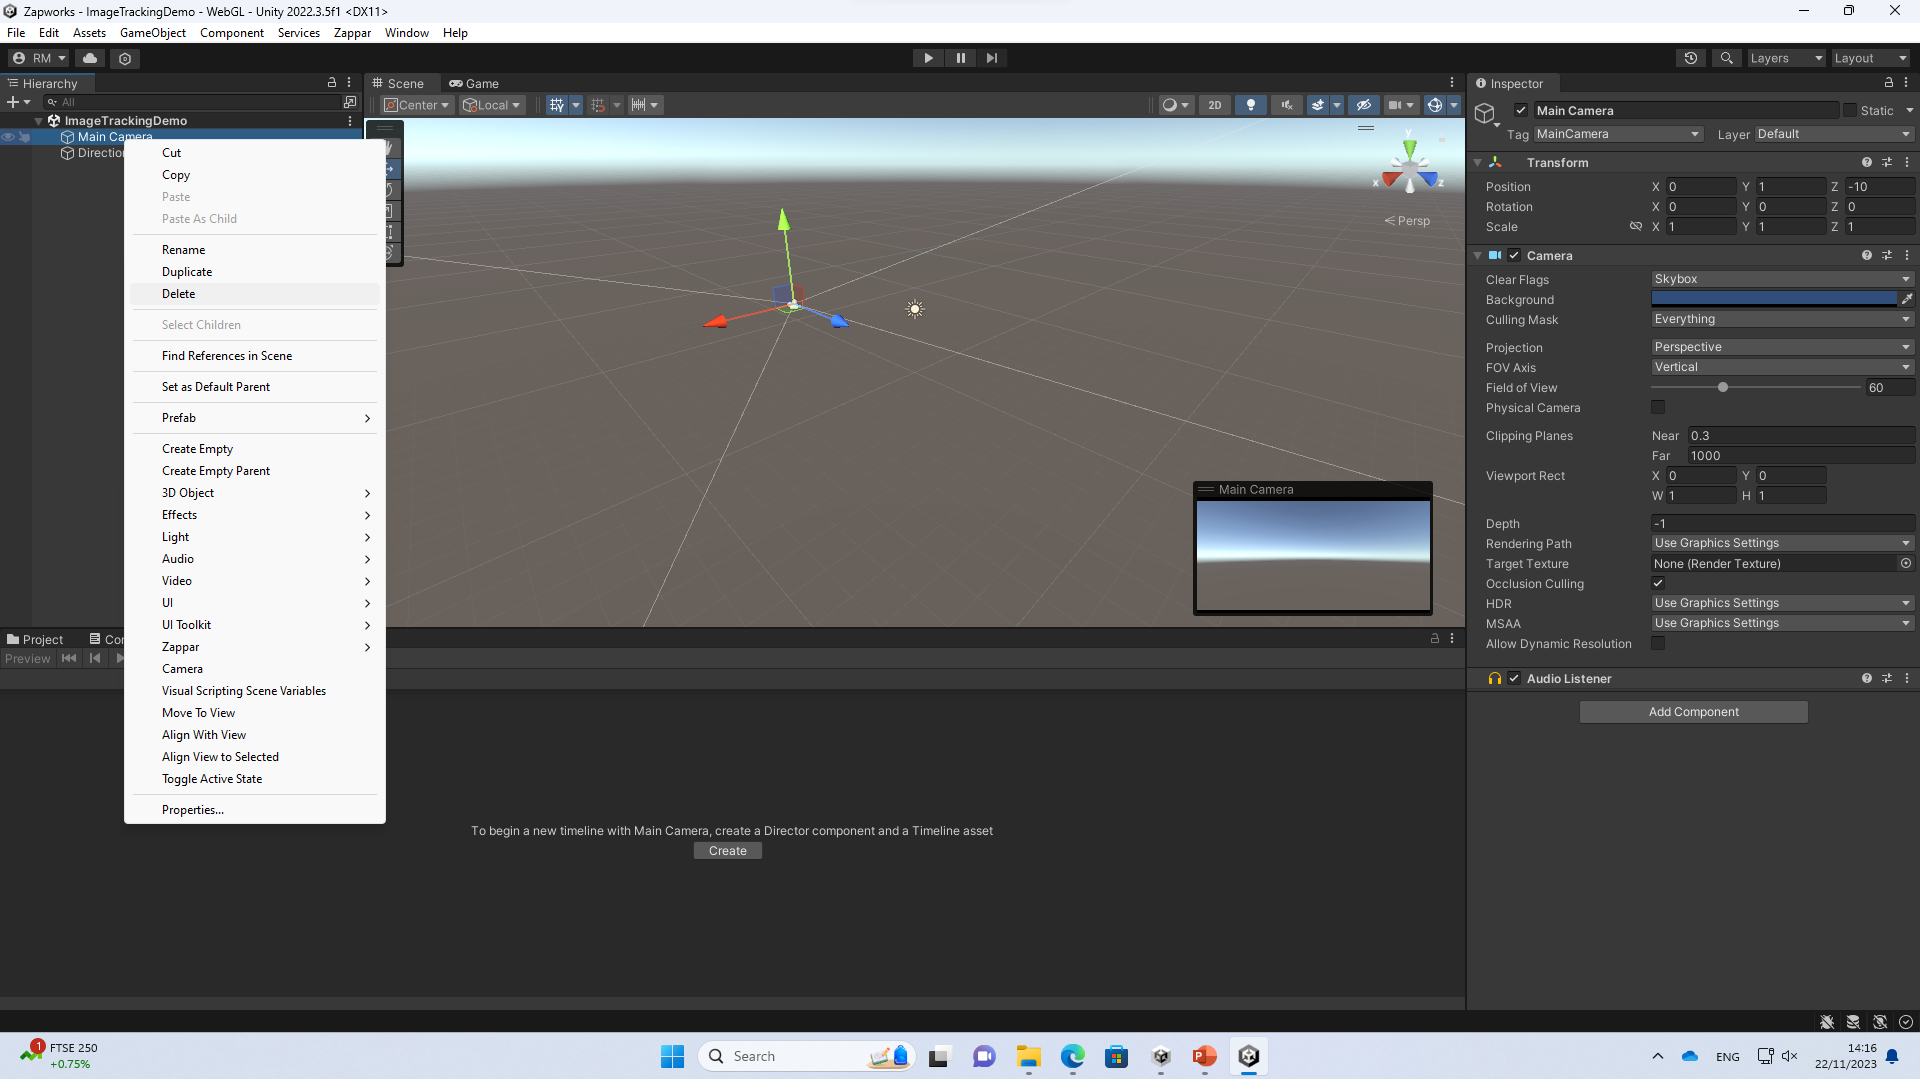
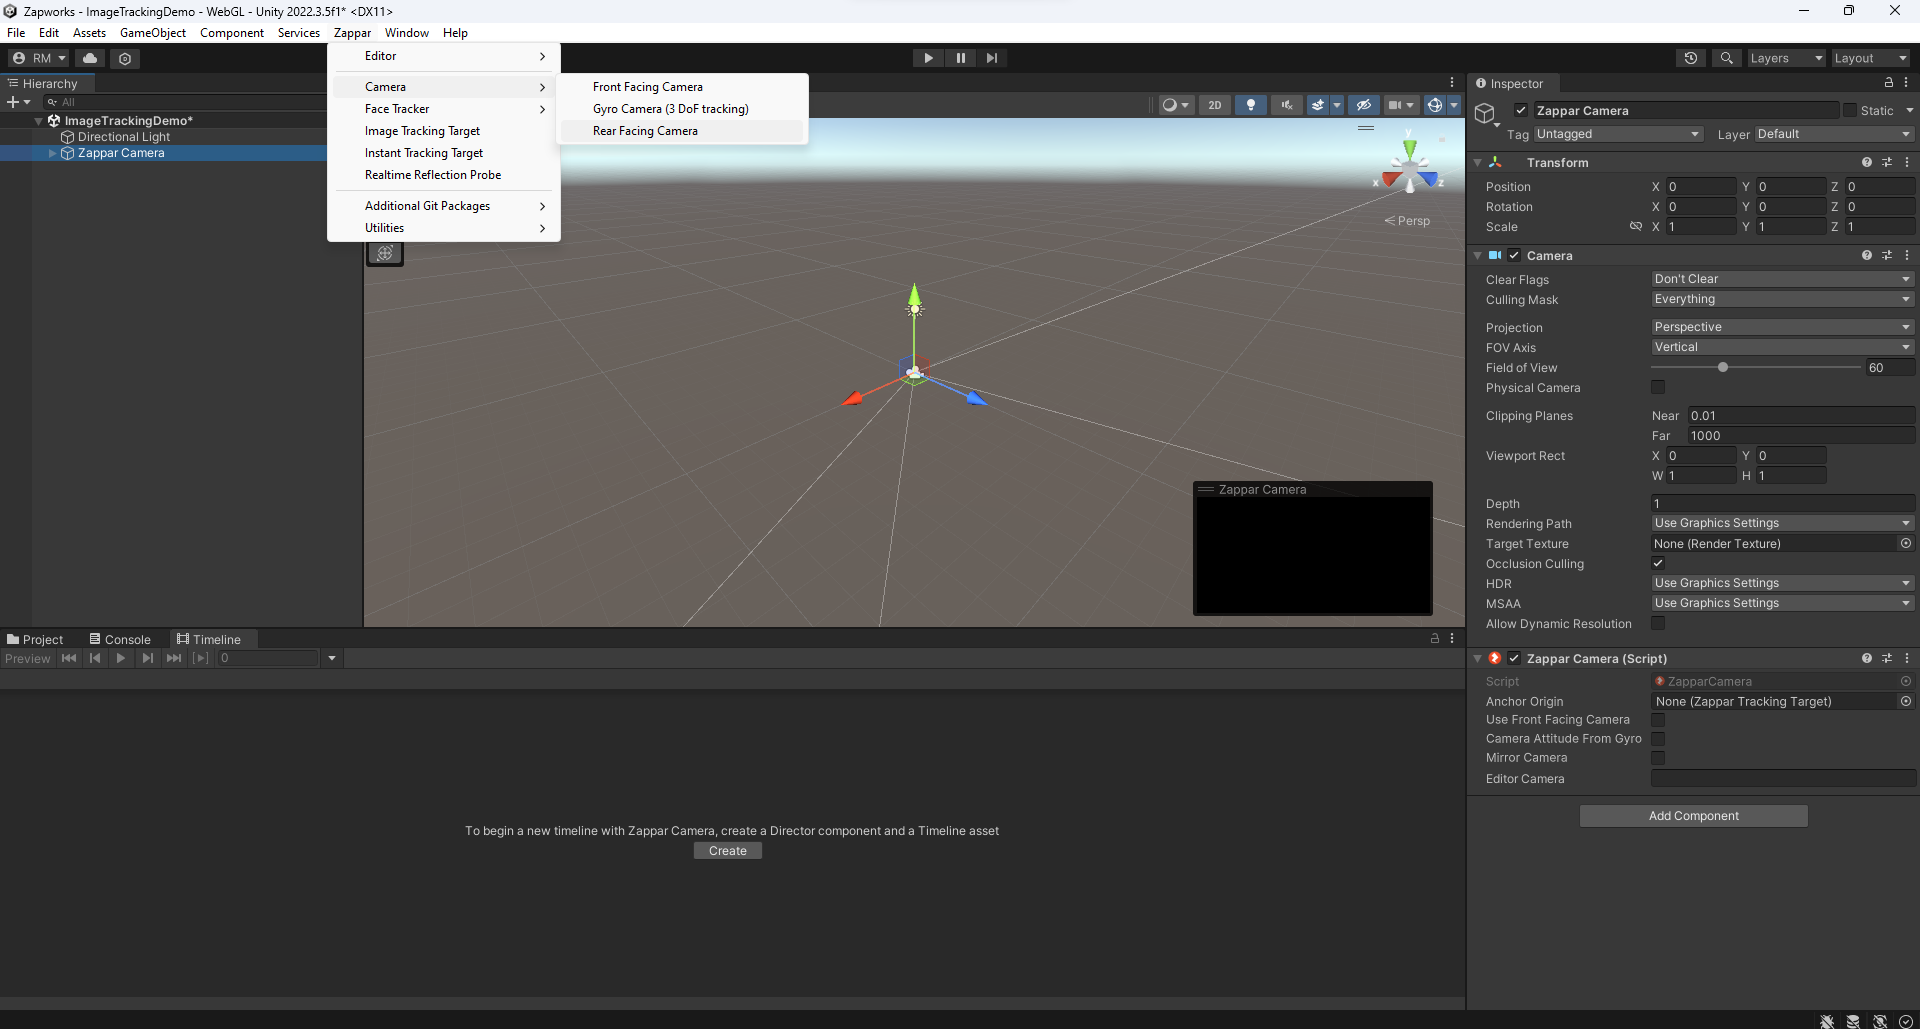
Now I’m ready to start my Zapworks and my workspace is prepared. I started off by removing the main camera from the Hierarchy section and then added in a Zapworks camera. I did this by going into the top menu bar, Zappar > Camera > Rear Facing Camera.

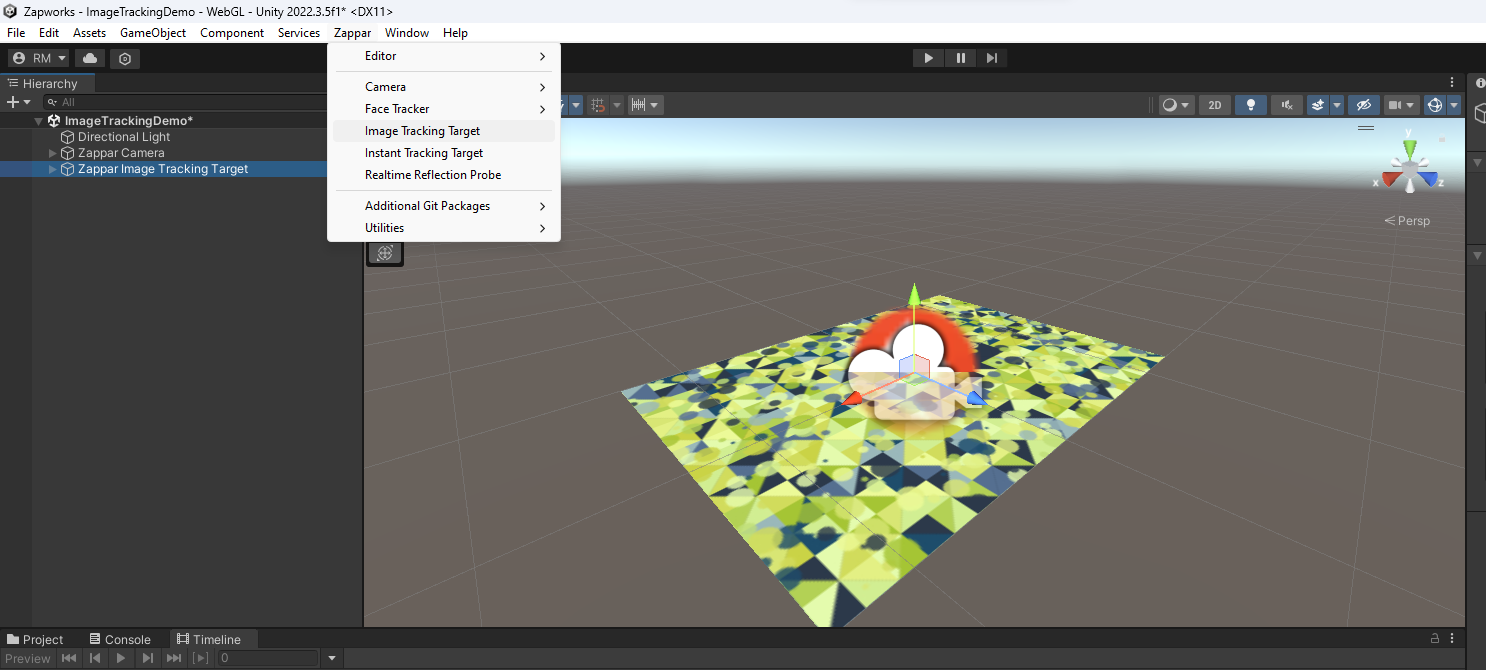
Now that the camera is installed, I then went to Zappar > Image tracking target and imported an image tracking space to help later place in our created scene.
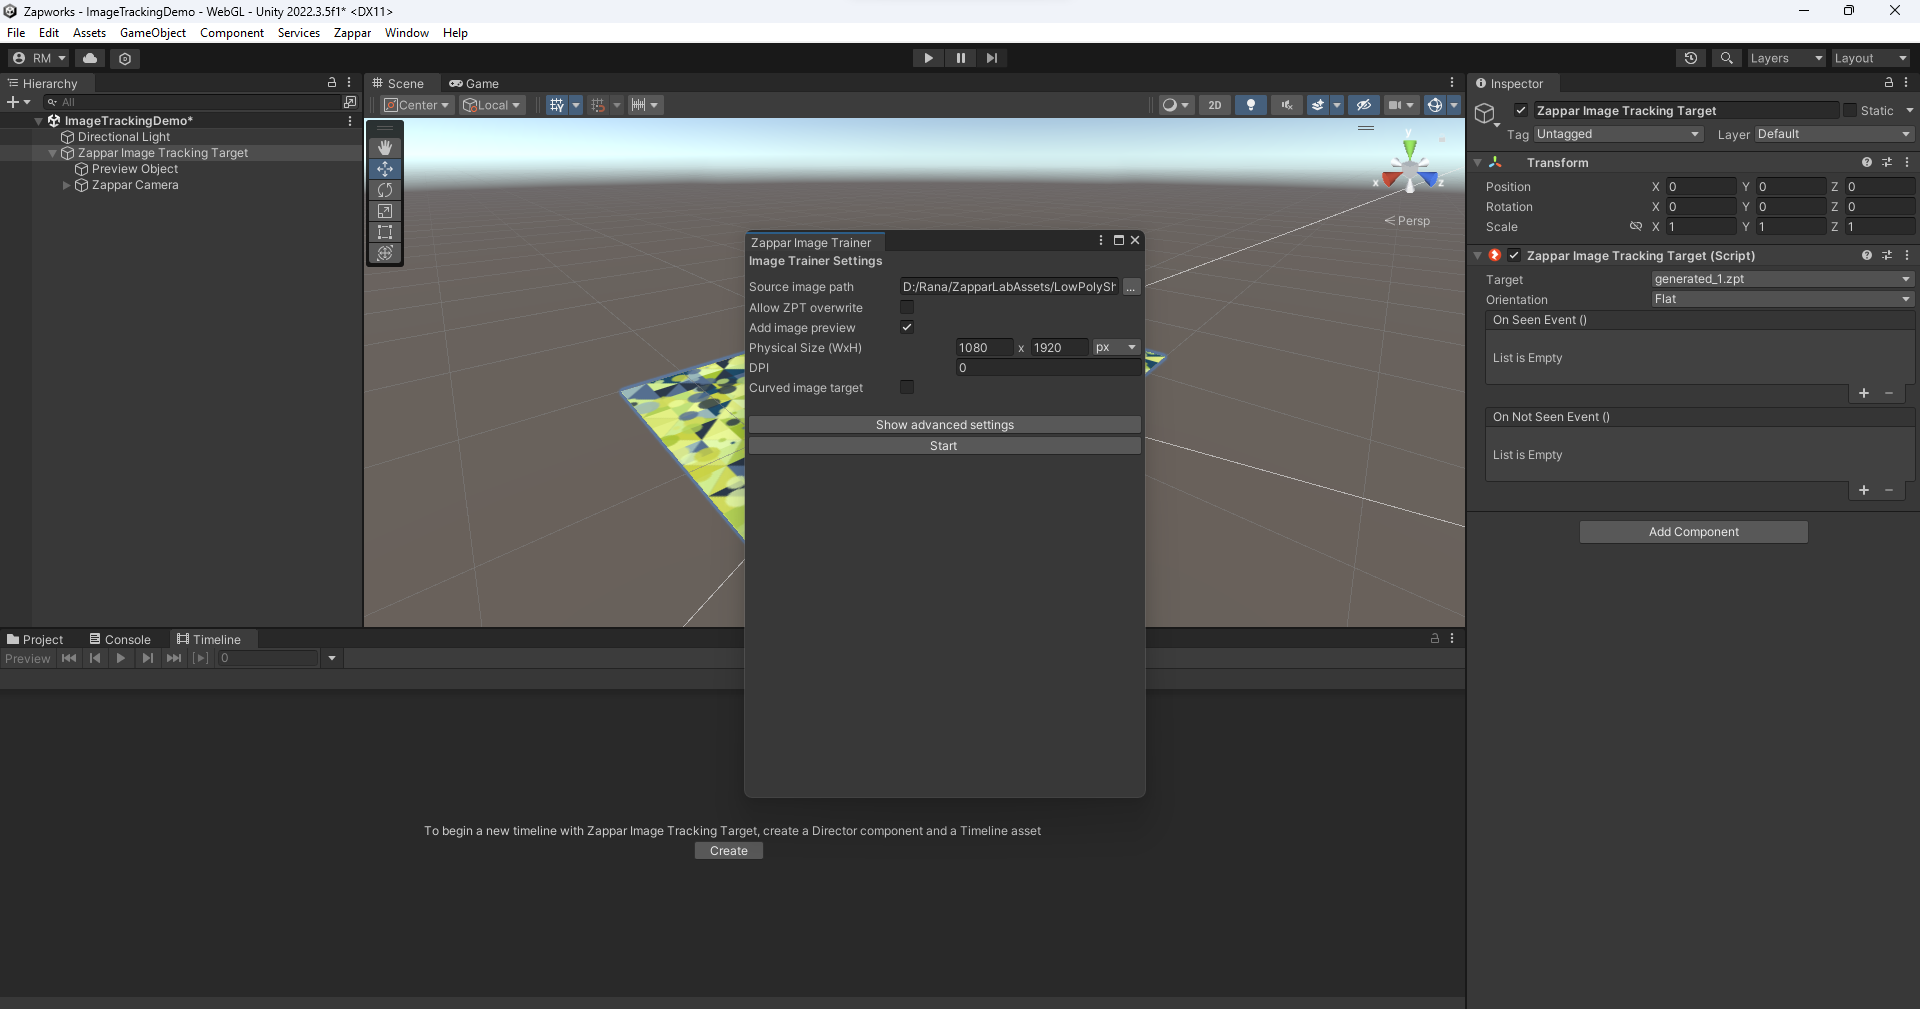
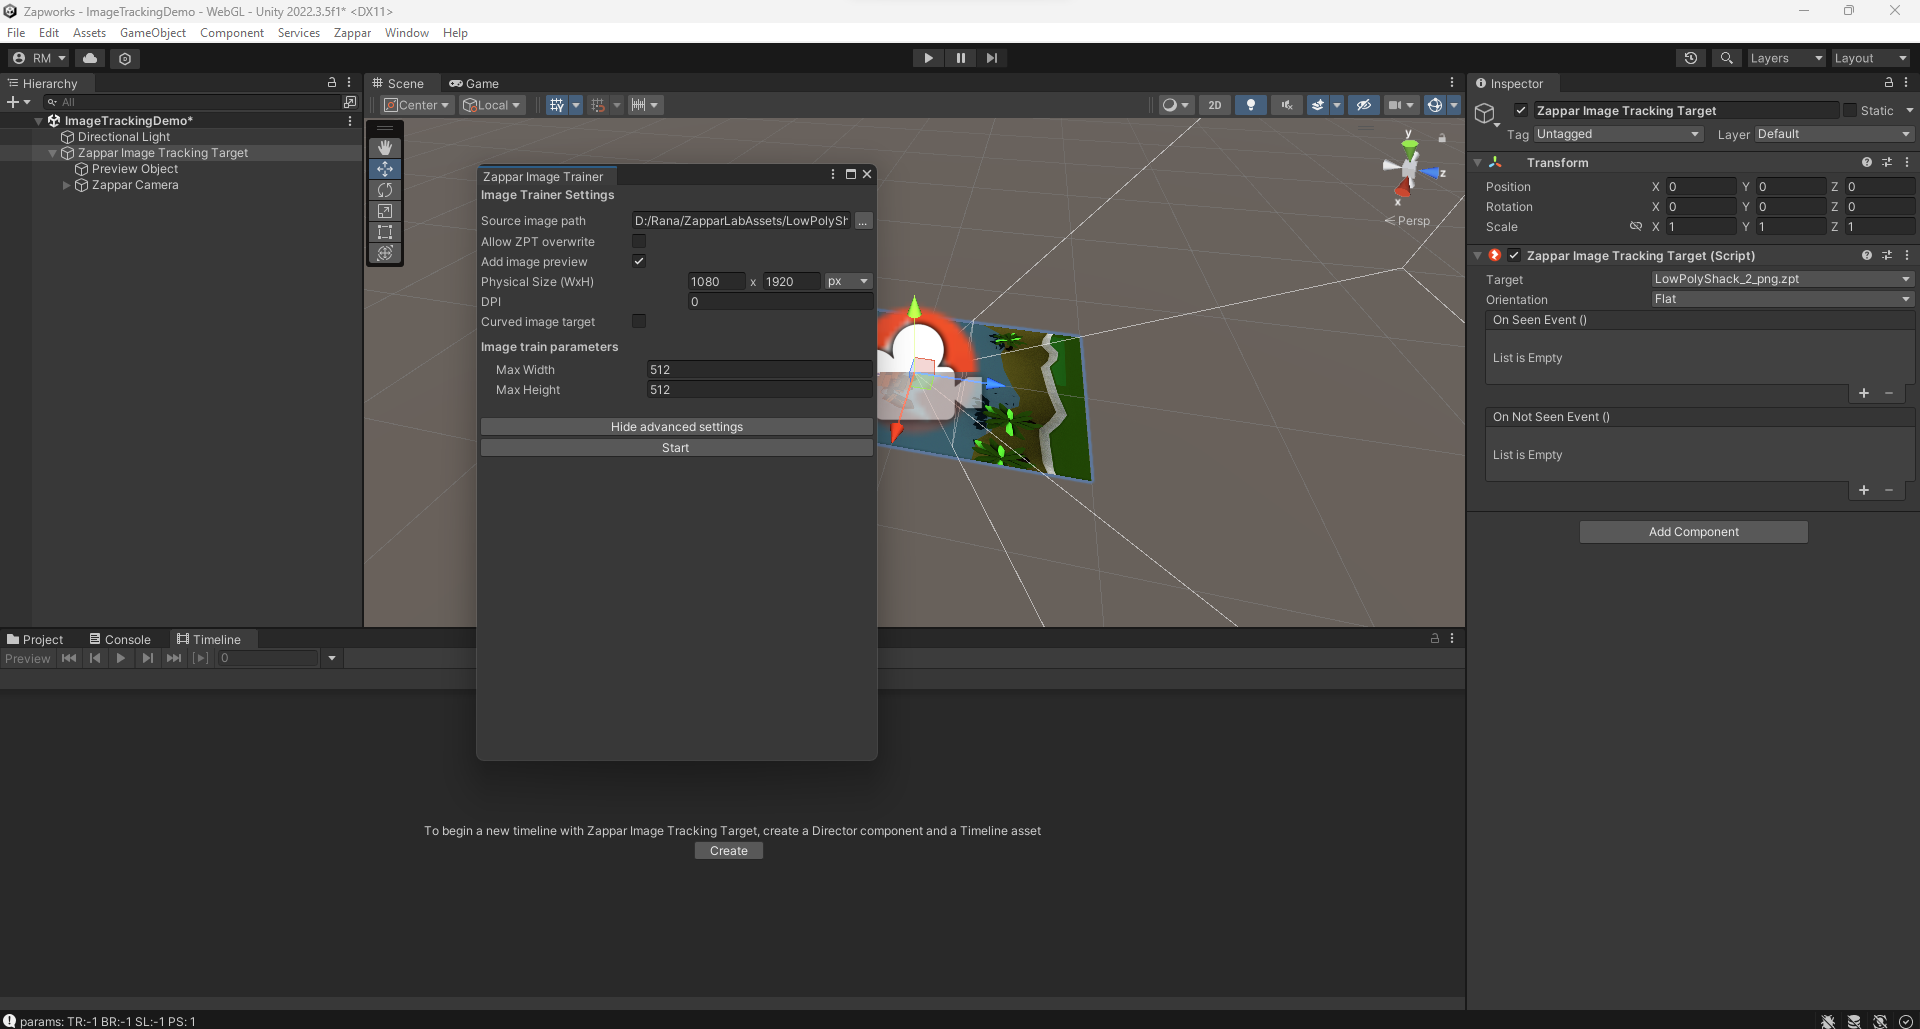
I added the image and fixed up the settings on the right-hand side, then moved on to selecting the “LowPolyShack_2 PNG” image, in the settings provided in Figure 1&2, you can see the image change behind the settings, I selected “allow ZPT overwrite” and then clicked start.

On the right-hand side setting, I used the drop-down menu for the target and selected the image I had just imported, then went to Assist> Import Package > Custom Package, to allow the rest of this image’s resources to the program.
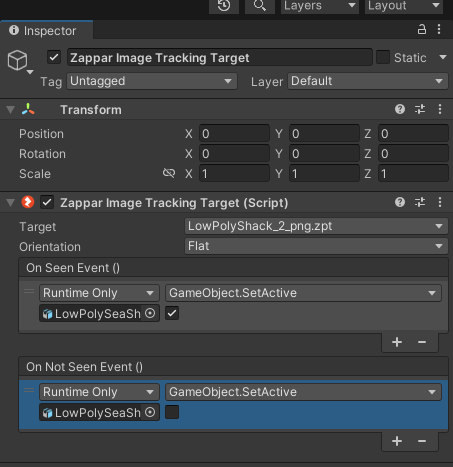
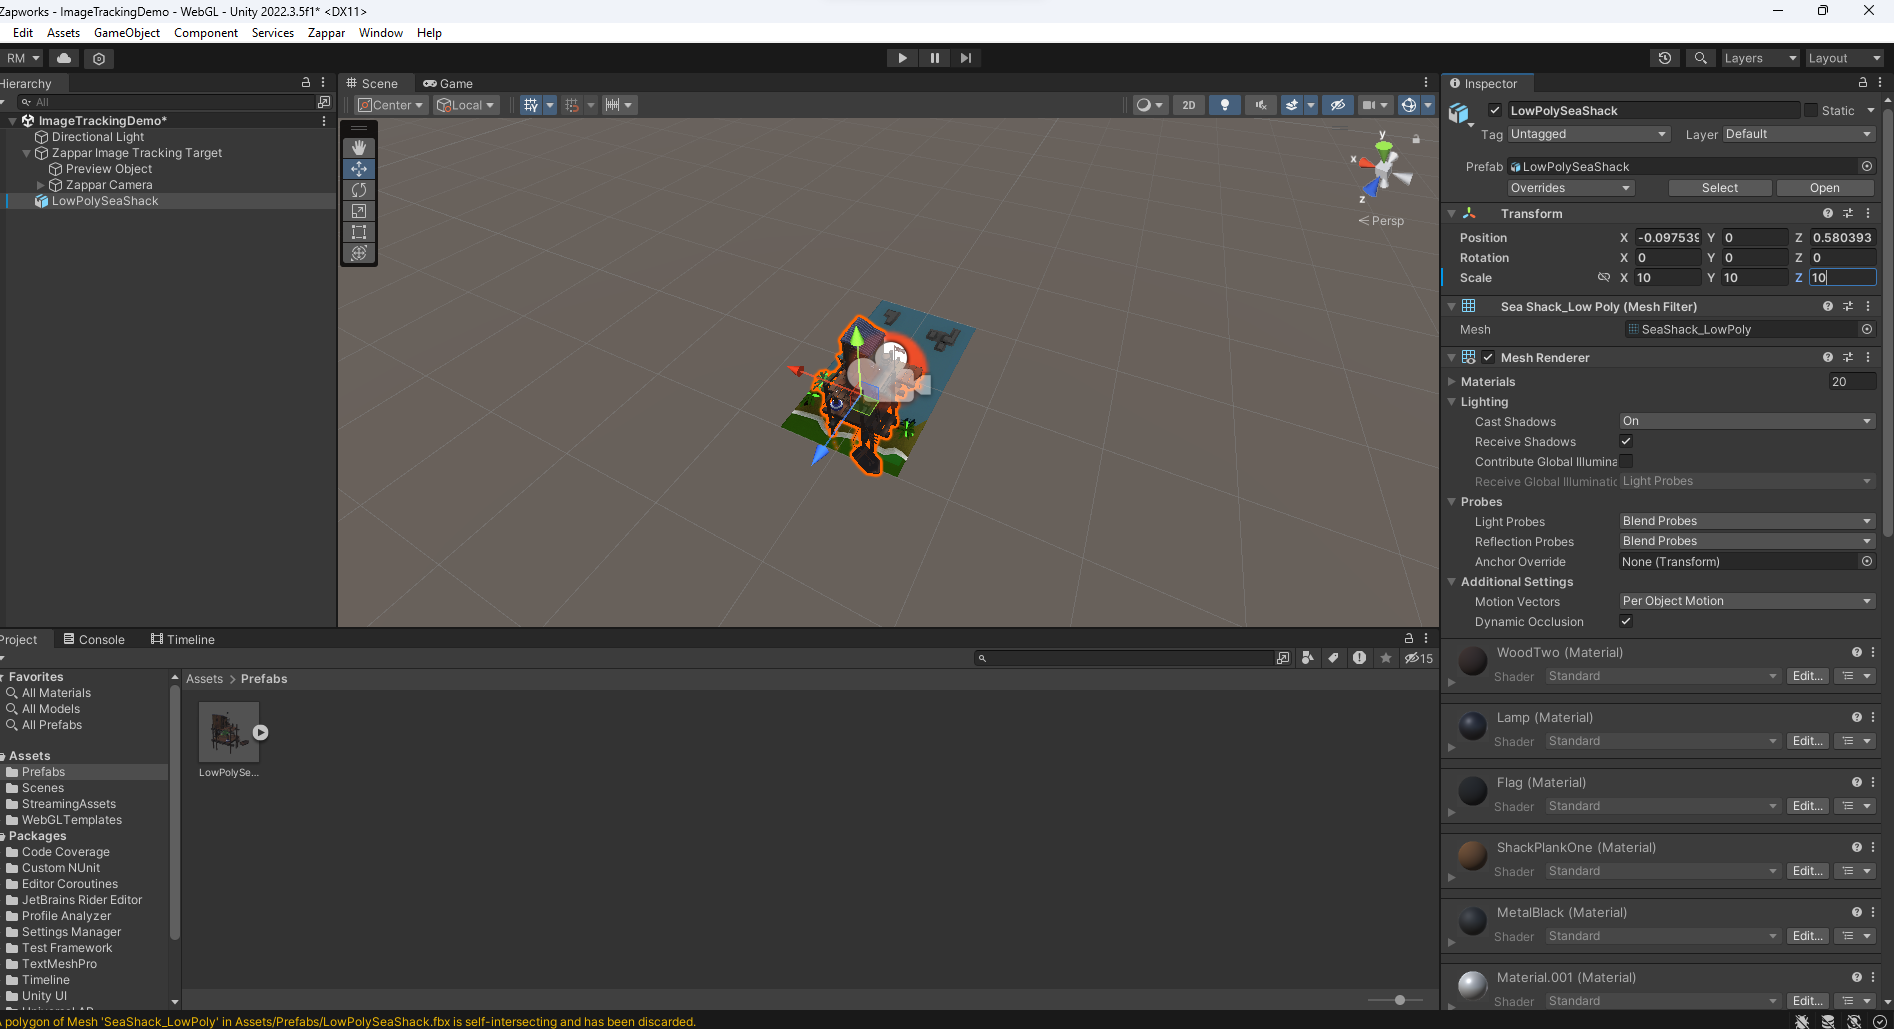
The image imported successfully, but was not scaled properly, so I generated the settings to change the Scale down to all “10” and the Values down to all “0”. I altered the functions provided in the figure above so that the “on seen” was active, and the “unseen” was not active. Finally deactivated the image so that it is now active in the program, but off for visibility.

Before attempting to build my Zappar, I made sure the settings provided in the backhand settings were all correct by going to Zappar > Update Project Settings to Publish.
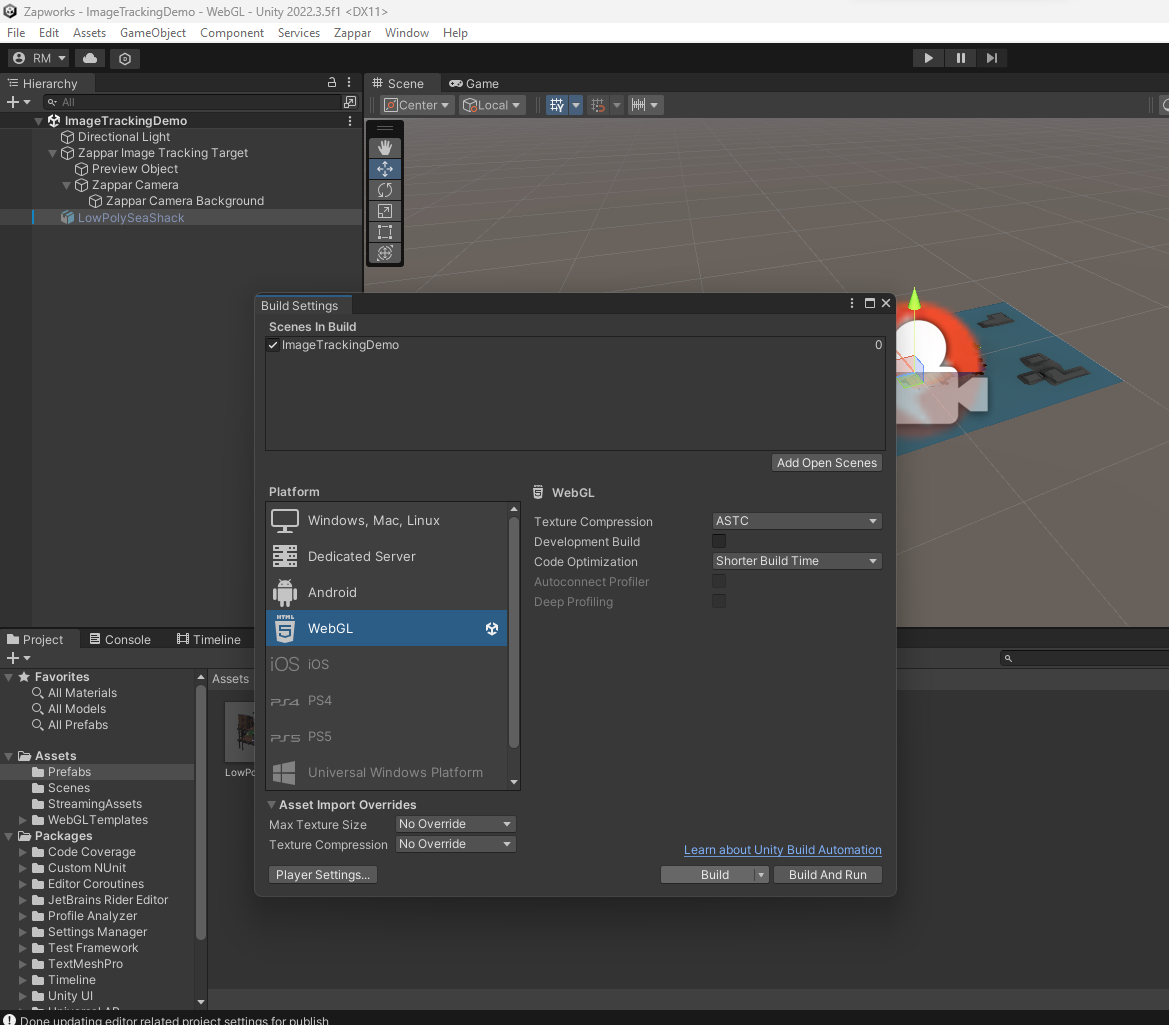
Once the provided setting menu opened, I deactivated and removed any unwanted scenes from the project to avoid future complications. I then went into Build and created a private file, with Part 1 and Part 2 sections into this private file, applied this set of instructions to Part 1, then clicked run.
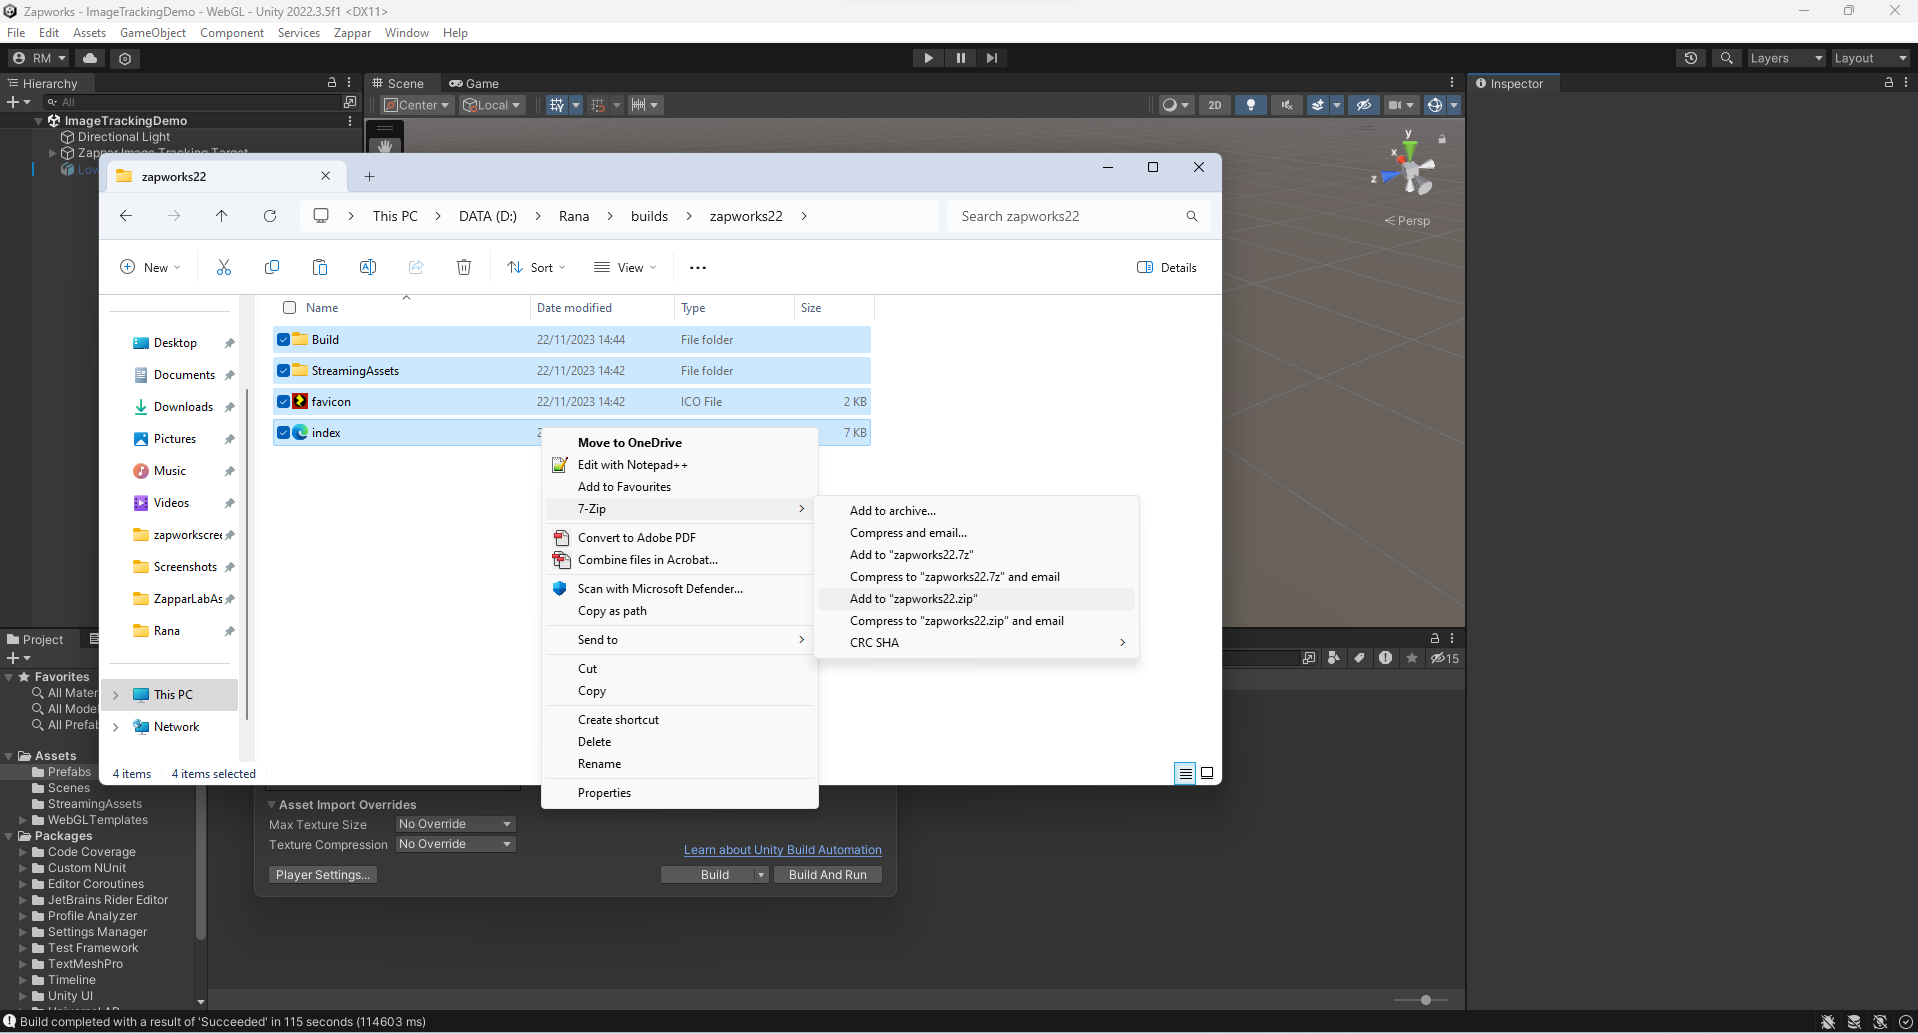
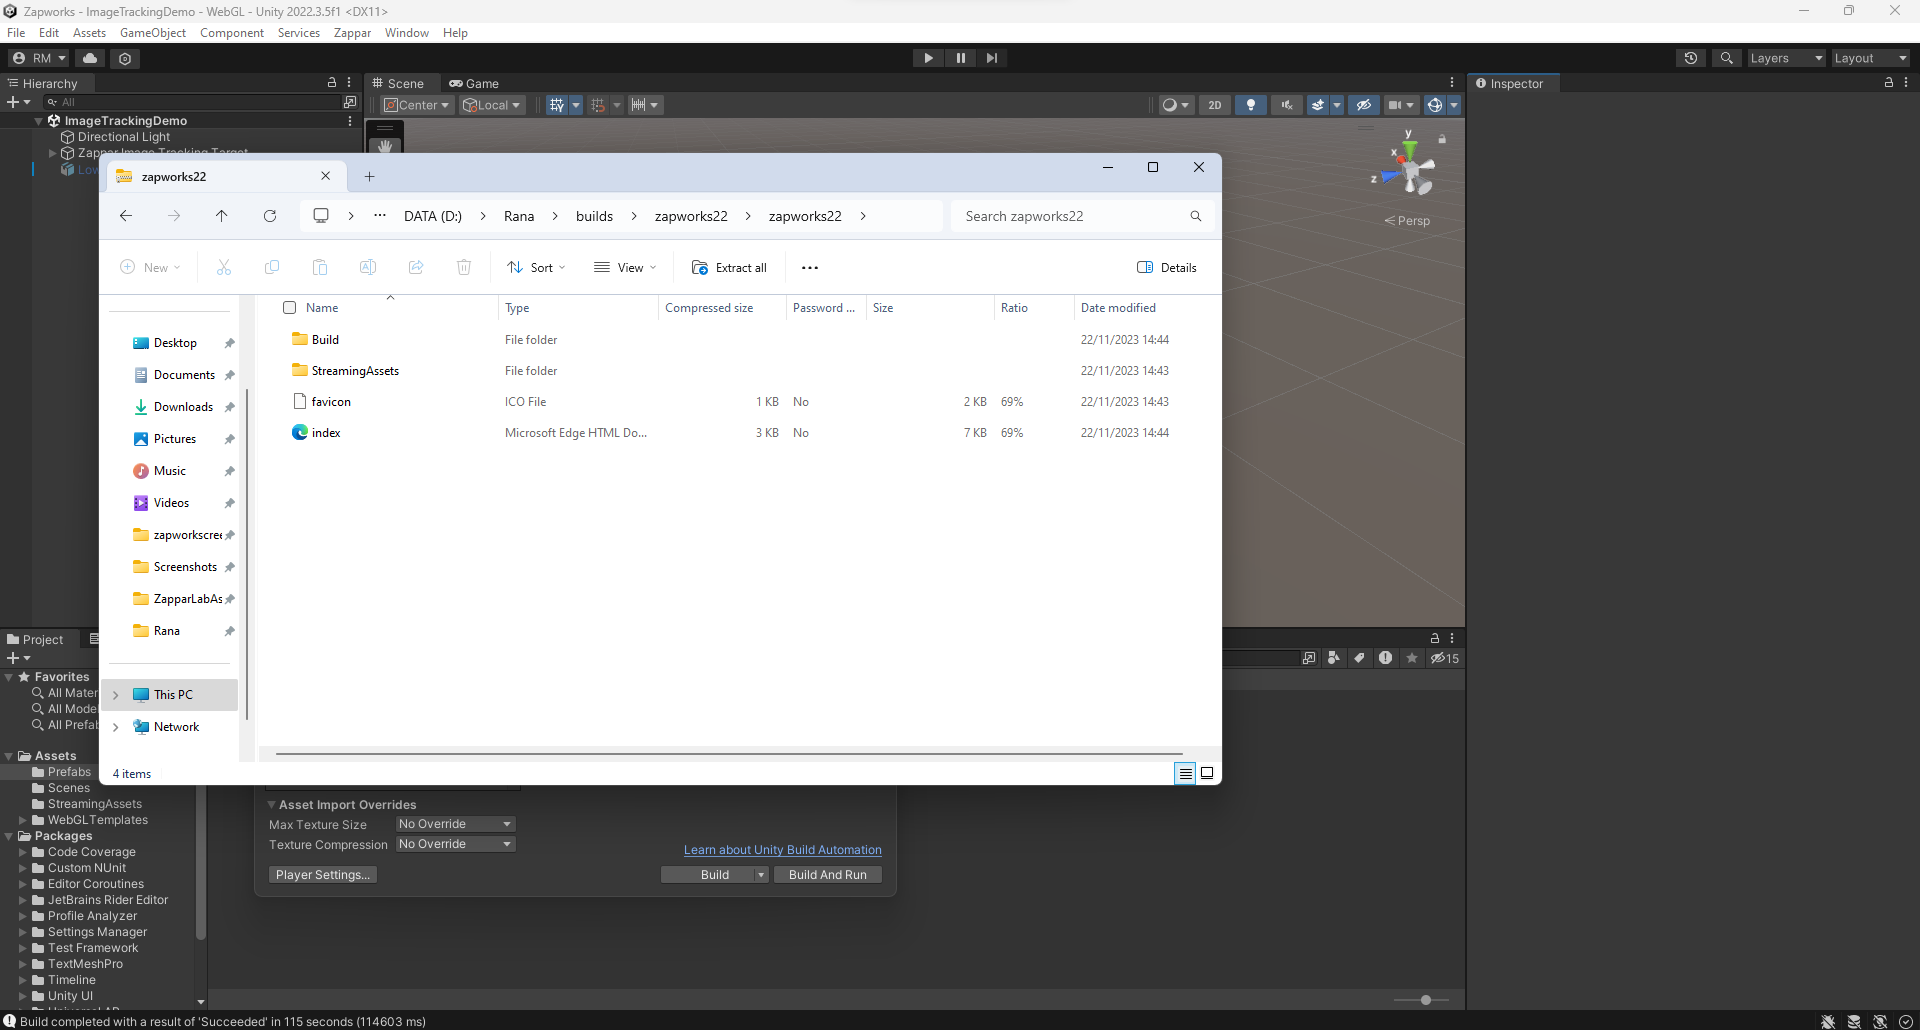
Finally, once the build and files were downloaded into place, I made sure the files matched the same ones provided in the given tutorial, then right-clicked to 7-Zip > Add to “Part One” and put them in the correct space.