
The figures below show a brief step-by-step on UV export and Adobe Painter.
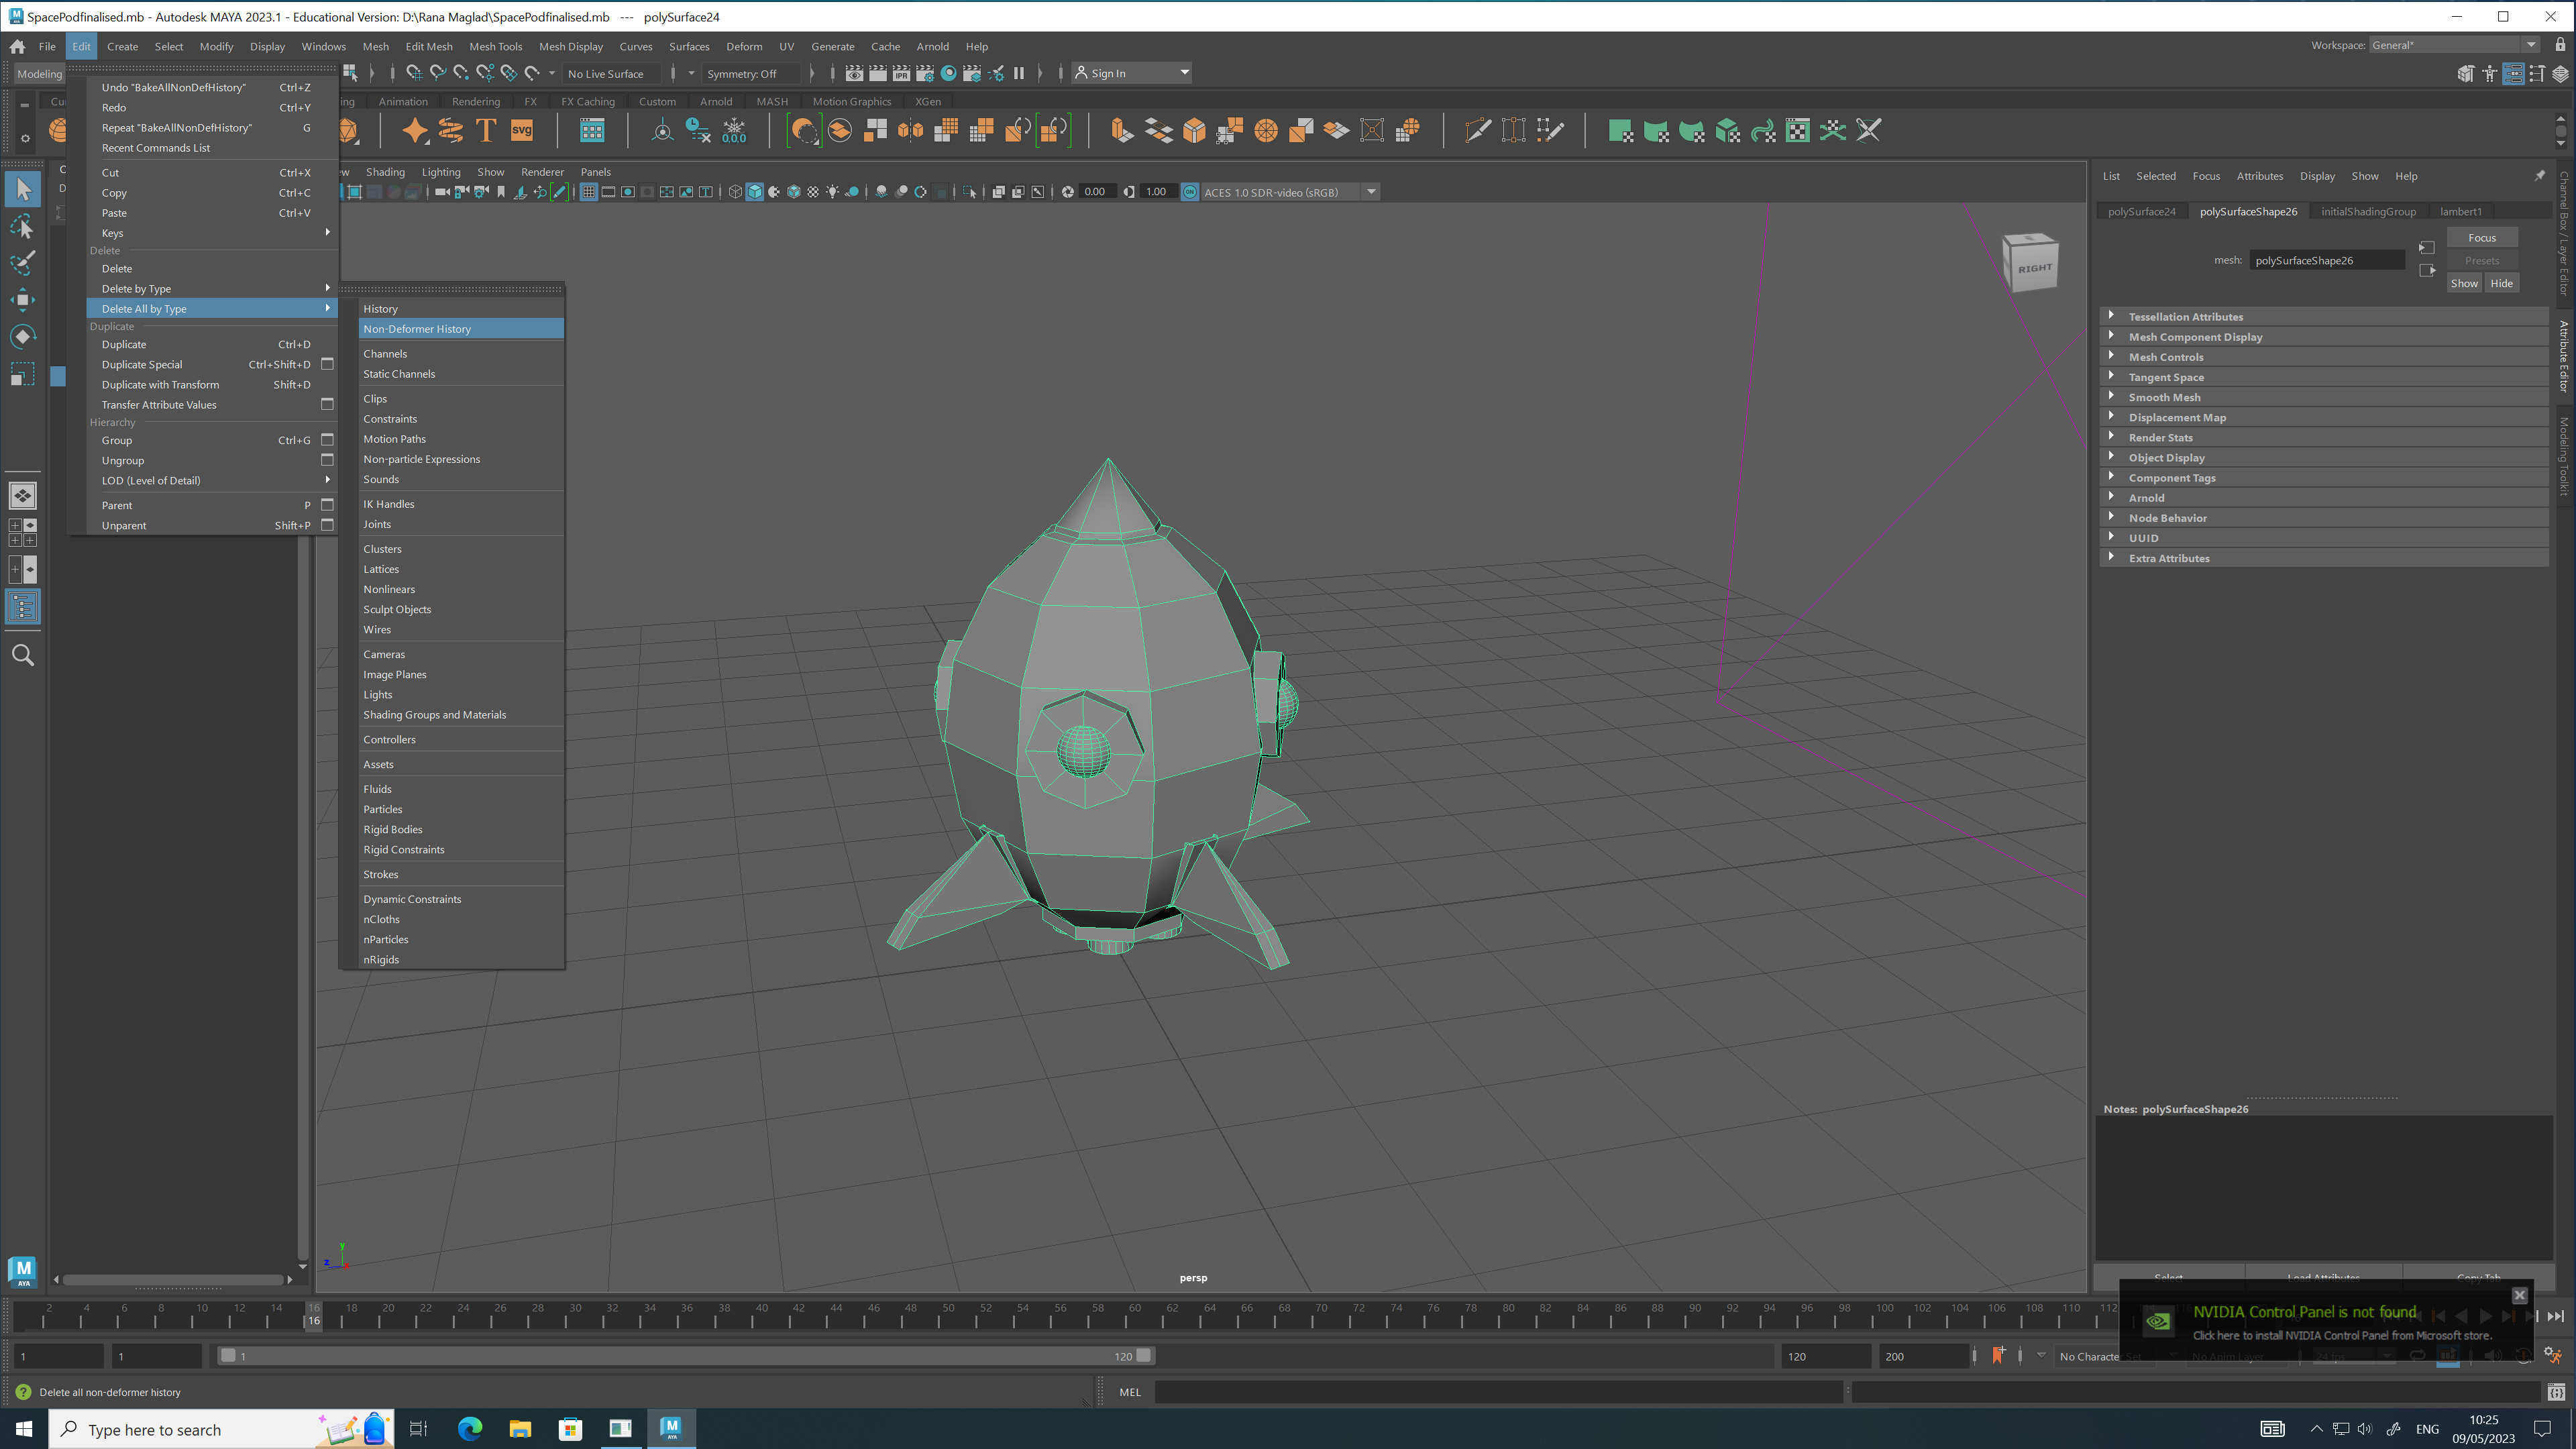
Before moving on to any step ahead during the following steps, I went ahead and deleted any extra assets that may be attached to my rocket, going to Edit > Delete all by type > Non – Deformer History.
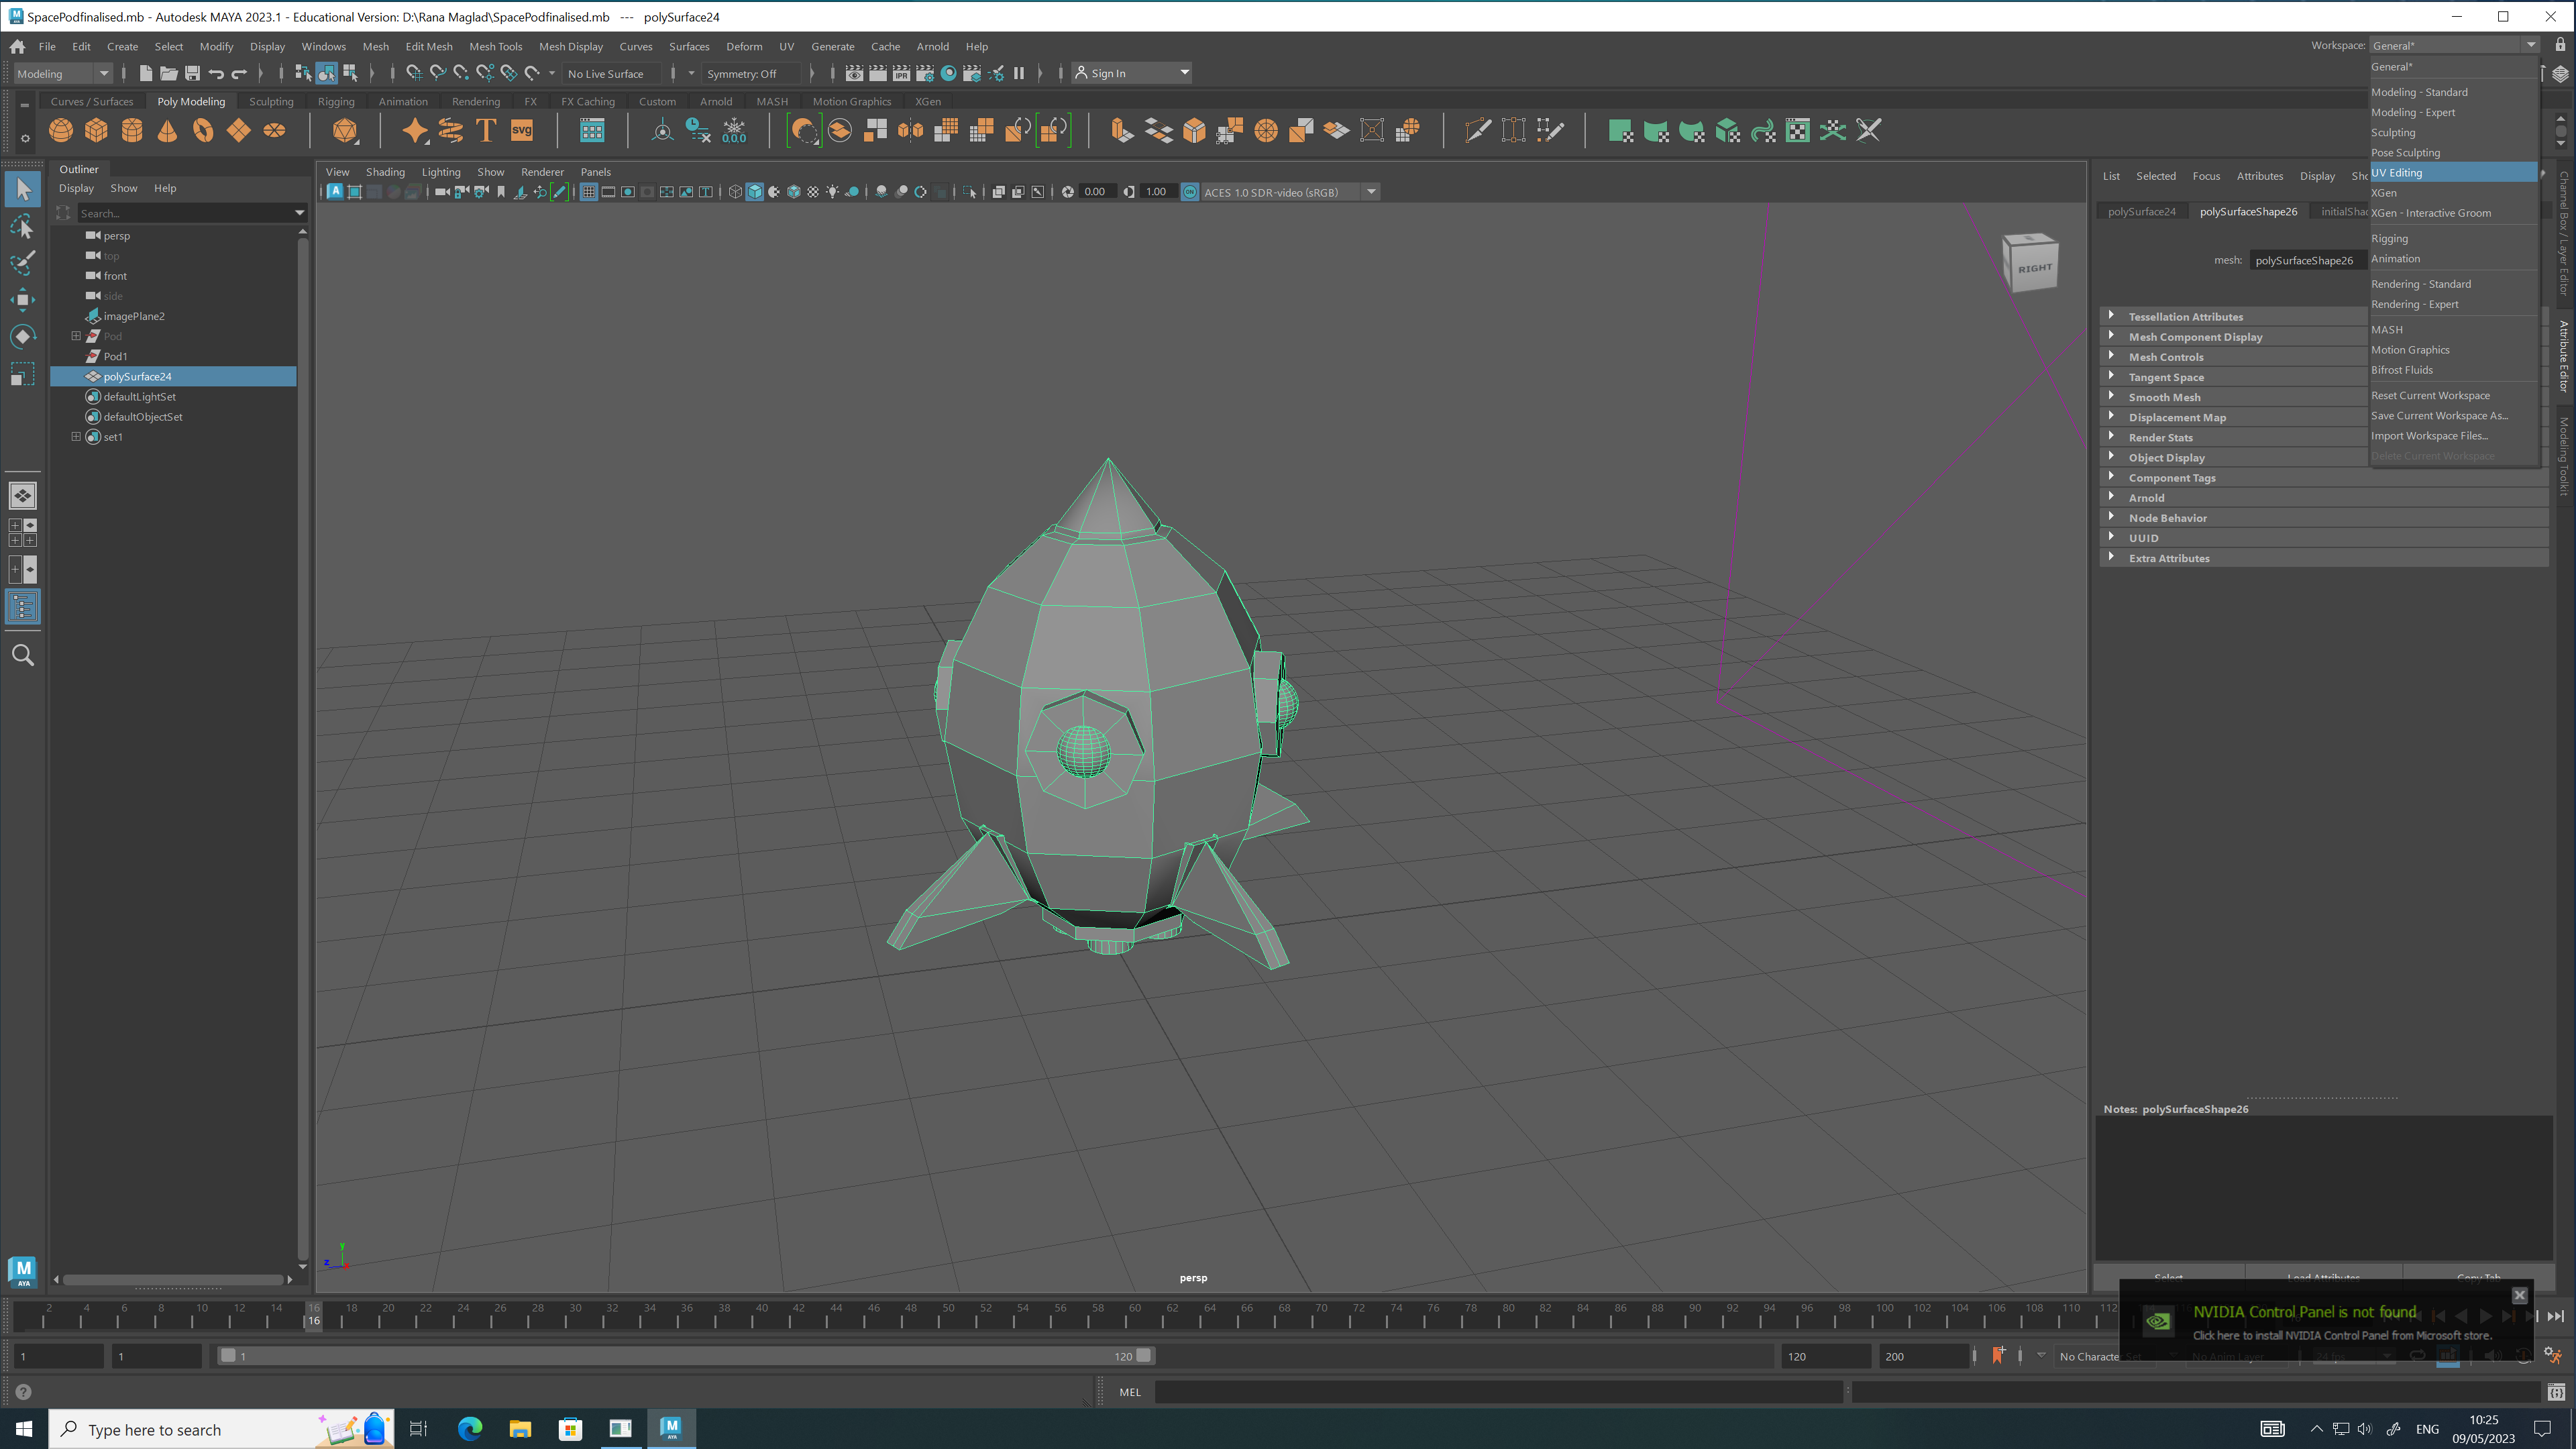
Next, I changed my maya editing space settings and used the drop down menu to change the settings to “Uv Editing” so that I could start my UV Unwrapping to my space pod.

After selecting the UV editing space, the following settings came up, and I adjusted them to the appropriate settings that best fitted my work space, and what would help me achieve my space pod edit.

After finally adjusting all of the settings, I laid out all of my parts to my space pod and made sure that there were no more missing pieces left, everything was in place to take ahead to Adobe Painter.
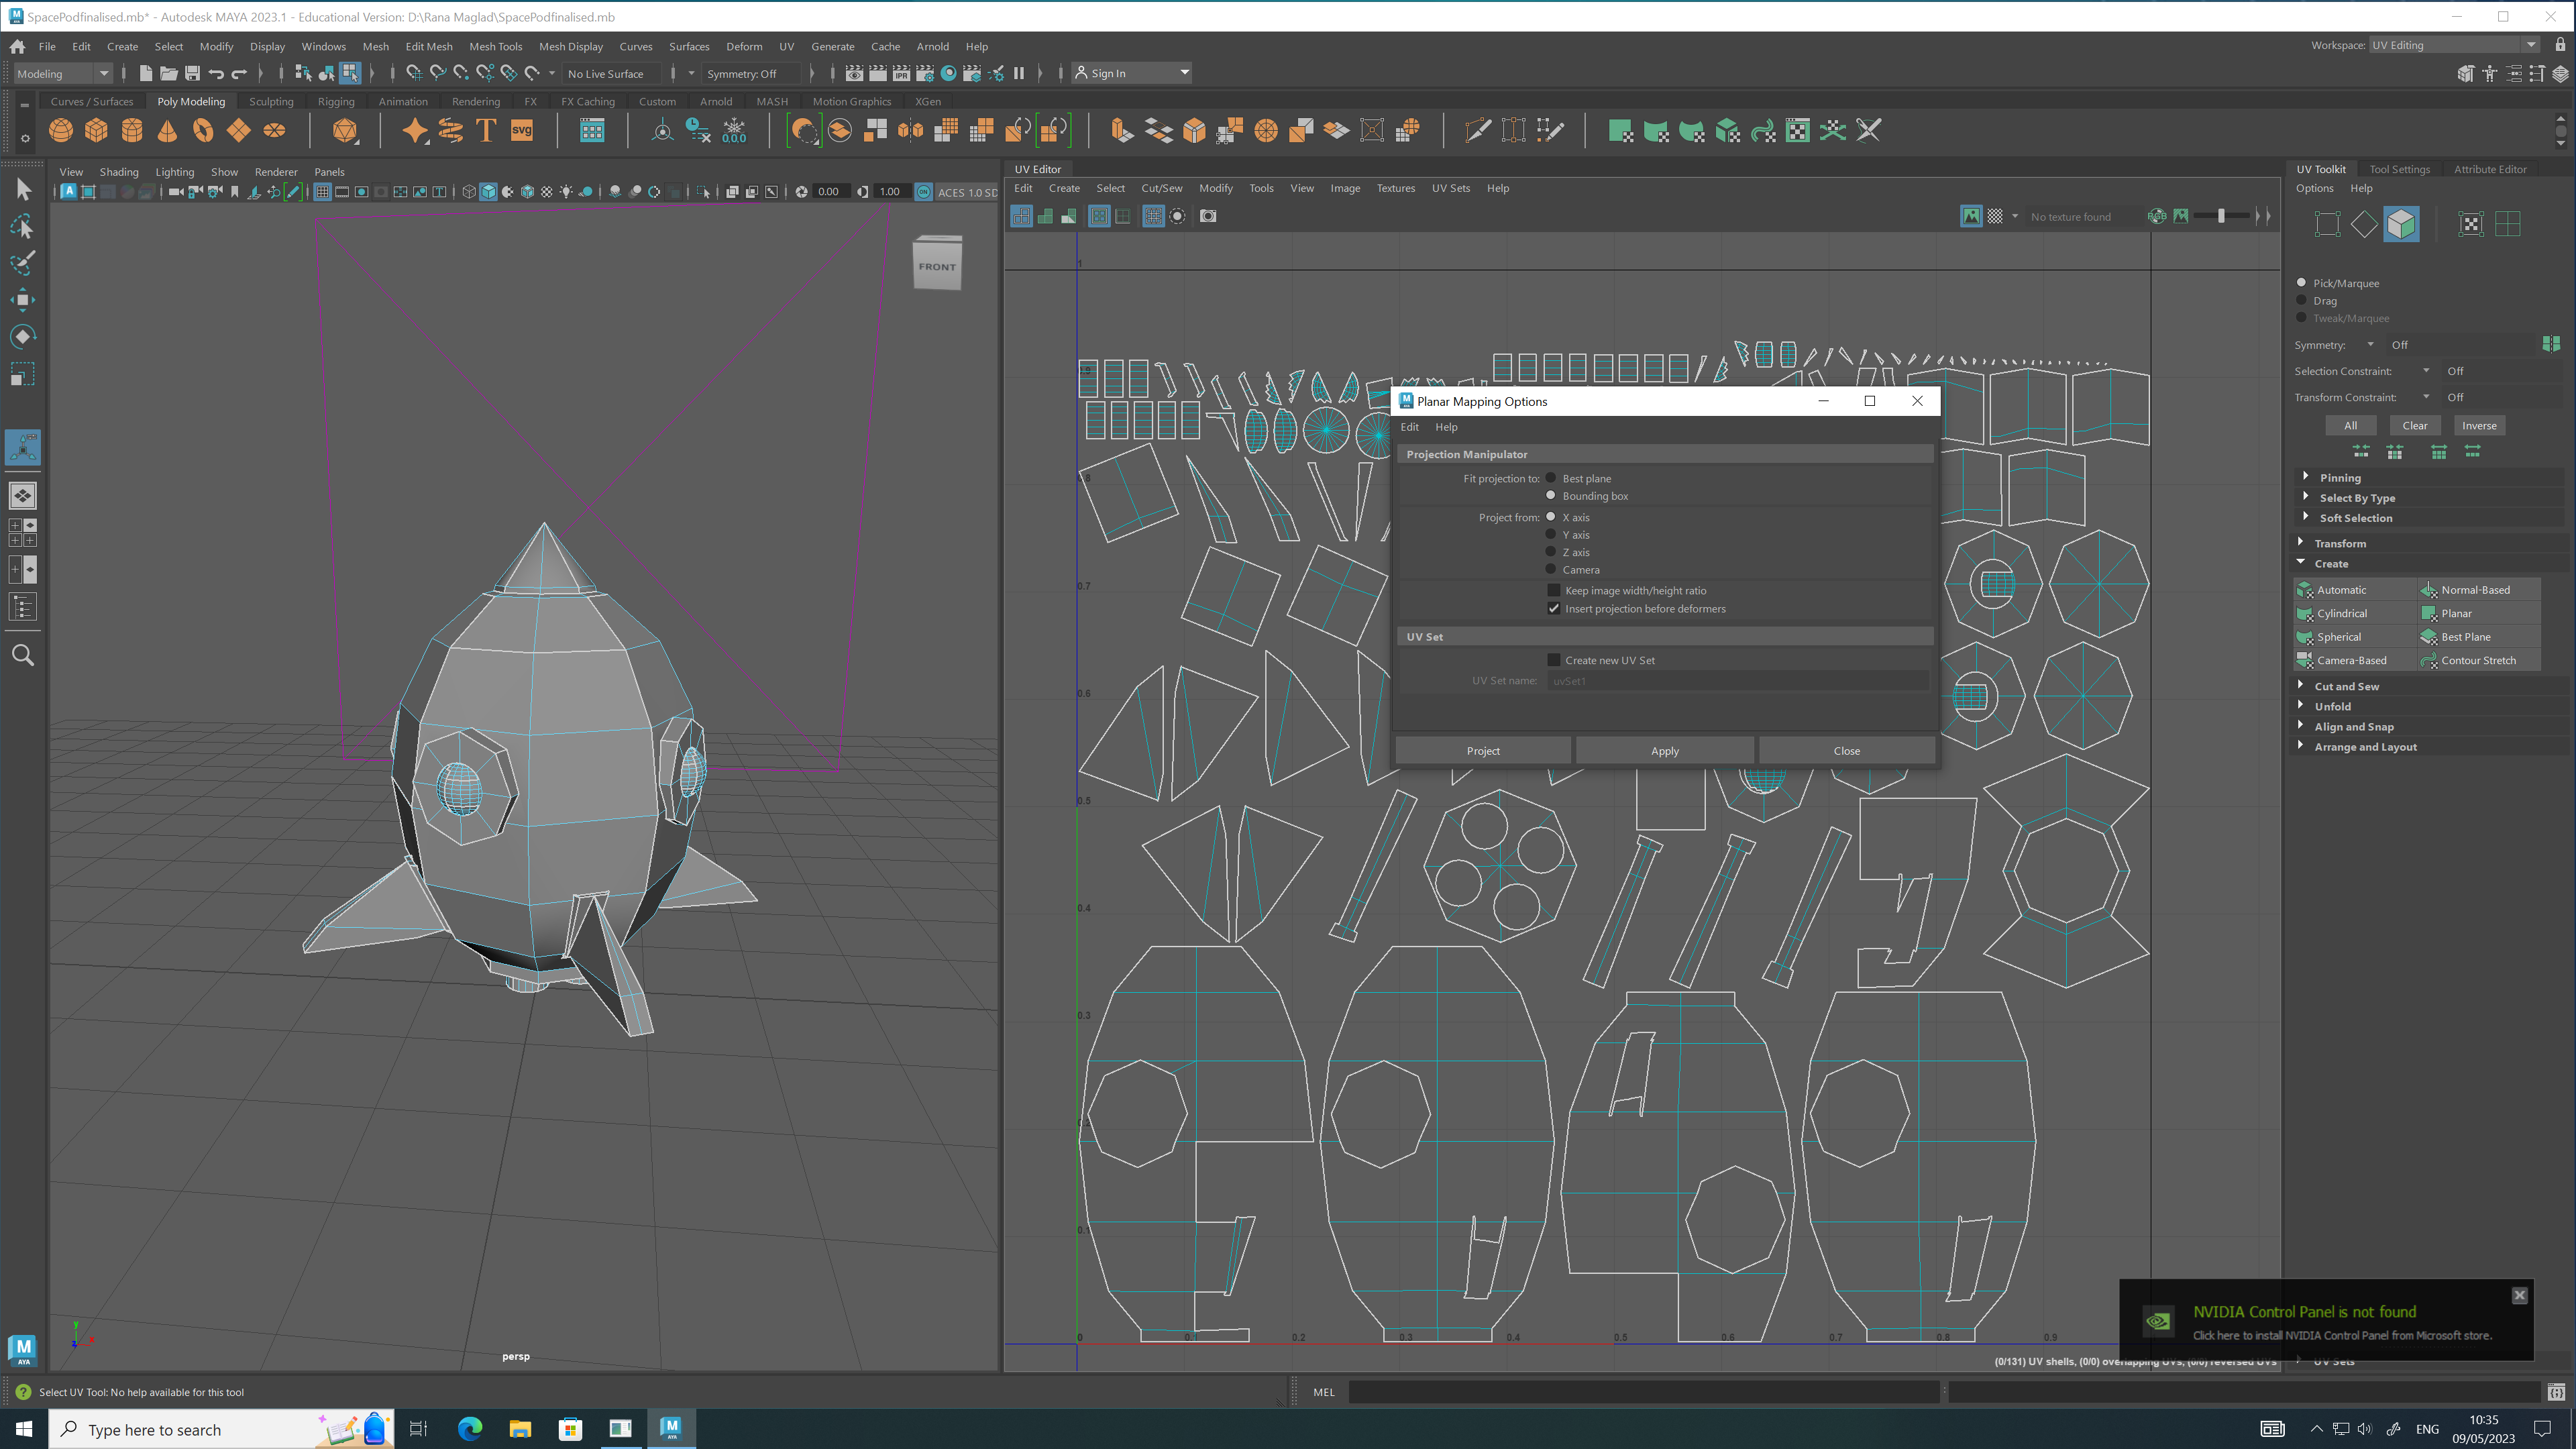
Before finally exporting, I altered the settings to export correctly and appropriately so that the settings matched and were suited for Adobe Painter, avoiding any crashes and making sure that both Maya and Adobe Painter would work together without problems.
Caption: colour coding done to make a clear analysis on which areas to target and paint in Adobe Painter.
After all sets were saved and done to the correct setting, I went ahead and designed all of my separate pieces to different colours, each colour would be later selected together through Adobe Painter to edited separately. The colours being bright so they were noticeable and clear through other programs when at use.
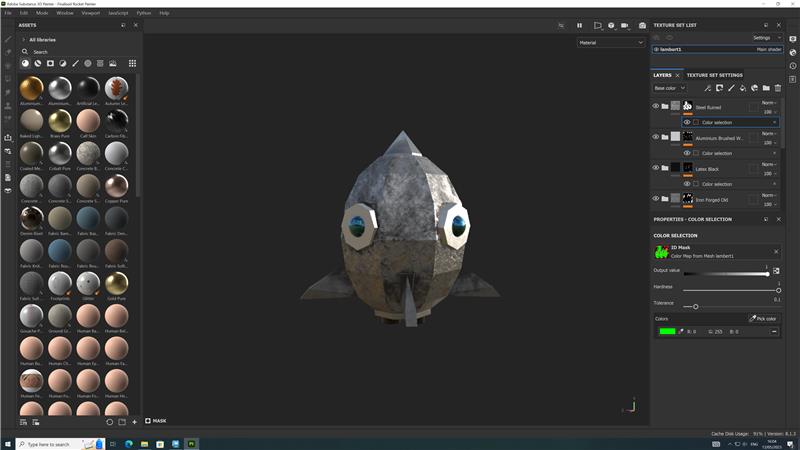
After importing and carefully selecting the suited colours for my space pod, I did a final check all around and checked all the placements of the settings to the right side of the program, then went ahead and exported to files.

Final steps, I brought the final saved file from Adobe Painter, back to maya to then adjust settings, so that the painted work can be produced and presented on display for the animation. The space pod is now completed and ready.