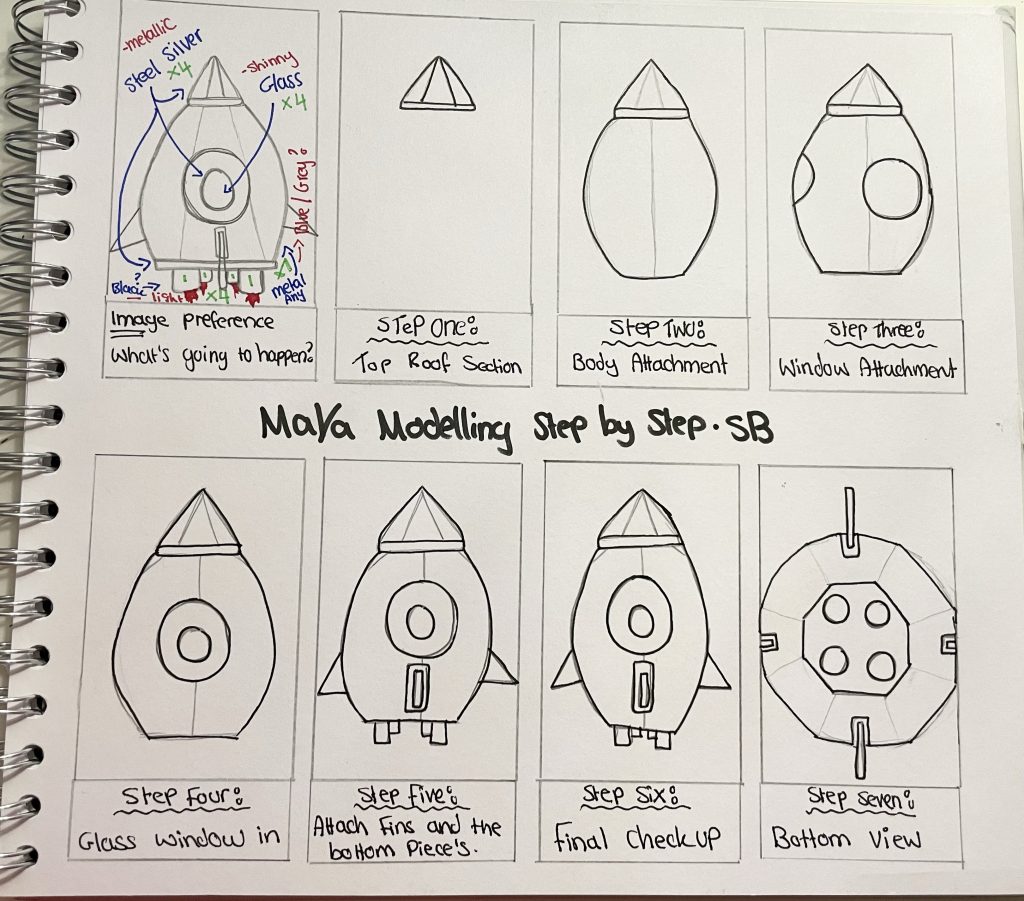
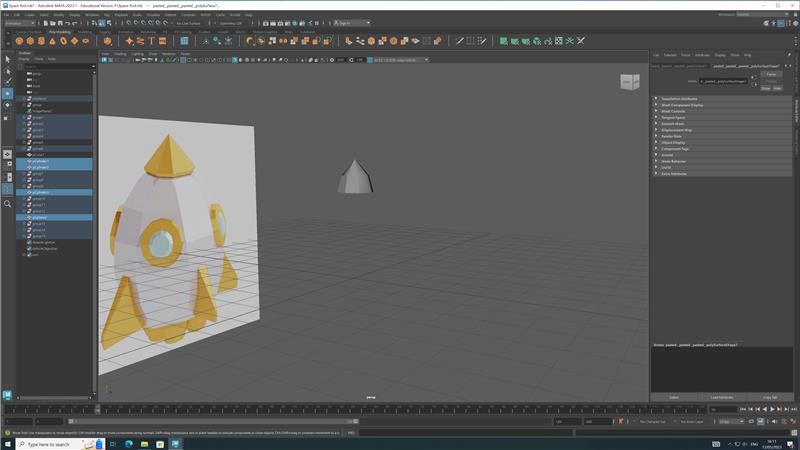
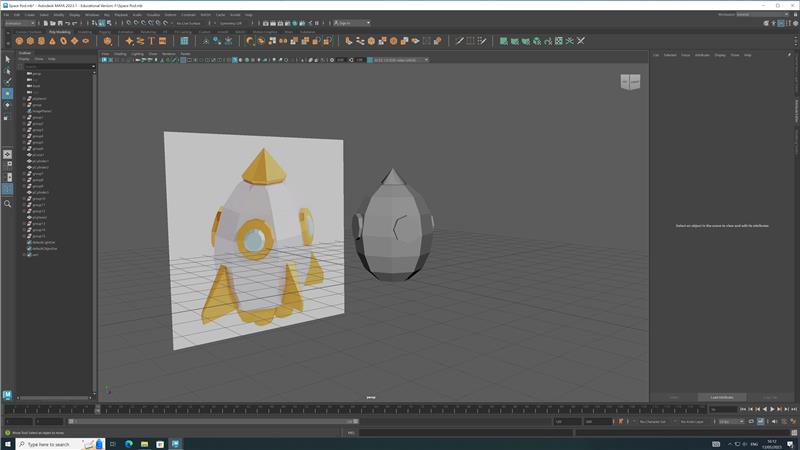
Taking upon to go ahead with the following storyboard, I used the cone shape tool at the top menu to create a long top half to my space pod, making a circular round edge to the bottom half of the cone so that there would be a neat outline for later.
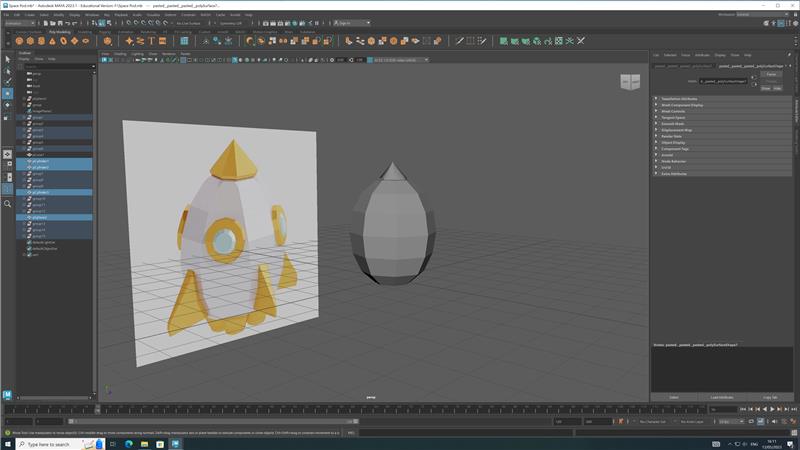
I then used the cylinder shape to create a round egg-shaped base for the main shape of my space pod. Curving the ends of the cylinder to create a base at the bottom and the top having a reasonable size for the cone to sit on and look presentable.
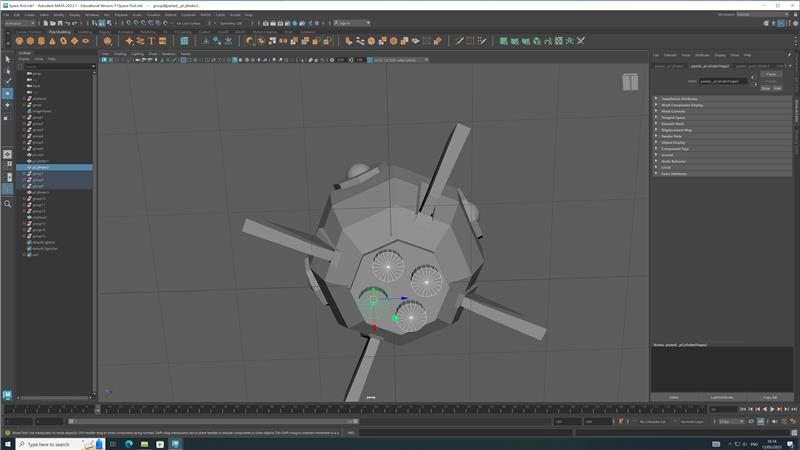
Creating the windows had two steps, using the octagon shape on the toolbar, I created four of the same window shape to create the base of my window.
Using the round circle ball shape on the toolbar above the menu, I used this shape to finish the design of my glass window. This ball would later be painted to a glass design with a steel base, exactly as shown on my storyboard.
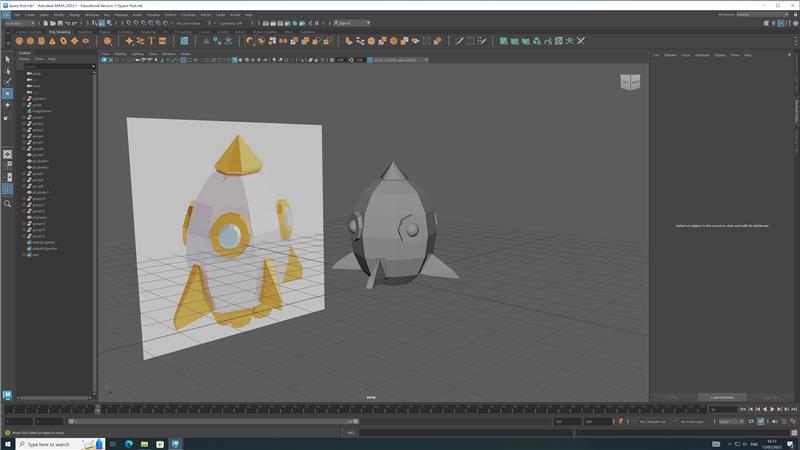
Out of all the complex steps, creating the fin was probably the most challenging. I used the cylinder shape repeatedly but used the extrude tool to help edit and pull out angles to create these shapes, creating it to look like a fin. This was applied to all 4 corners where the fins are located in the space pod.
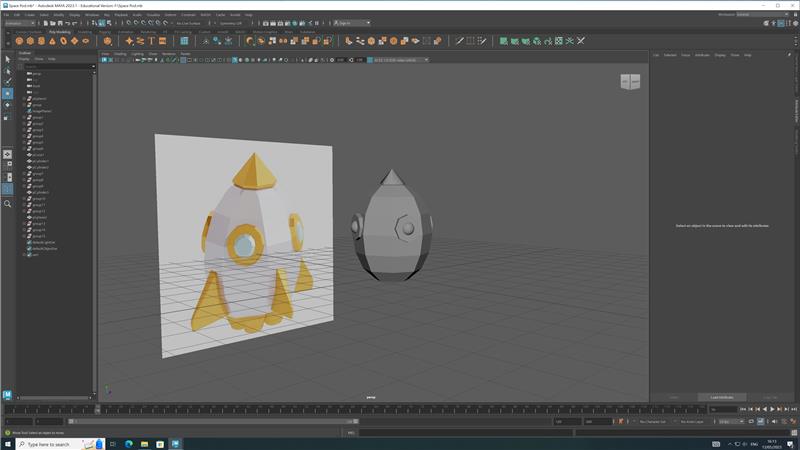
Before the final step to finishing the space pod, I added another cylinder to the bottom half of my space pod and expanded the size a little more than the original to create a circular base. Moving it to the centre and locating it in the middle of the space pod so that the next step fits the correct angle.
Creating the final step of my space pod, I added 4 small cylinders to the bottom base and reduced their size so that the 4 could sit perfectly to each corner in line with the current fins in place.
Reference: