ZAPWORKS
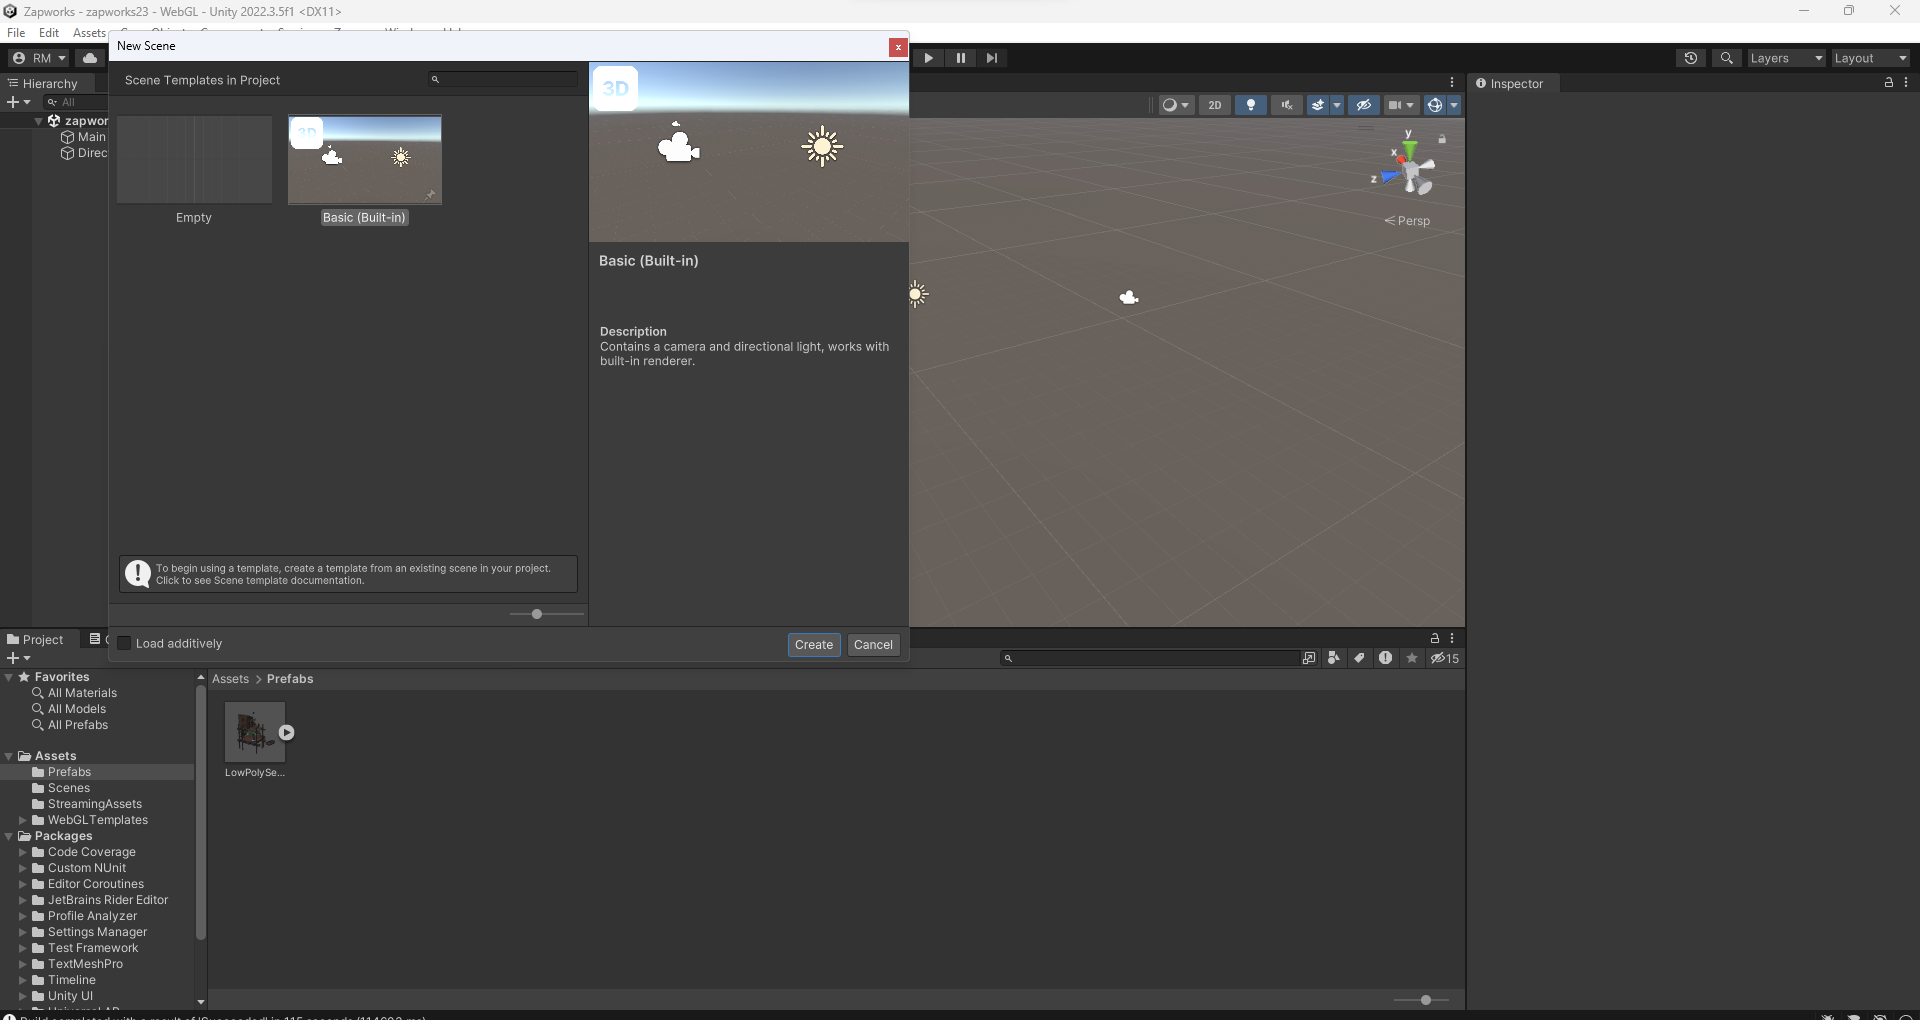
Moving onto our final tutorial, I created a new scene by going to File > New Scene > Basic, to continue to part two of this project. The provided scene is then saved to an Assets folder for this project to work successfully.
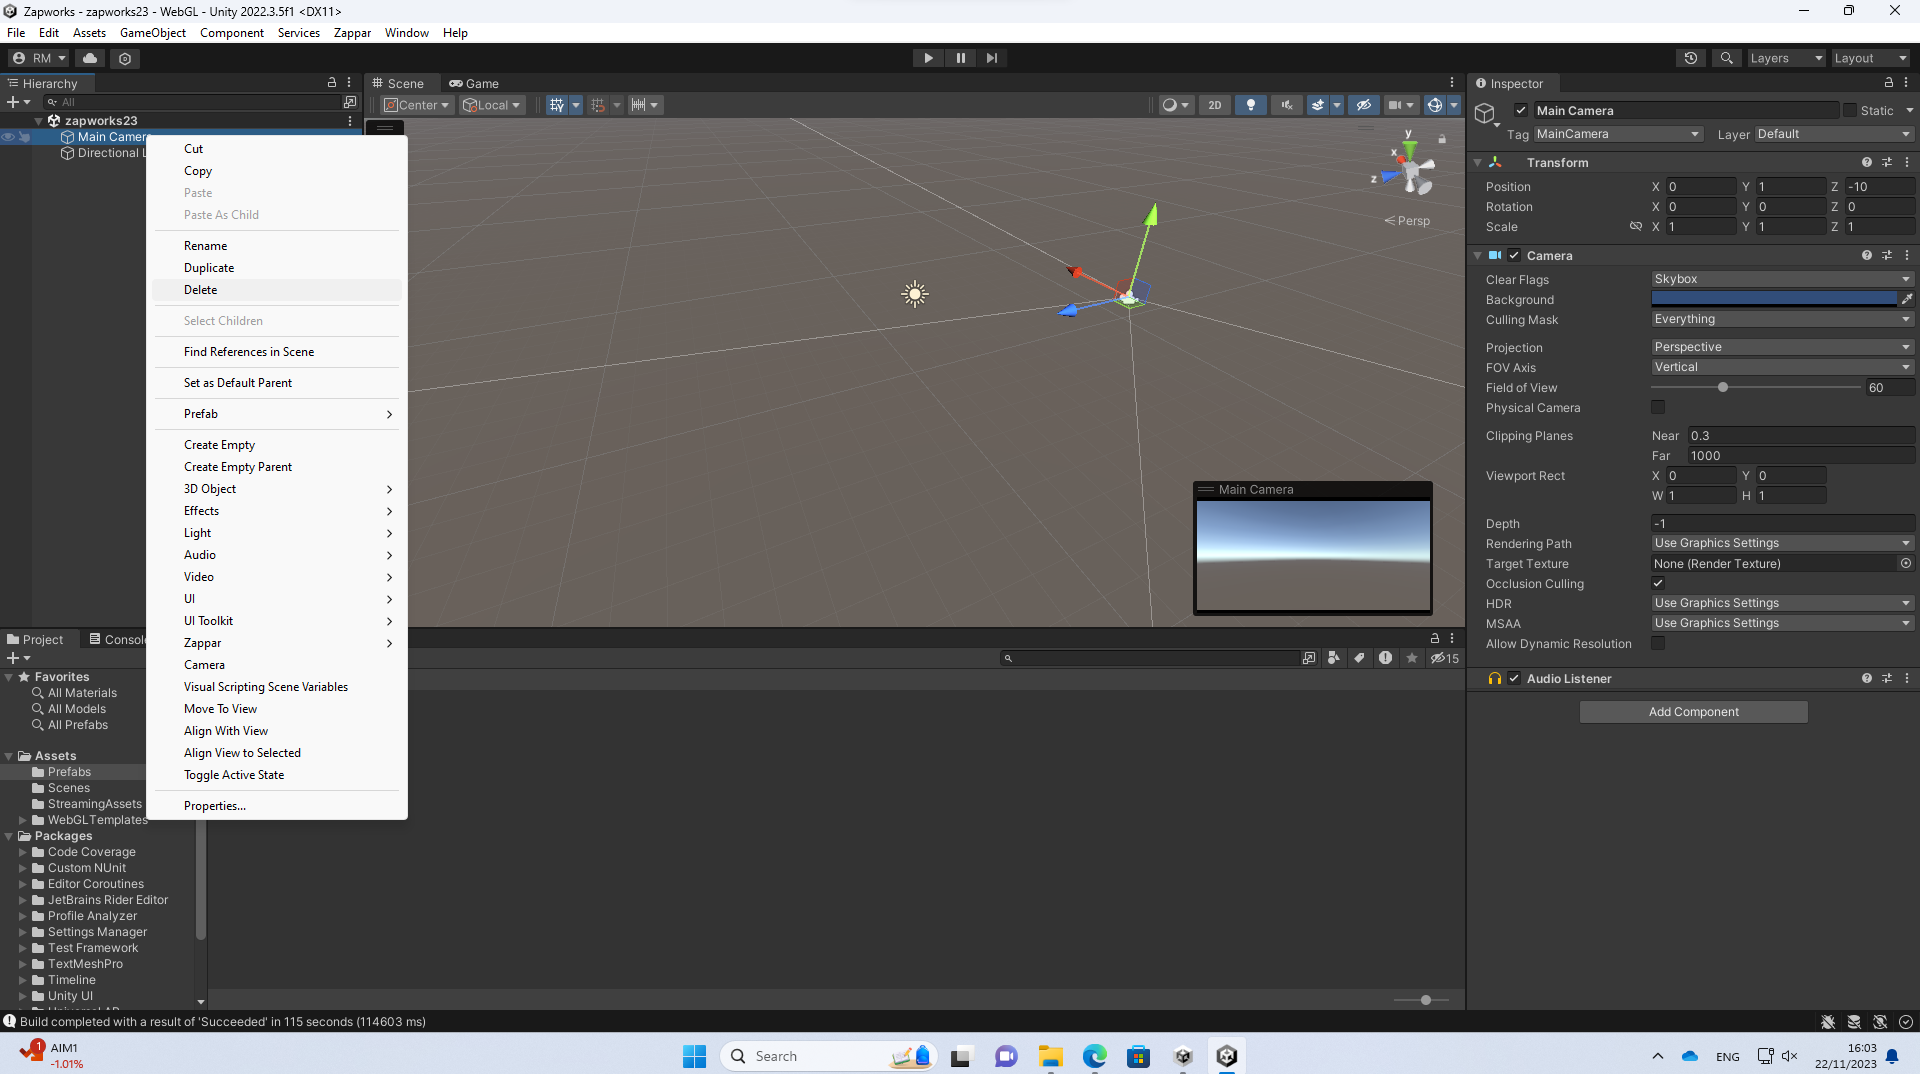

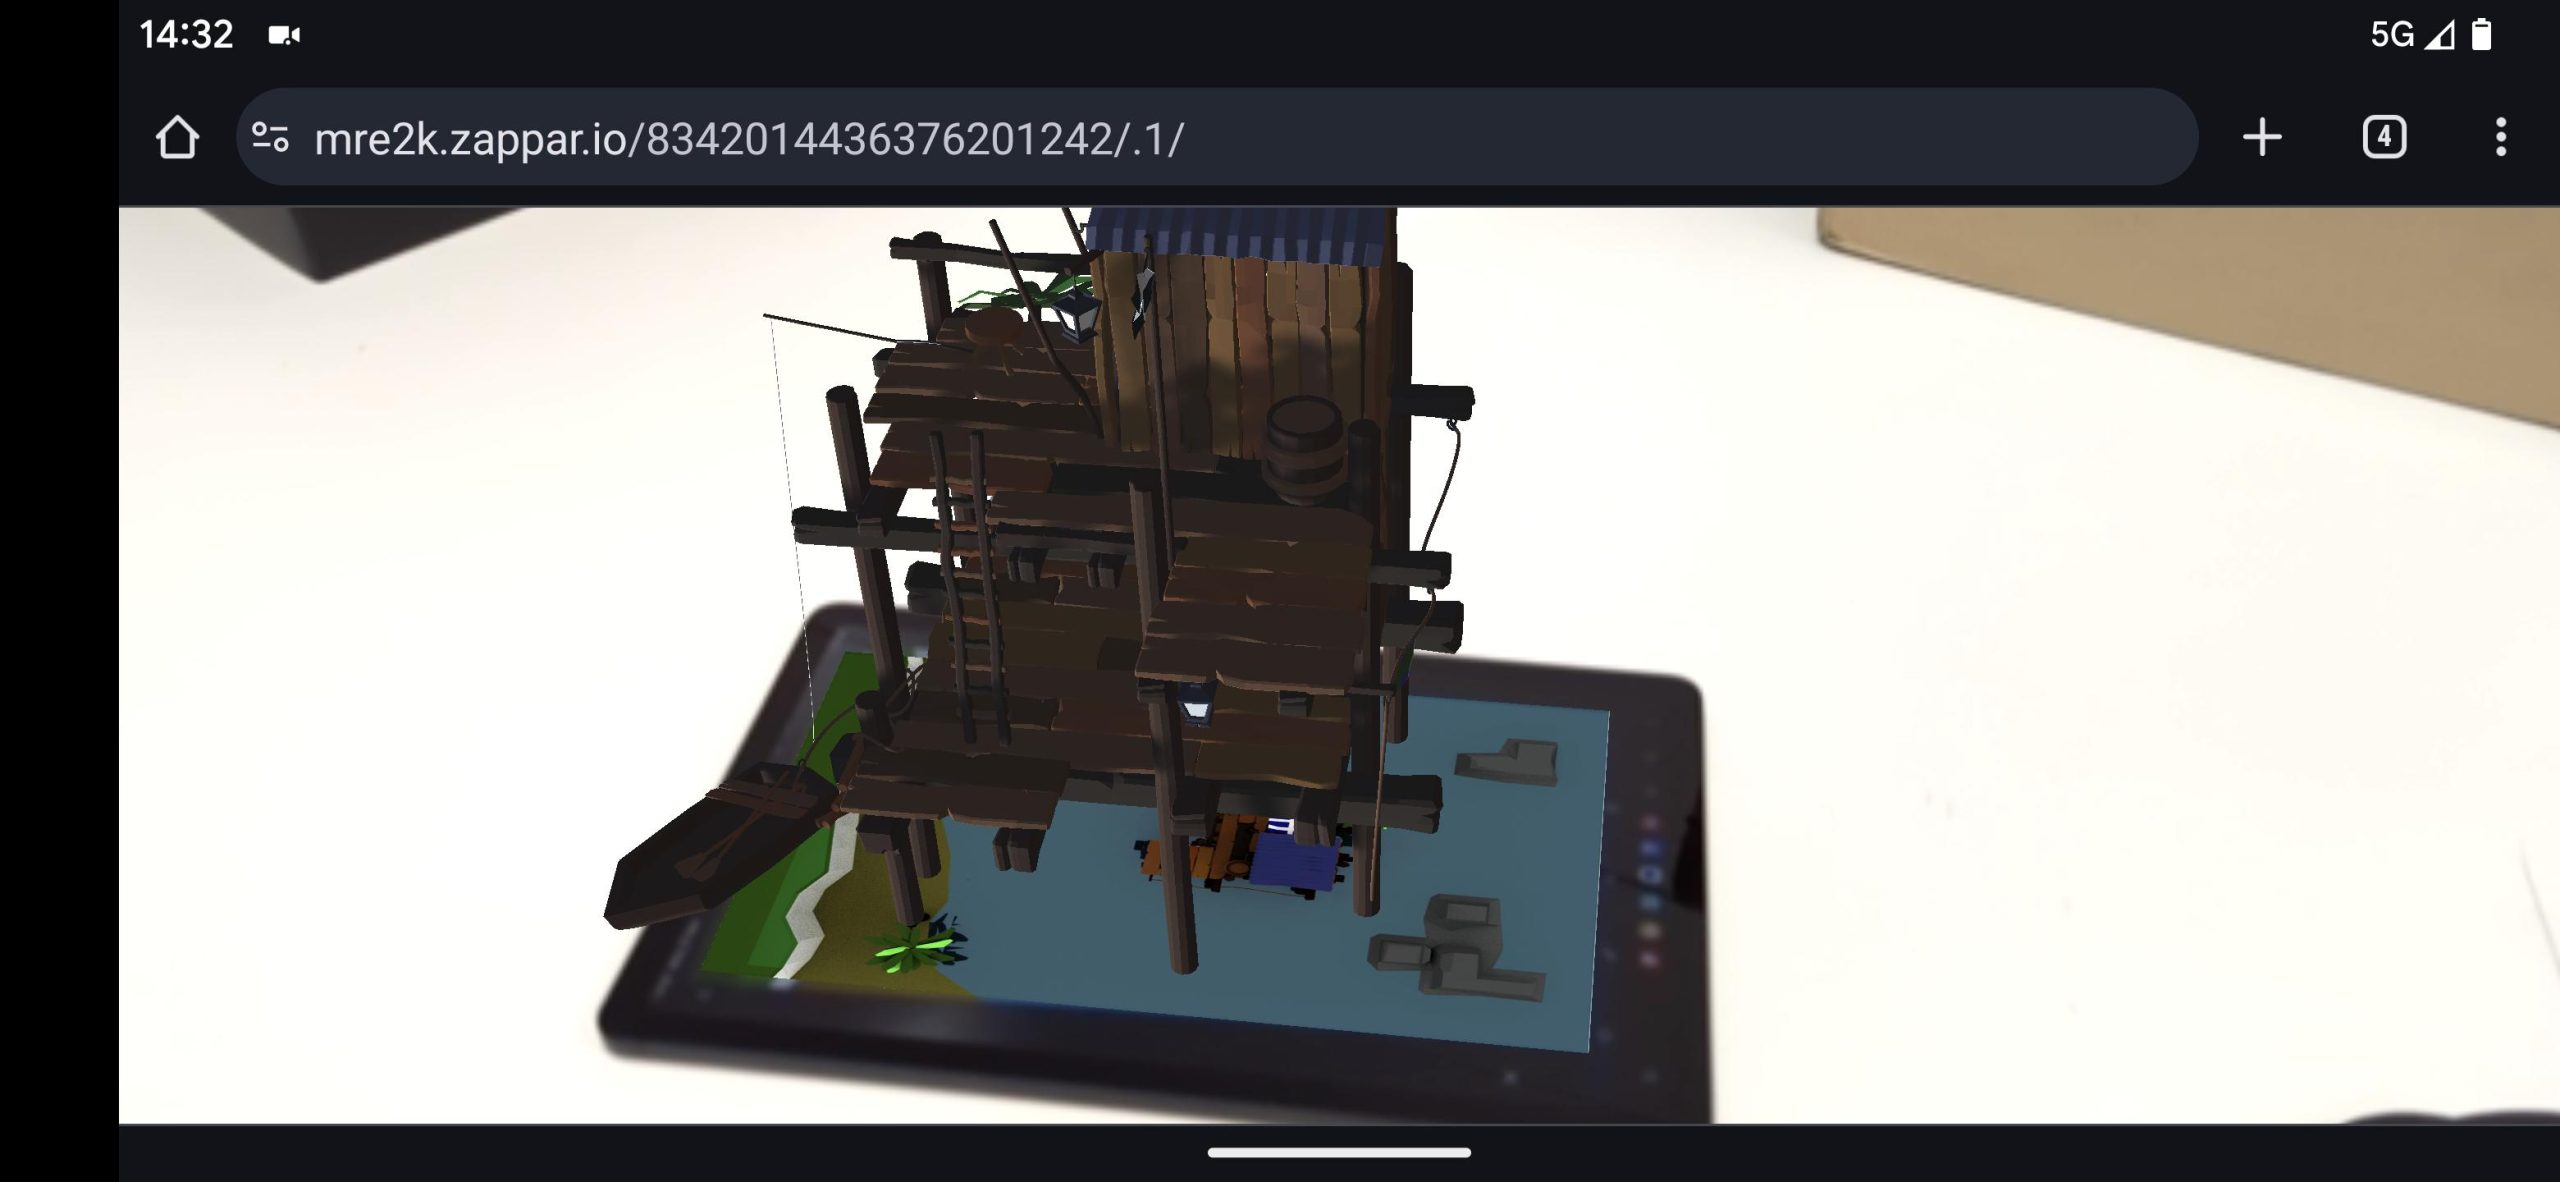
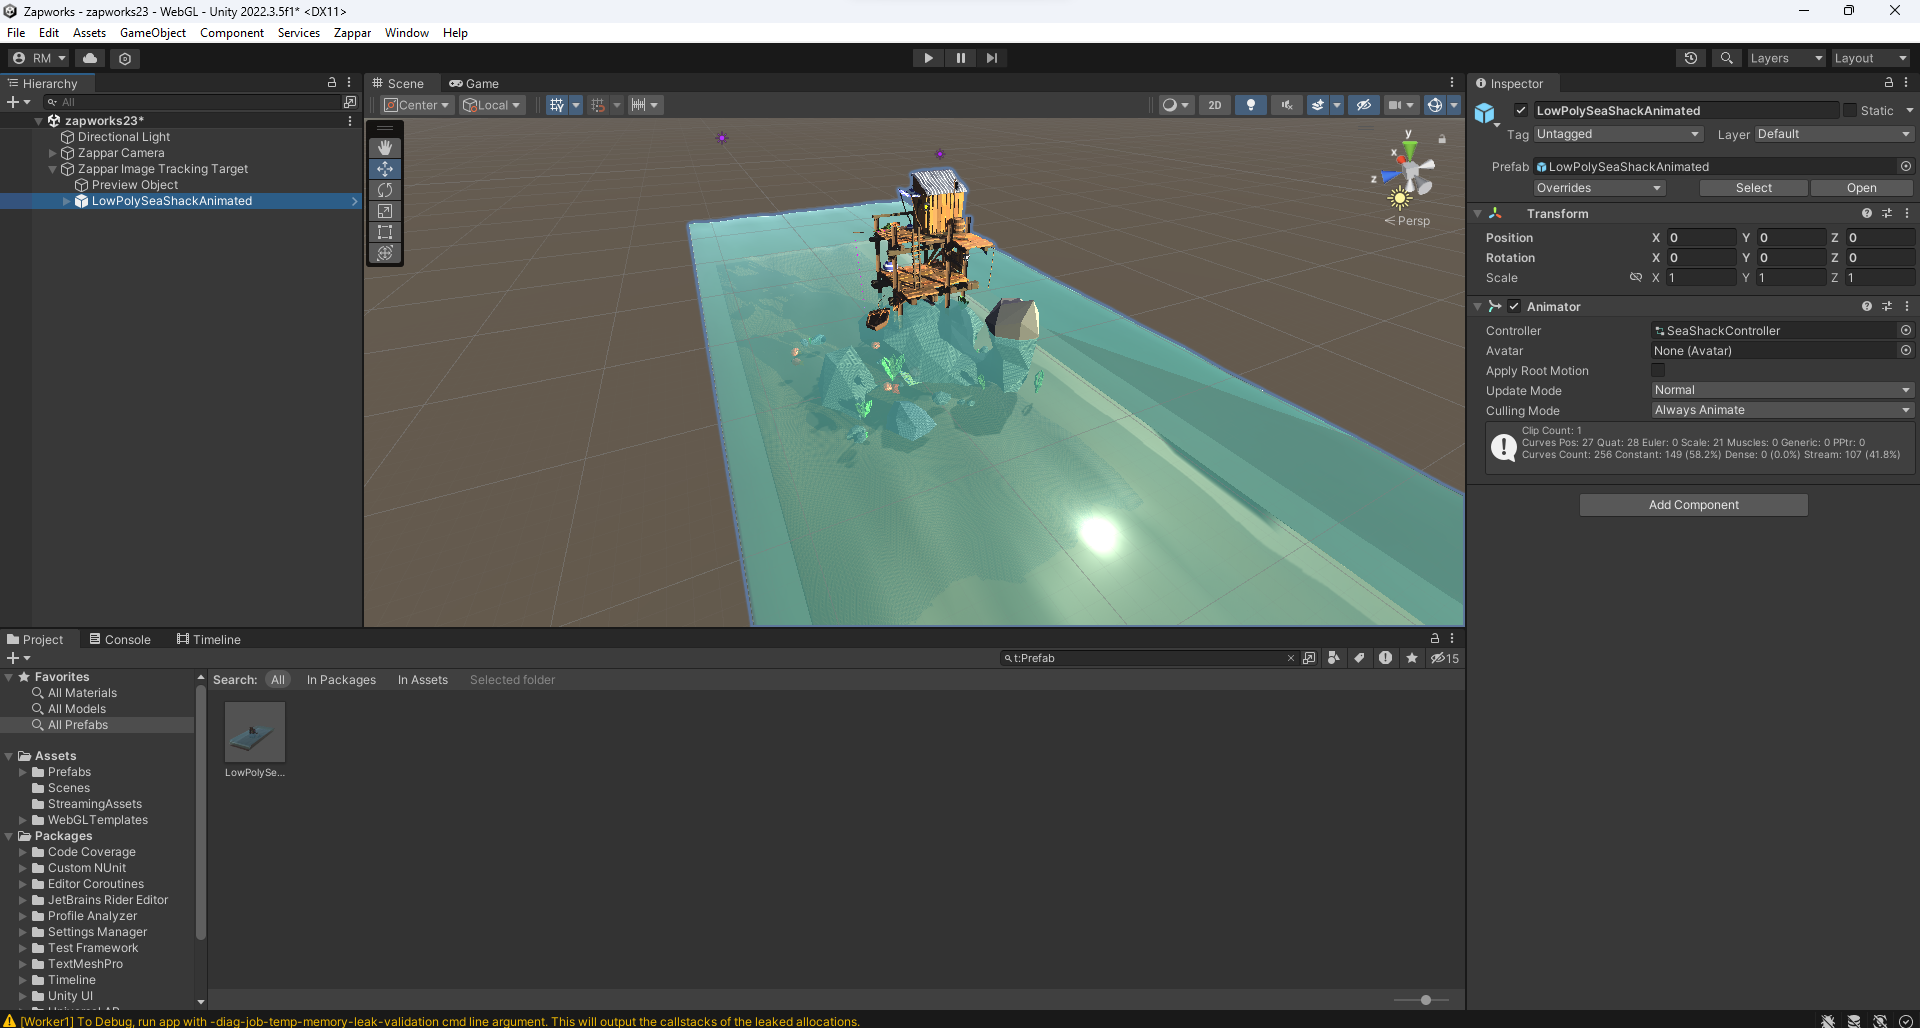
Through this tutorial, we were asked to repeat step 3 from the first tutorial we had completed, which can be seen repeated in the following figures above. An extra camera had been placed in after importing my “LowPolyShackAnimated” image, so we removed this camera and rescaled everything to 0.5 on all Axis.

As shown in the first Tutorial, when we removed the camera from the hierarchy section, I went ahead and added a Zappar camera by going to Zappar > Camera > Rear Facing Camera.
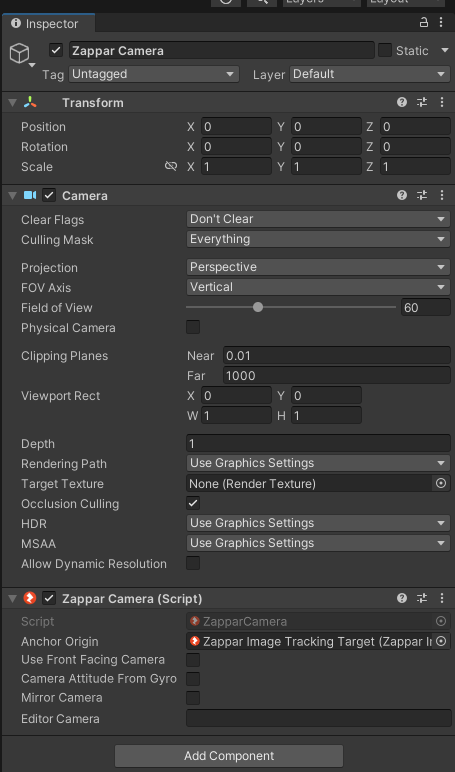
I checked my Zappar camera settings and made the following changes, by making sure that the anchor origin had the Zappar image included in the taskbar, alongside making sure it was activated at the top of the settings screen.
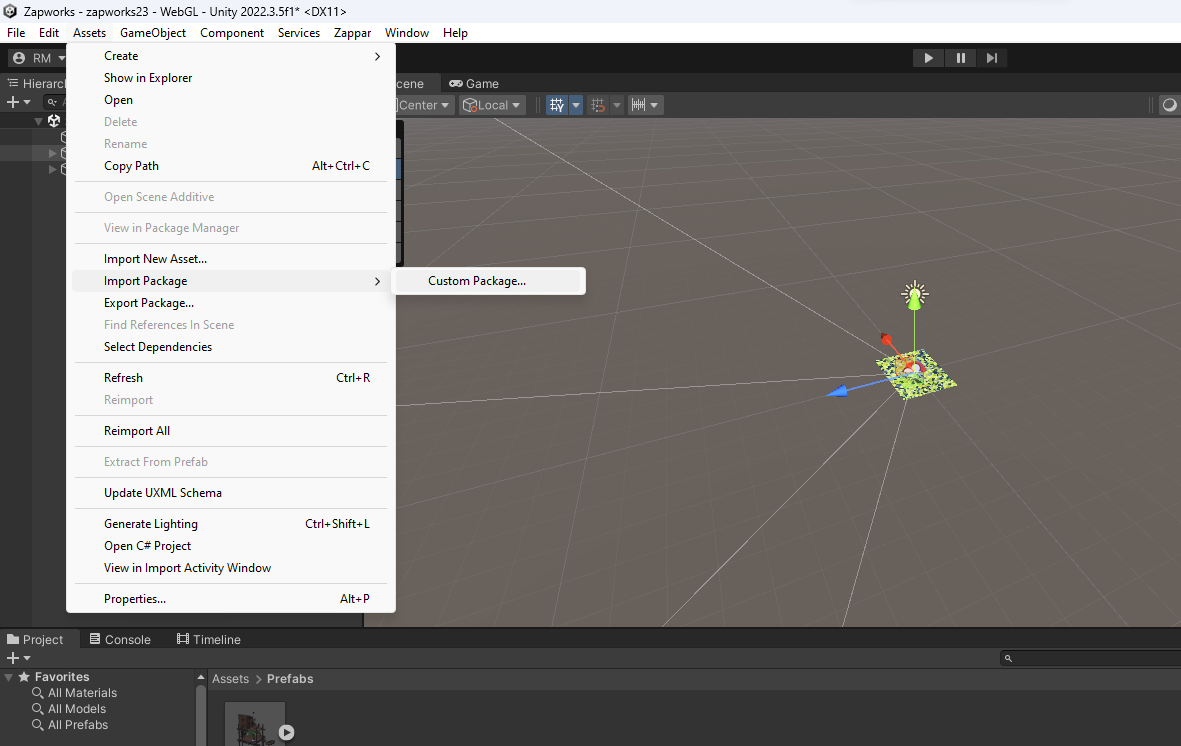
To then add in our image the same way we added in our last image, I went to Assets > Import Package > Custom Package, and added in the image as shown in the figure above.

I noticed that the camera had come back into the assets included with the image imported, so I went ahead and removed the camera from the hierarchy section and continued to alter the settings to the right-hand side of the project.
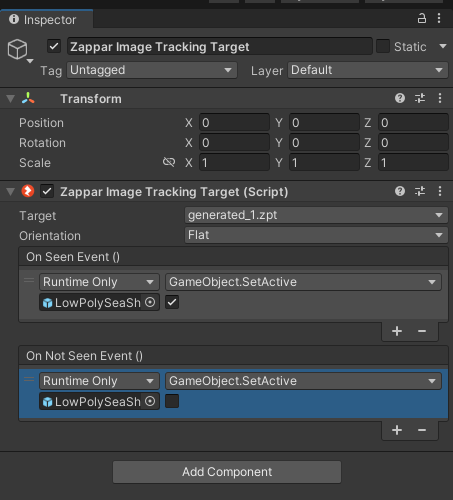
Again, I went ahead and added the “on seen” and “not seen” sections into the Inspector’s sector the same way I did with the last image, making sure that the ON SEEN was activated and the NOT ON SEEN was deactivated.
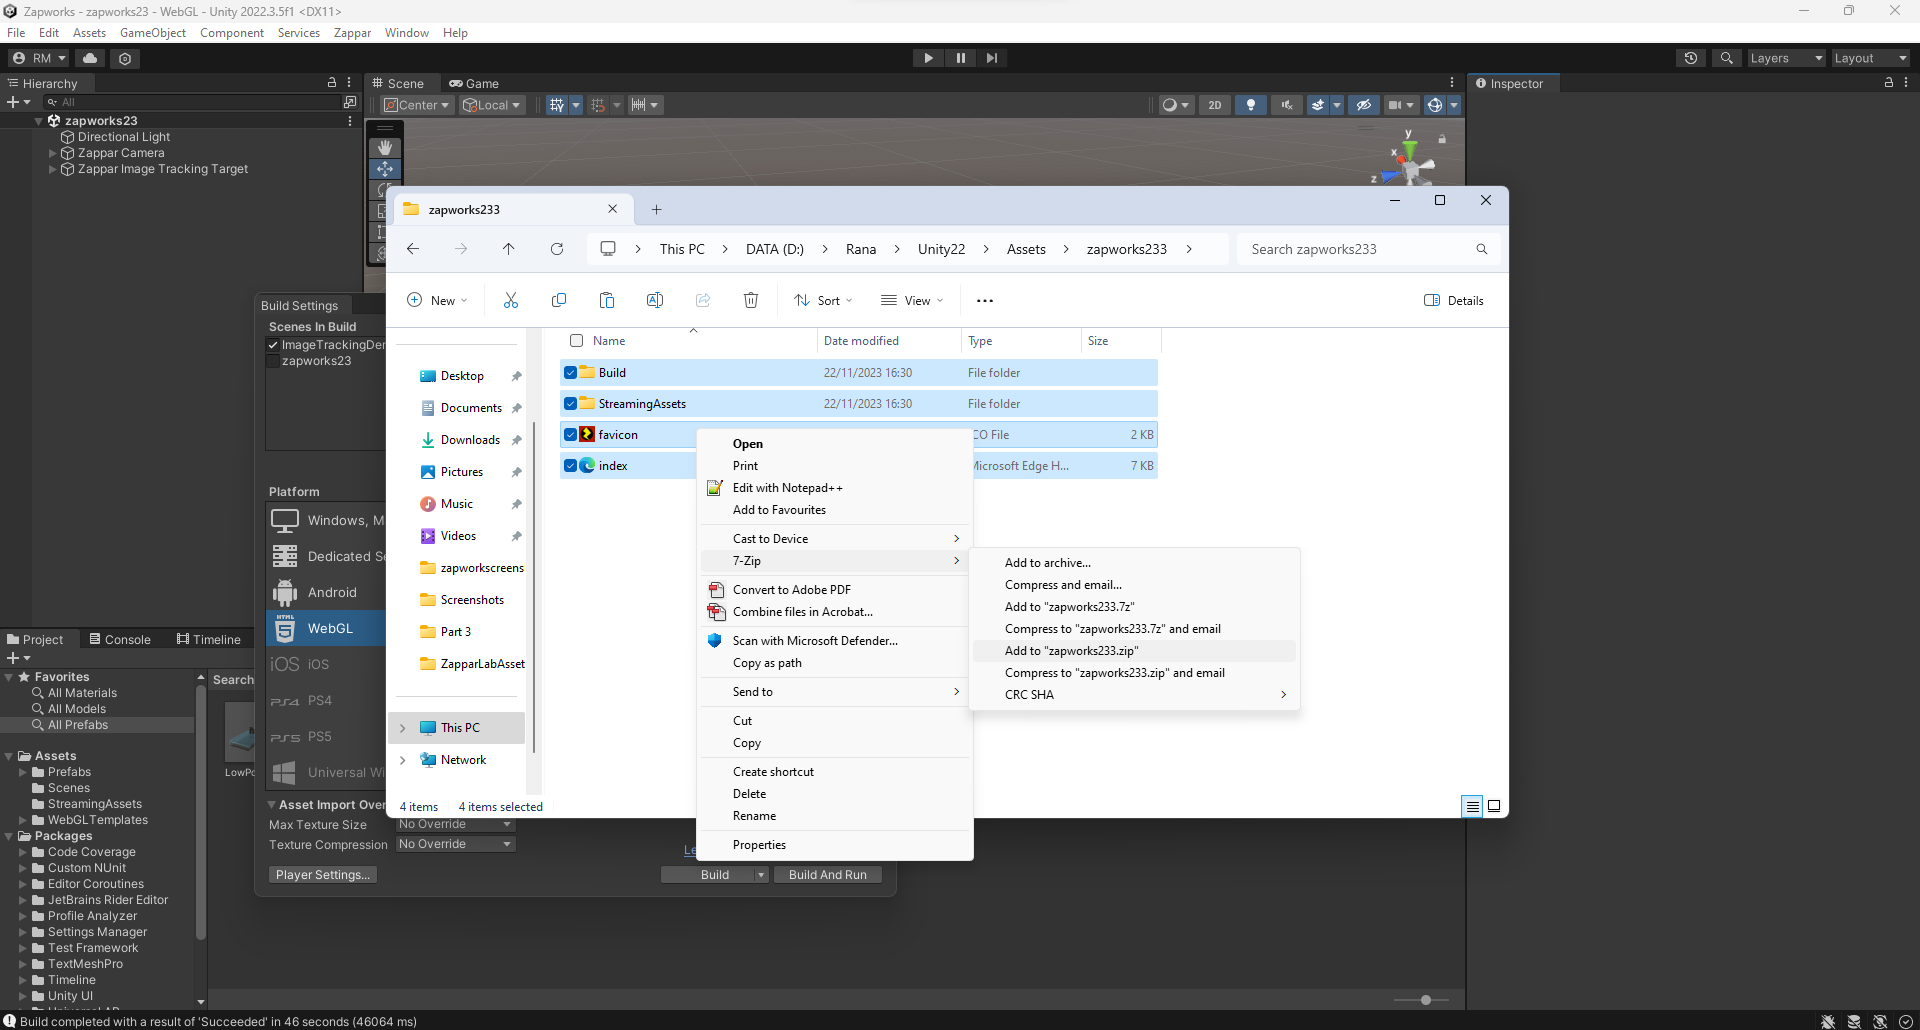
Finally, I went to “update project settings to publish” and was taken to the same settings as before, making sure that this one was provided in the part 2 file rather than the part 1, and followed the same steps as tutorial one to make sure all assets were together in the correct folder.