
Mash Networks
In this exercise, we were set to learn and experiment with MASH networks, a dominant effect that allows you to create simple and quick animations through simple instructions. In this tutorial, I learnt how to make a turning tube pattern, that spins in effect to allow others to see from the inside of the tube and around, like a turning submarine.

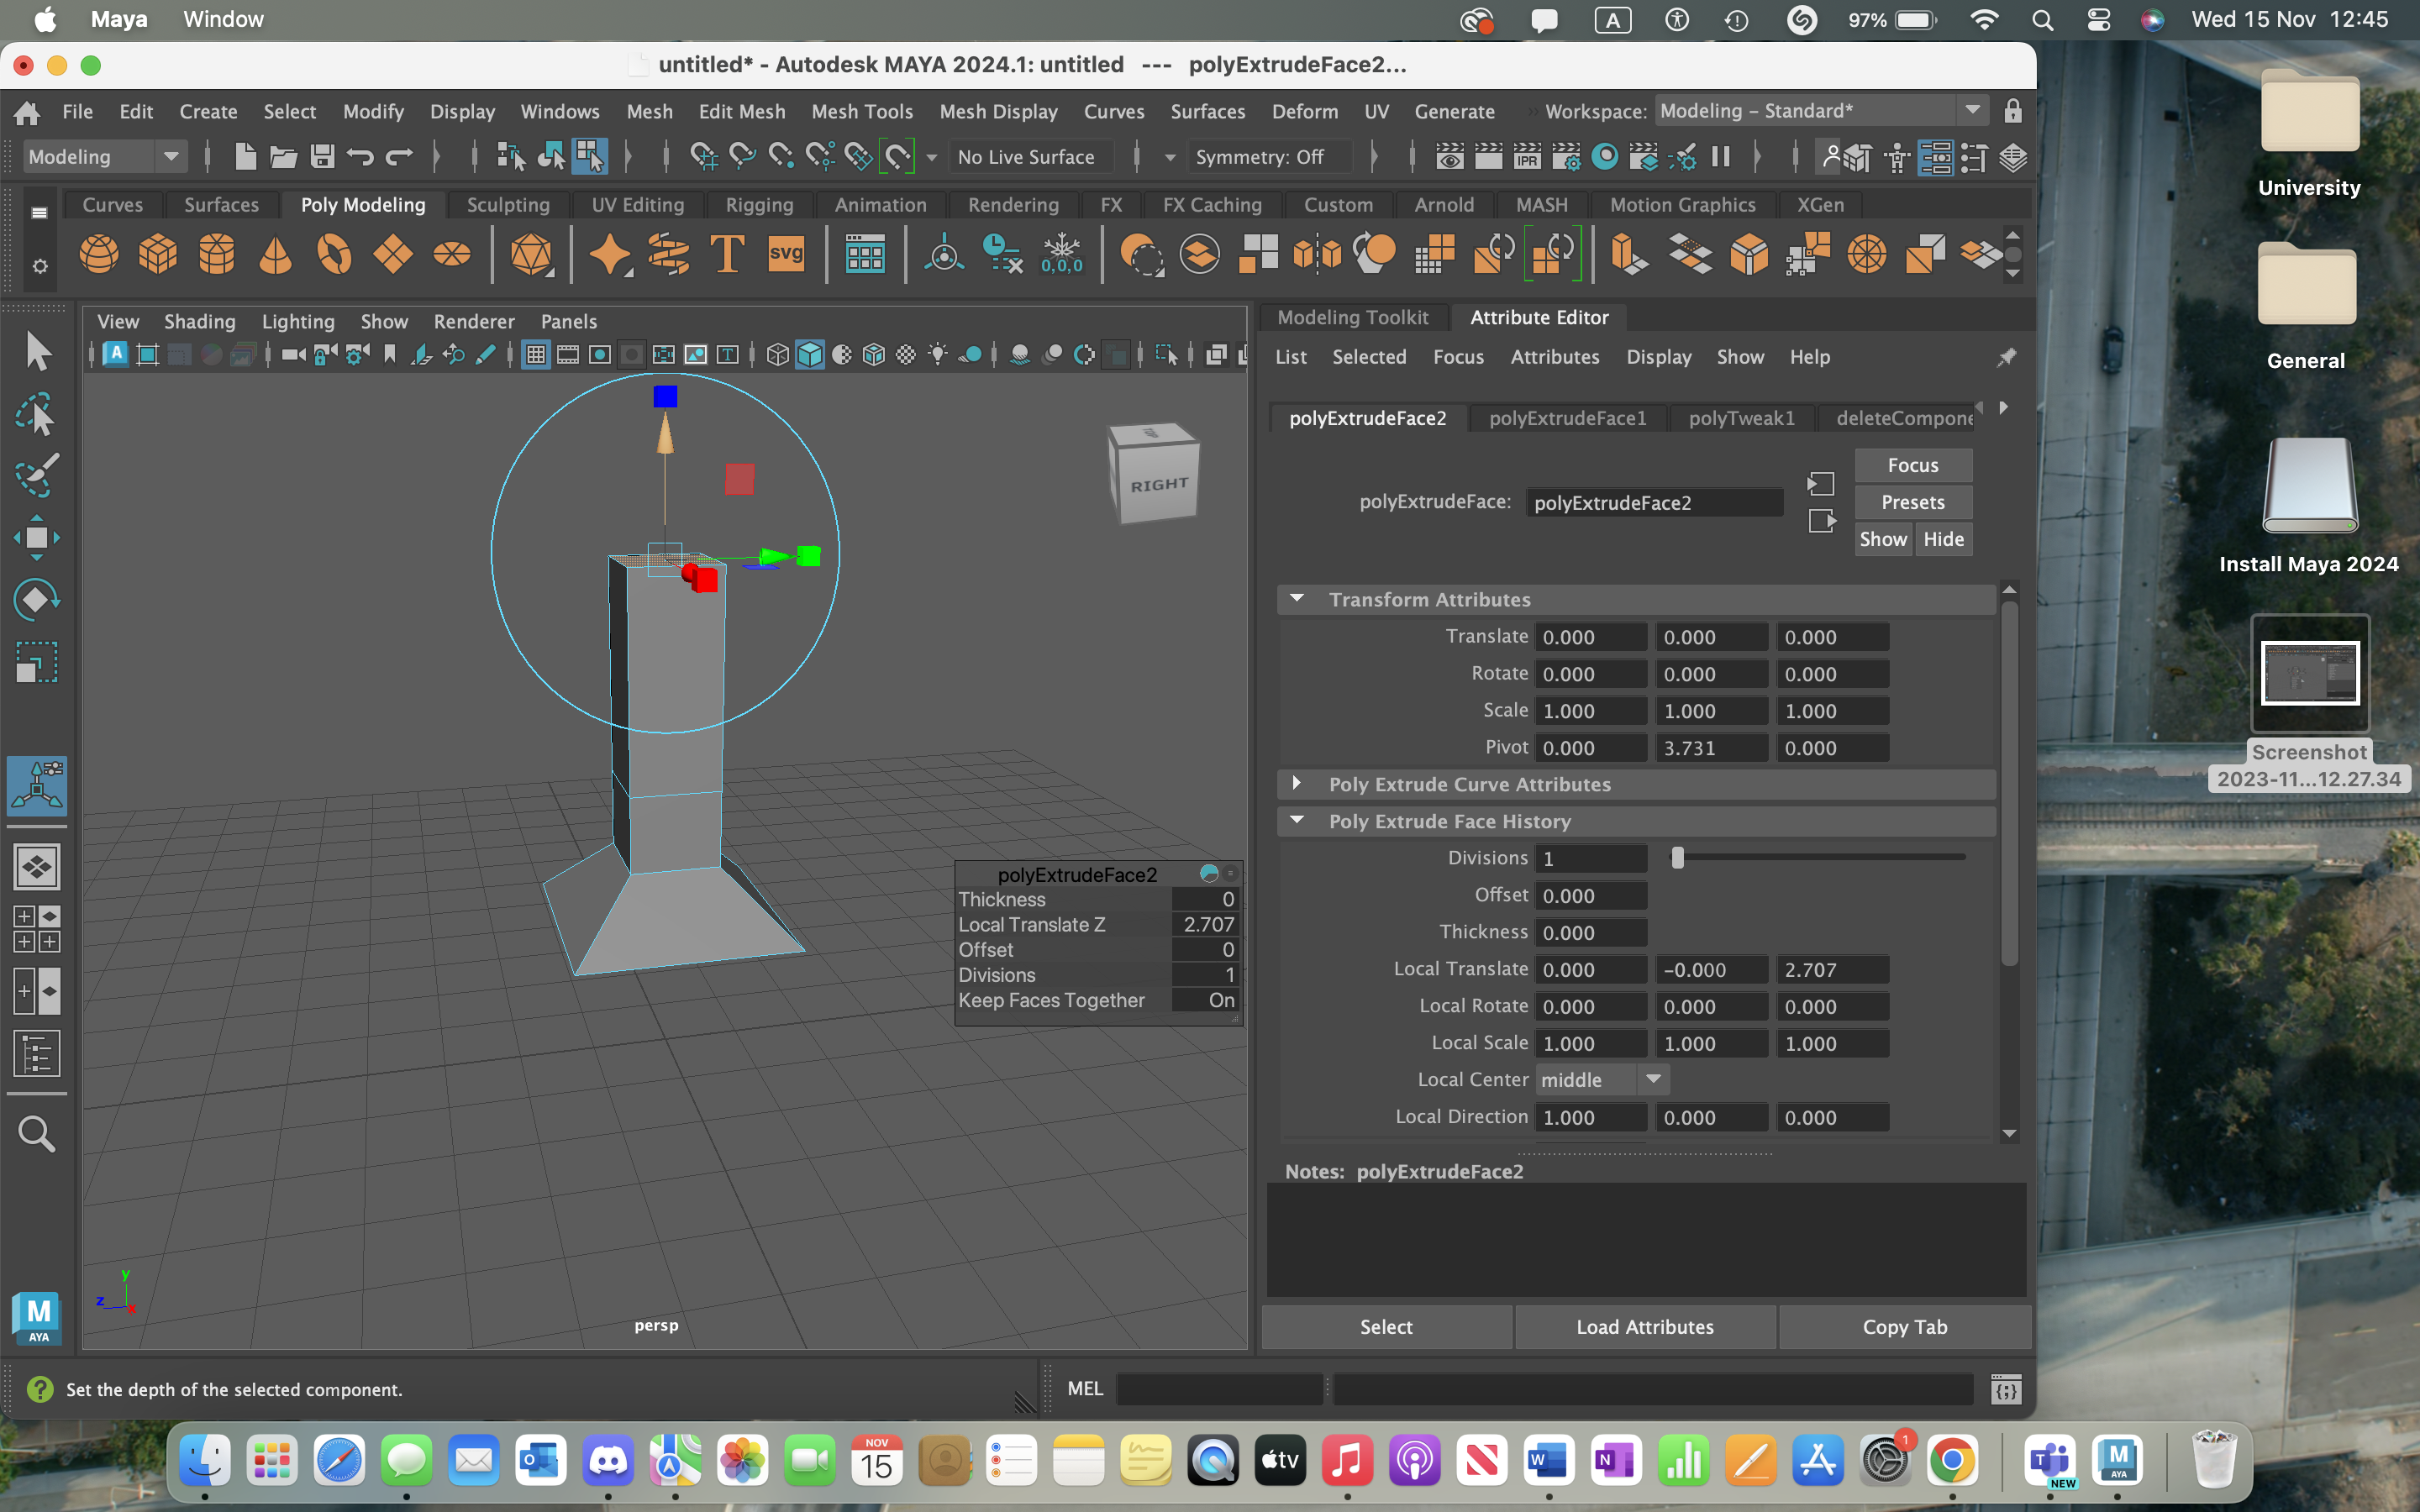
Beginning first, I placed a cube, that was resized to scale to become smaller and more flat, this would then enable me to use the top front face to become a small square so that I can extrude and expand the size, to create the trunk.
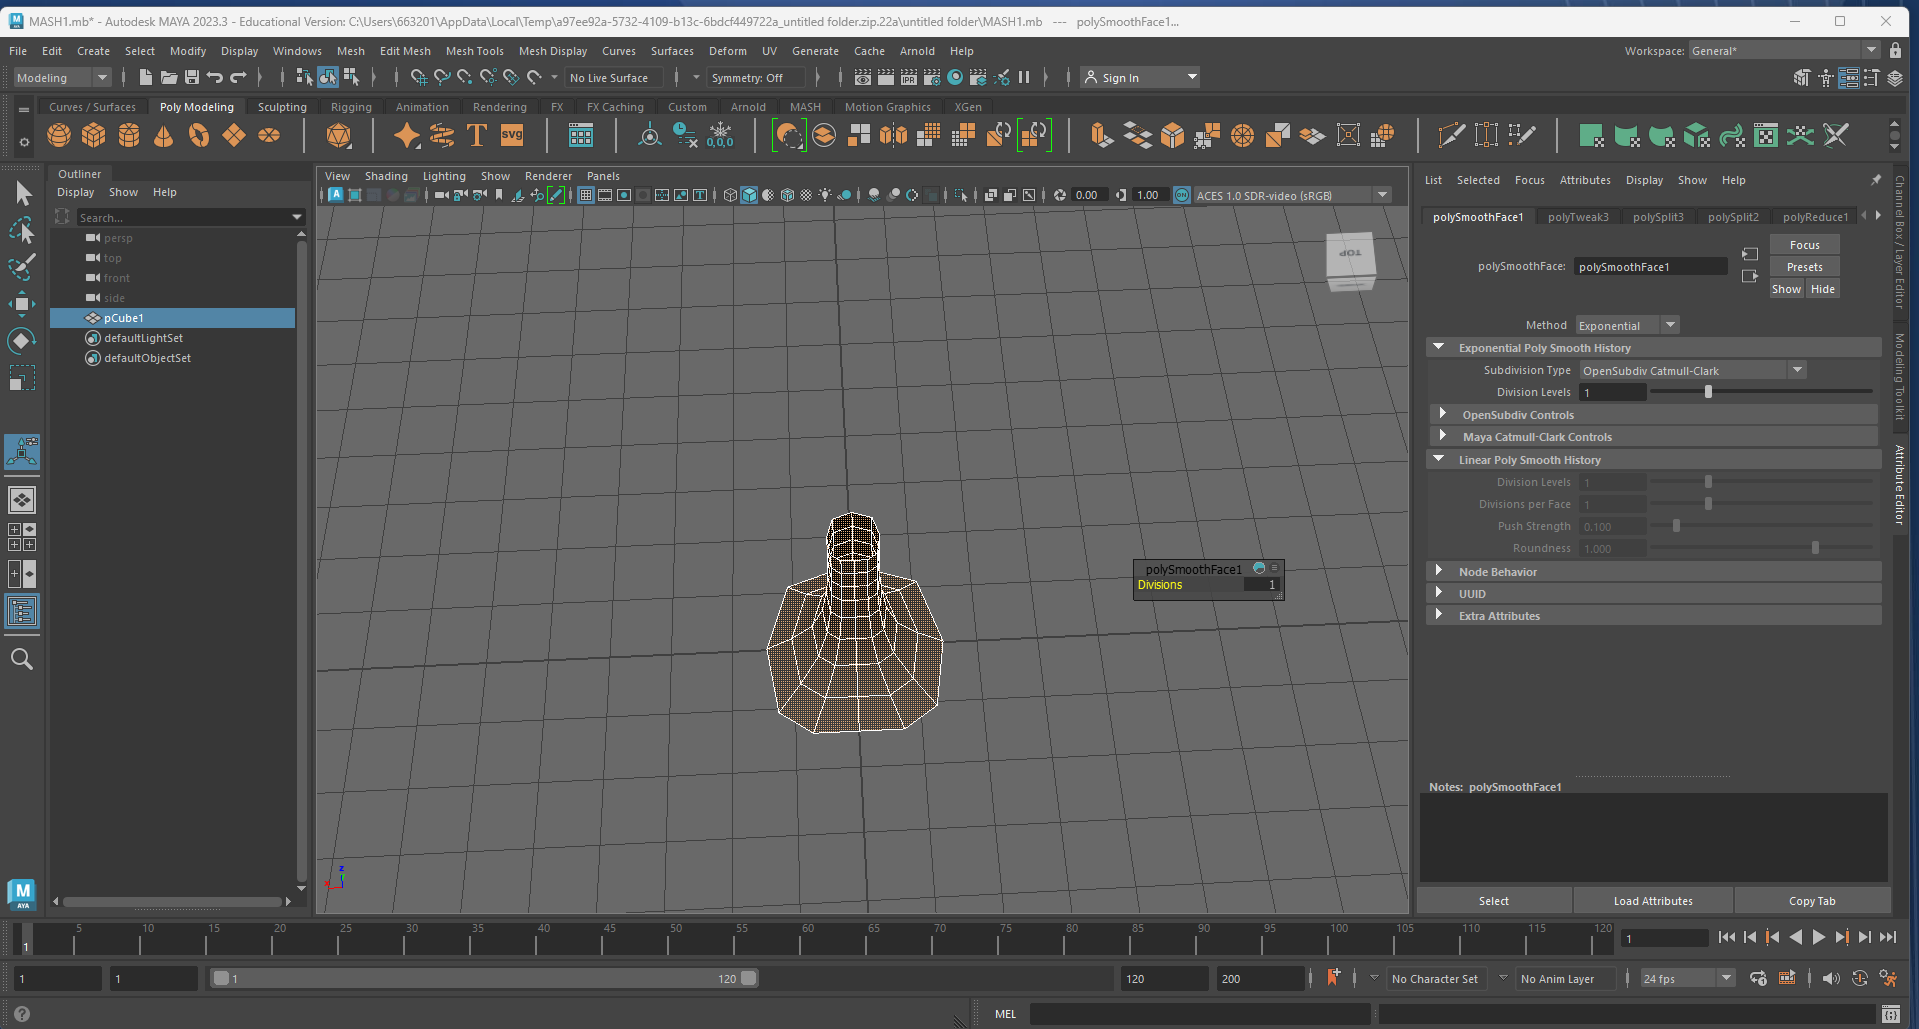
After extruding the top face of the cube, I then moved on to reshaping and scaling the expanded trunk to become a tube, as at the moment it presents itself as a chimney rather than a tube shape. I did this by using the Rude Tool, as shown below.


Using the reduce tool allowed me to transform the shape of the trunk into a tube, as shown in the figure above. this allowed me to work around the shape of my tube so that I was now able to use this shape as a template to create the submarine effect later in this tutorial.
I then transformed myself into edge mode to allow resize and restructure of my tube, as I had noticed that some sides were not straight and were wonky. This would later become a problem when presenting my work as it would show that the measurements were not to scale and that the design was not to its full potential. This became a main priority in improvement to make sure all sides were as straight as possible, so it looked its best.

After adjusting the edges, I then moved on to editing the vertex around my tube so that all sides and corners were up to the same scale as the rest.
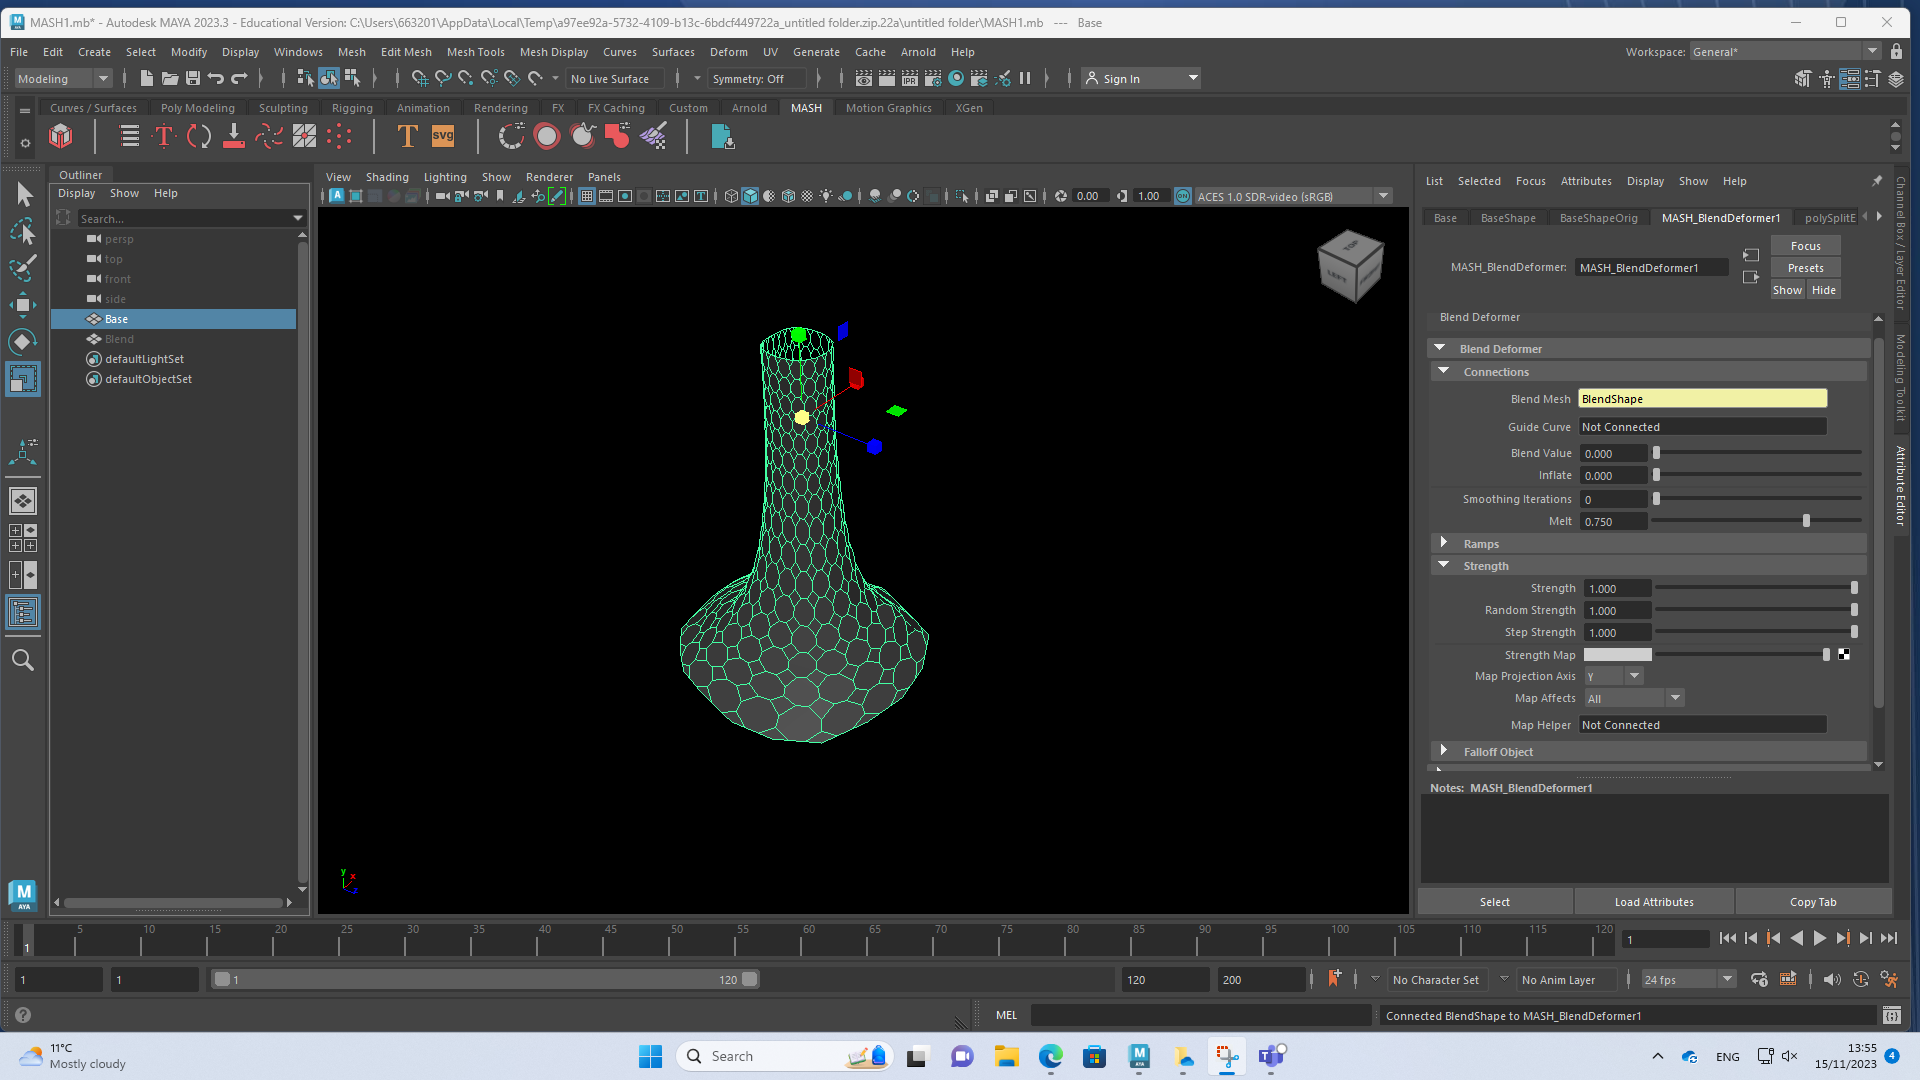
Before moving on to any further steps in this tutorial, I made a copy of the shape after finishing its edits and changed their names, one being “base” and the other being “blend” This allowed me to create my submarine effect. I had altered the MASH Networks settings to the right-hand side of the program to the tutorials scale, which allowed my submarine effect to go into place.
Using one of the two copies I made earlier, I used the “blend” copy to help create the submarine effect. This initially helped me create the bubbly effect around the blend copy to blend in with the original base design.
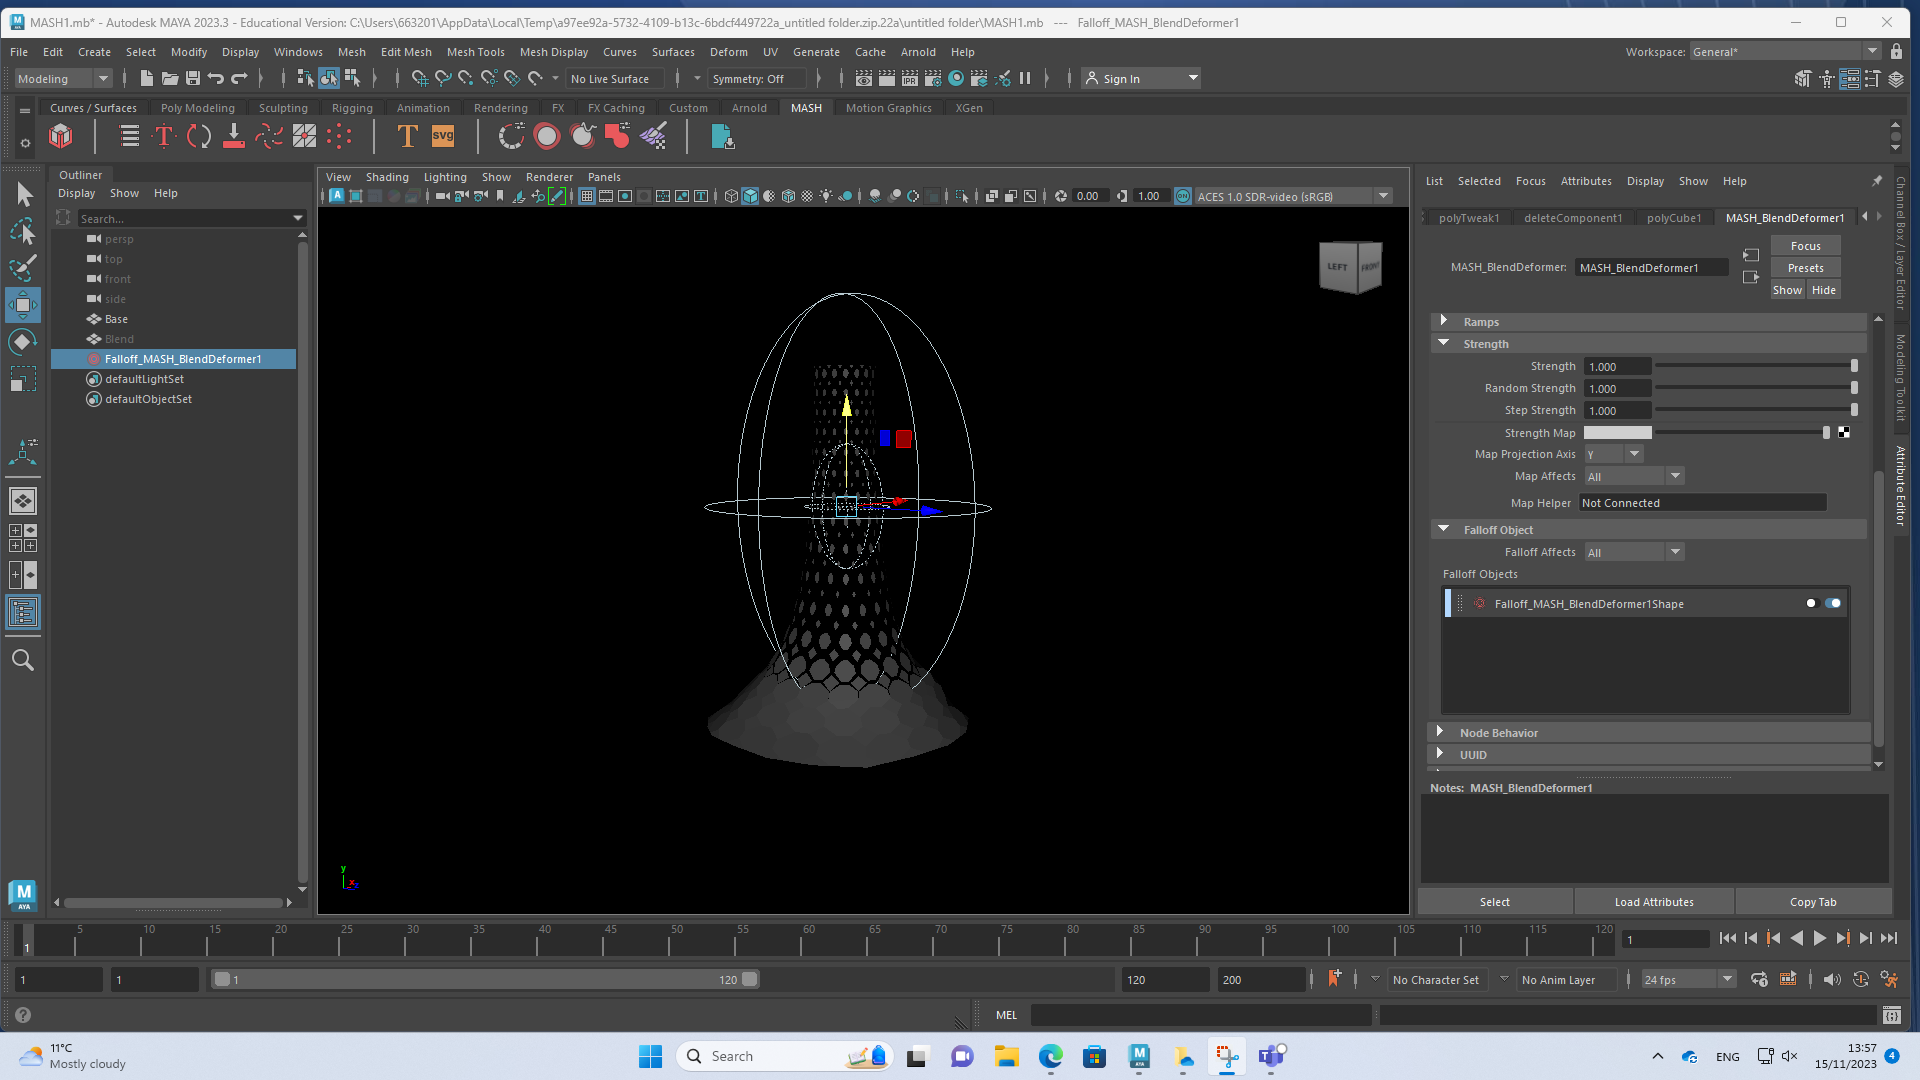
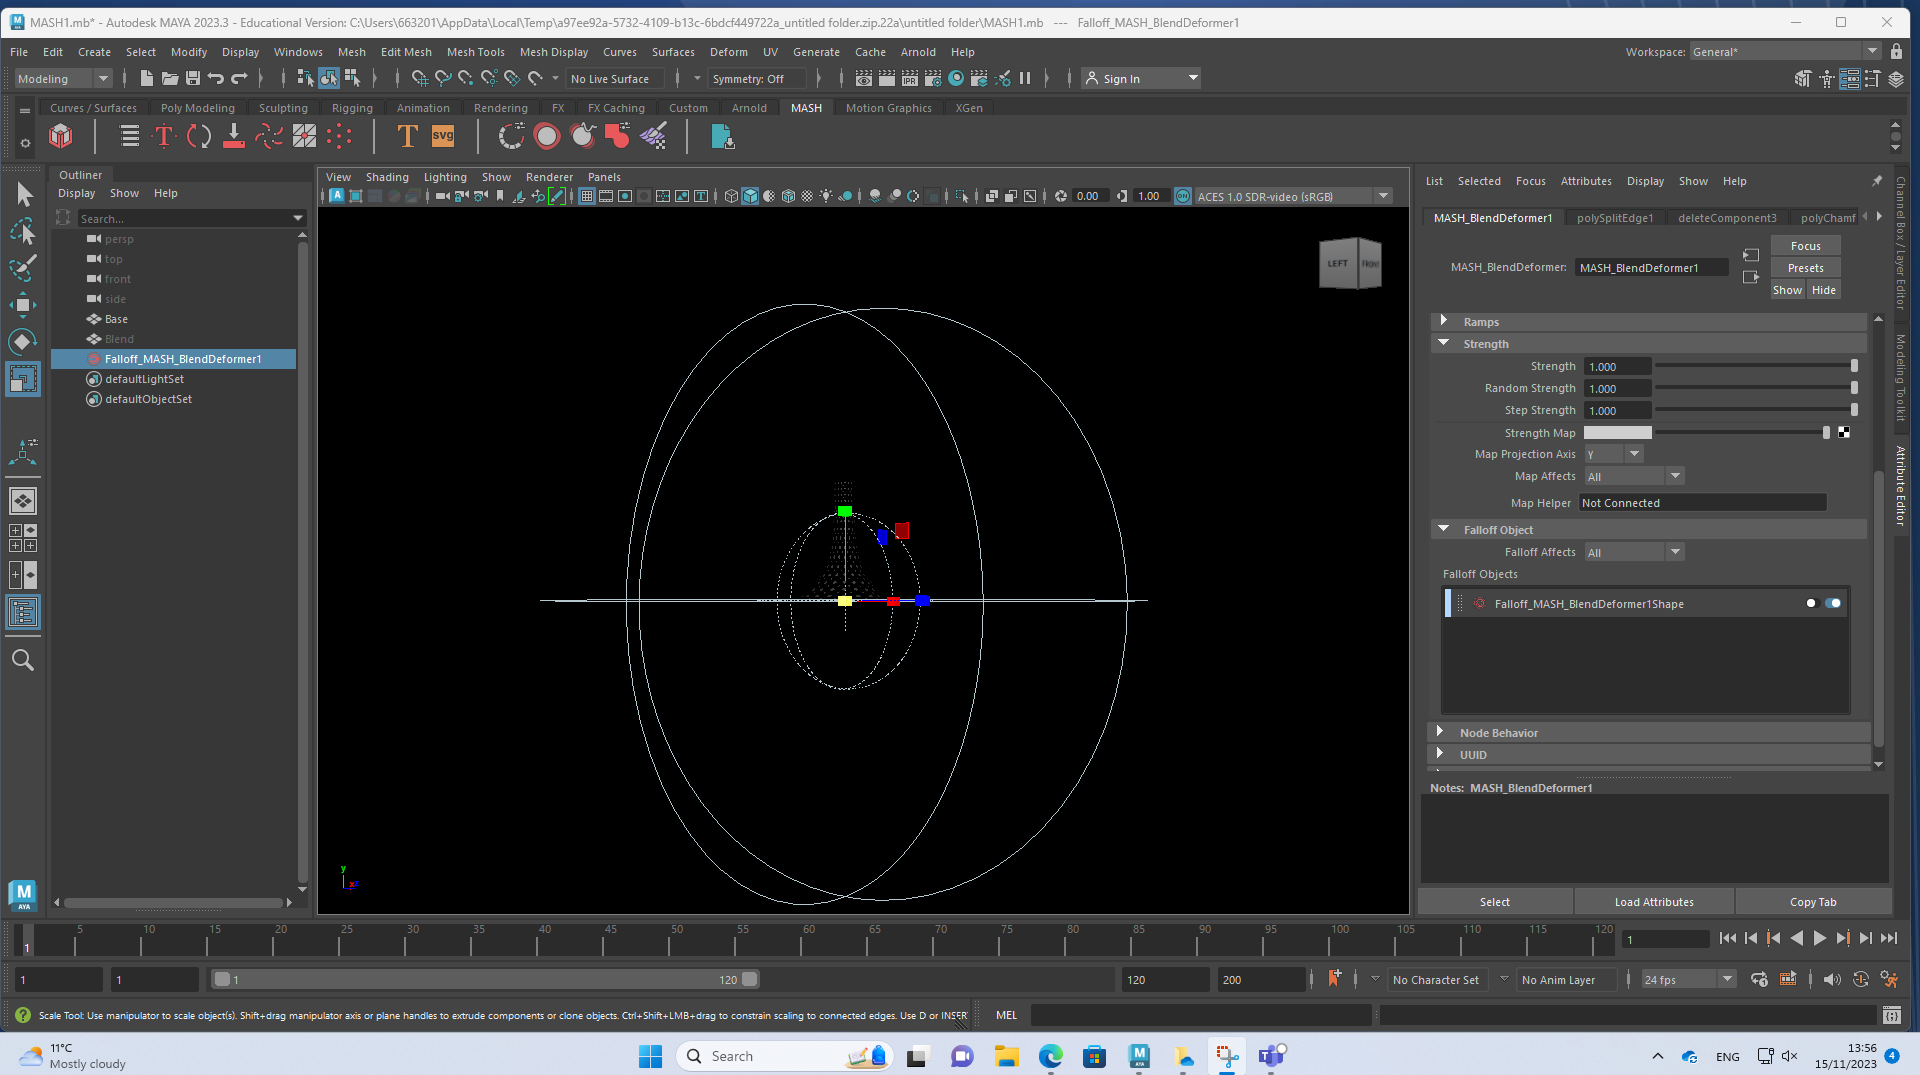
Due to the size of the blend copy, I had to resize the shape first to place the bubble effect around the shape, using the MASH Settings on the side, I added a grid around the “blend” copy which helped blend with the original base to this tube.
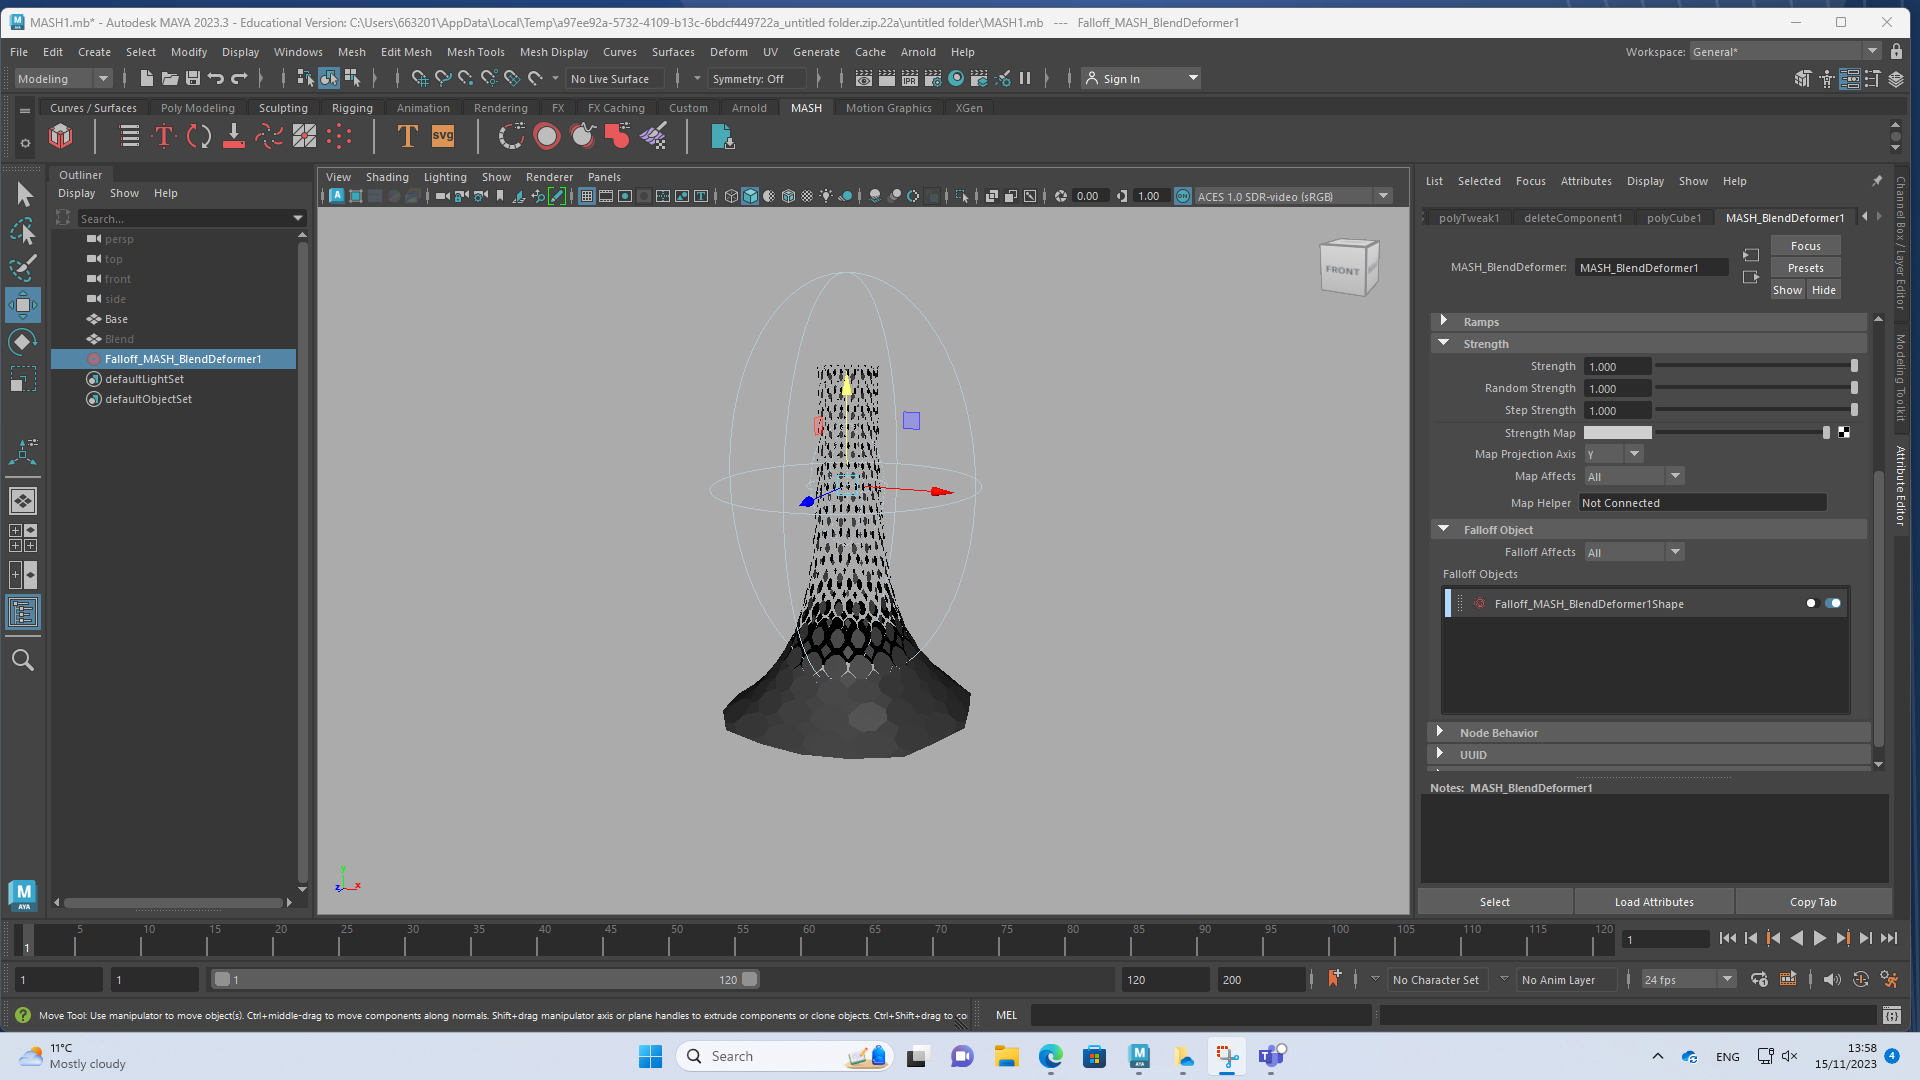
I then went back to check the size of the “blend” copy and made sure it was not too big or too small when passing through the base. I checked this by using the navigation tool provided and moved back and forth the blend copy to make sure it fit and blended across perfectly.
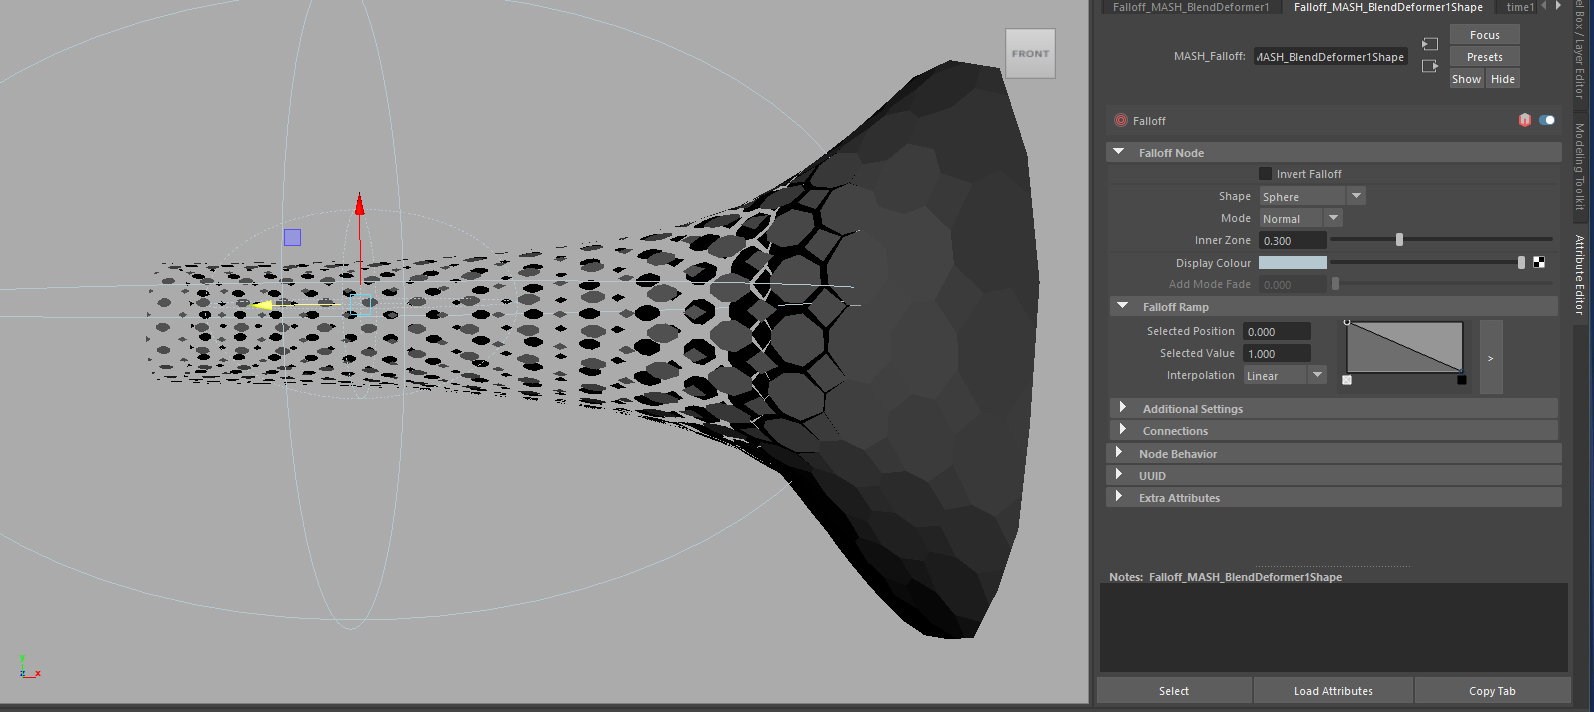
Near the final, I went ahead to check the design and how I wanted the colour to be present in this tube. The colour of the “blend” copy stayed transparent as I did not want to cross over any collision when adding colour to the original base colour.
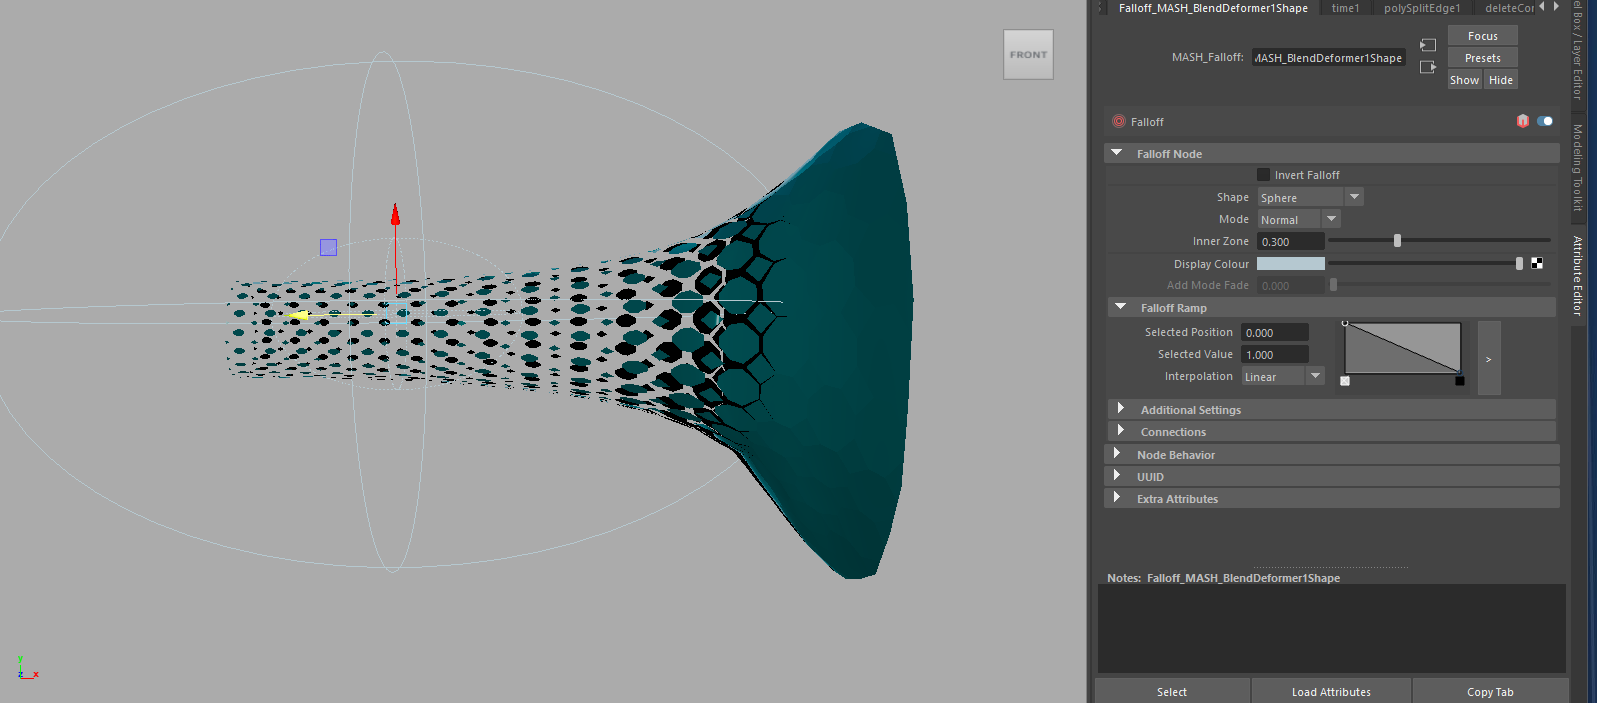
Finally, I added an ocean blue colour which I felt was best fit for this purpose, as the effect is scales appearing and disappearing through the animations, it felt right to make it a blue colour like the ocean being rippled through back and forth.
To complete the tutorial, I recorded the “Blended” design going back and forth through the original base which is painted blue, and the blended effect being transparent, which allowed the mash to come together and present this illusional ocean effect in place with my work.