
Starting off my animation, I added a square base and expanded the size significantly. Adding in the textures and designs to how I wanted it to be presented, using the settings that were provided and then adding colour.
The colour that was added was based on my chosen background, as I did not want the colours to clash with one another but give a good setting.

Adding to my setting, I then added a light dome to the surrounding of my ground and made sure they were both large and in the centre so that everything would be based on the middle point.
I selected a background from Google and added it from the files menu on Maya to my dome which then set the inner background design of my animation.
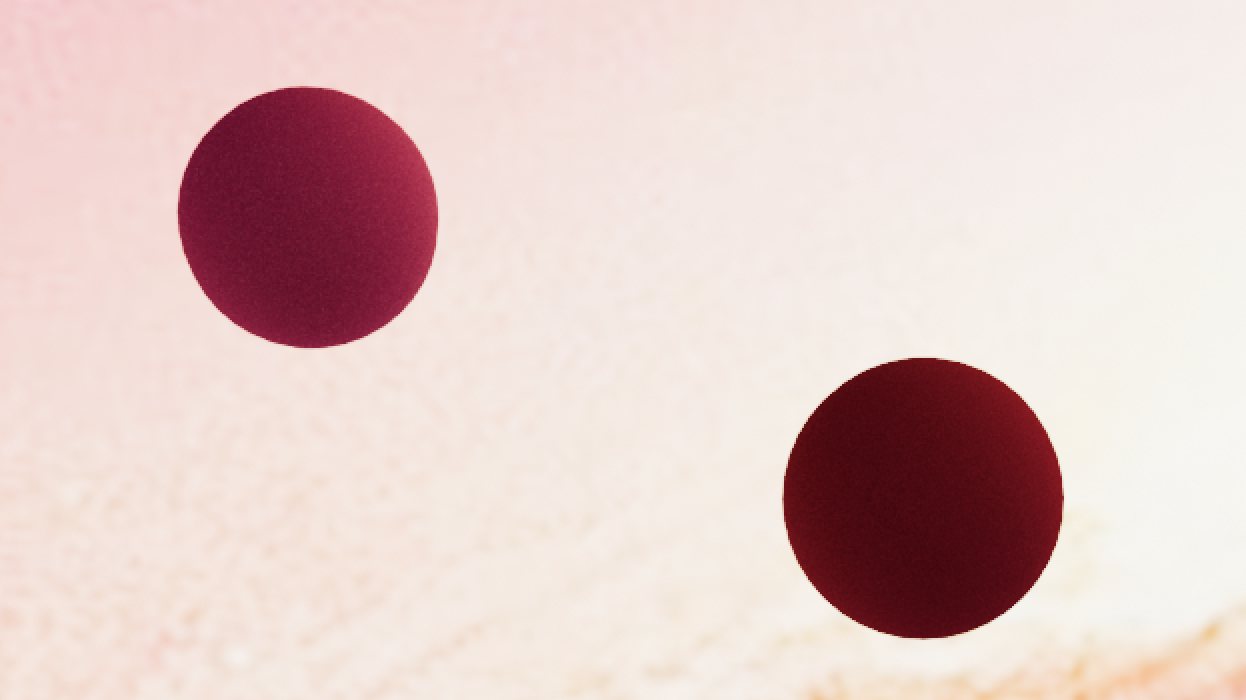
Finally, for extra design, I went ahead and used the sphere shape in the menu tool above and added two of those to my background, representing two different piles of the earth for my space pod to fly around. I added in the line where my space pod should fly and attached them together, that’s how the space pod managed to get around the setting.
Reference: