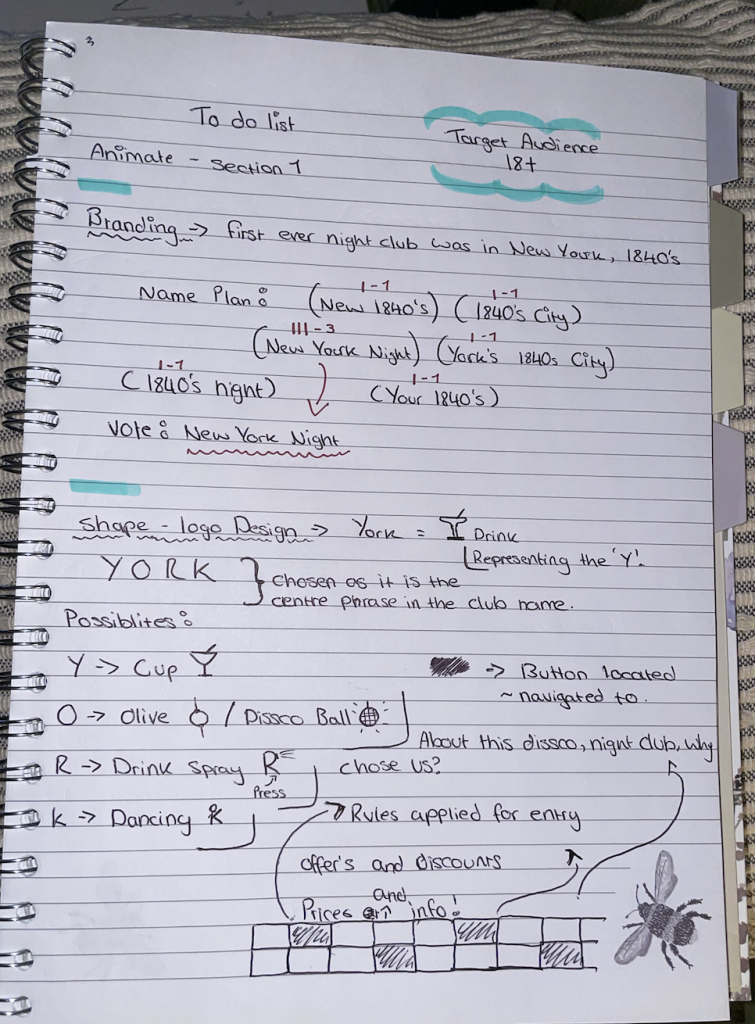
In order to get my animation set, planning down ideas was the best way to start. I started off by creating small mind maps by expanding my ideas along the way and adding down key information from the brief that I wanted to prioritise through my work, such as the target audience.
Coming up with the logo name and design was probably one of the most time-consuming things in this animation, but in the end, I ended up naming it New York Night’s Club since originally, the first night club had opened up in 1886, in the USA.
I set my target audience and decided that my design choices and ideas would now be based on that. I decided that I wanted to create a conceptual logo since a drink design through my logo would look ideal for a nightclub attraction.
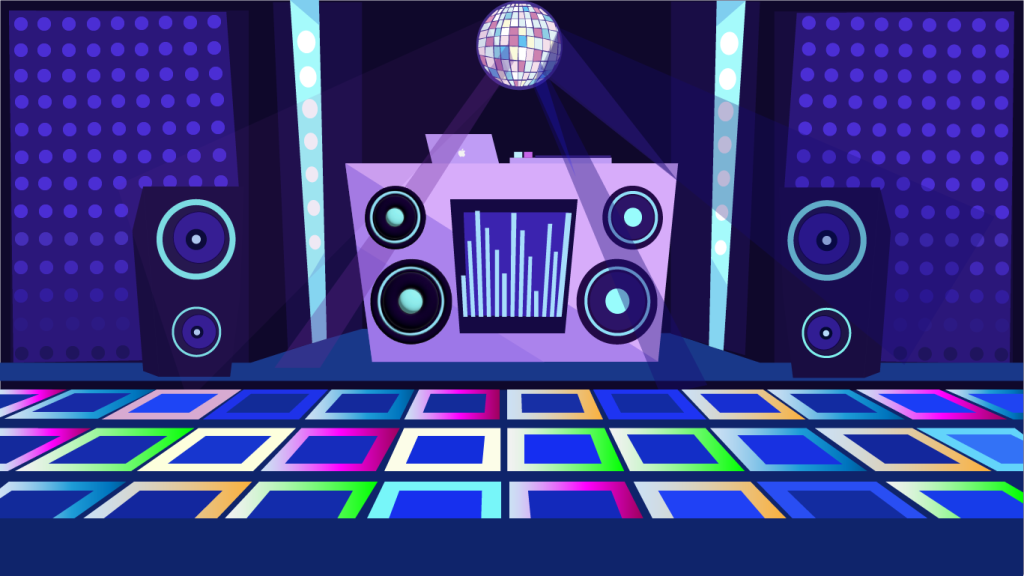
Using Adobe Illustrator, I created the background for my nightclub using the bright neon colour scheme. As it is a nightclub, having a brightly coloured palette seemed like the best option as nightclubs now are usually bright and to be attractive.
Logo’s & Accessories:
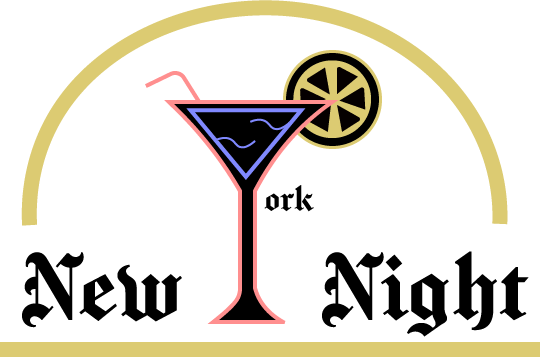
Both logos are almost the same, however, the first logo I designed was my original design idea and after creating it and visually seeing it, I decided that the font colour and the “York” title written in a smaller size would not be visible from a distance or anywhere if it’s tiny.
The elements above were created for the buttons and the info collected for my nightclub so that when interactions were made with the buttons, the information above would pop up.
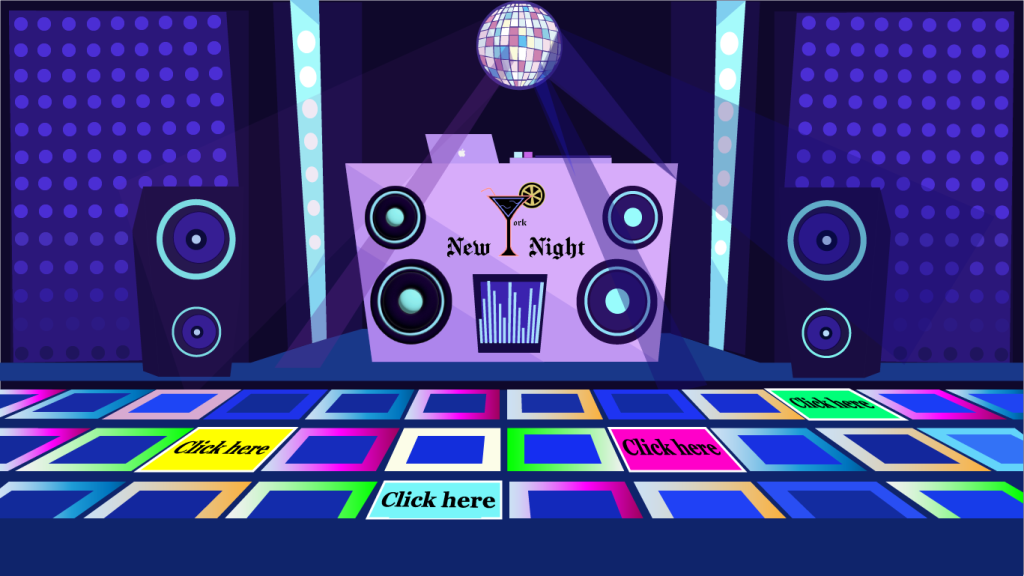
The end result of my nightclub ended up looking like the figure above, with the buttons located on the dance floor as well as the nightclub’s logo on the stage stand, visible to see if this was a real-life nightclub.
To create the buttons, every element was to be converted to its correct symbole, this being the information boxes become movie clip symbols and the buttons become triggers for the information vox.
I then went back and added the naming to the selected object and the trigger position for each symbol to my nightclub. This made it easier later to code and organise the information on getting the buttons to work.
The code was then written using the symbols I added and put in the process of how I wanted my actions to go ahead when used by my audience. Each info box would pop up to its selected colour when clicked by on the dance floor.
New York Night Club
http://127.0.0.1:8090/Untitled-3.html?54744196
Reference:
