The parallax feature is designed to keep a smooth background running even when objects and other obstructions such as text and images are placed within a webpage. Below is a step example of how I tested this feature, and how it was created.
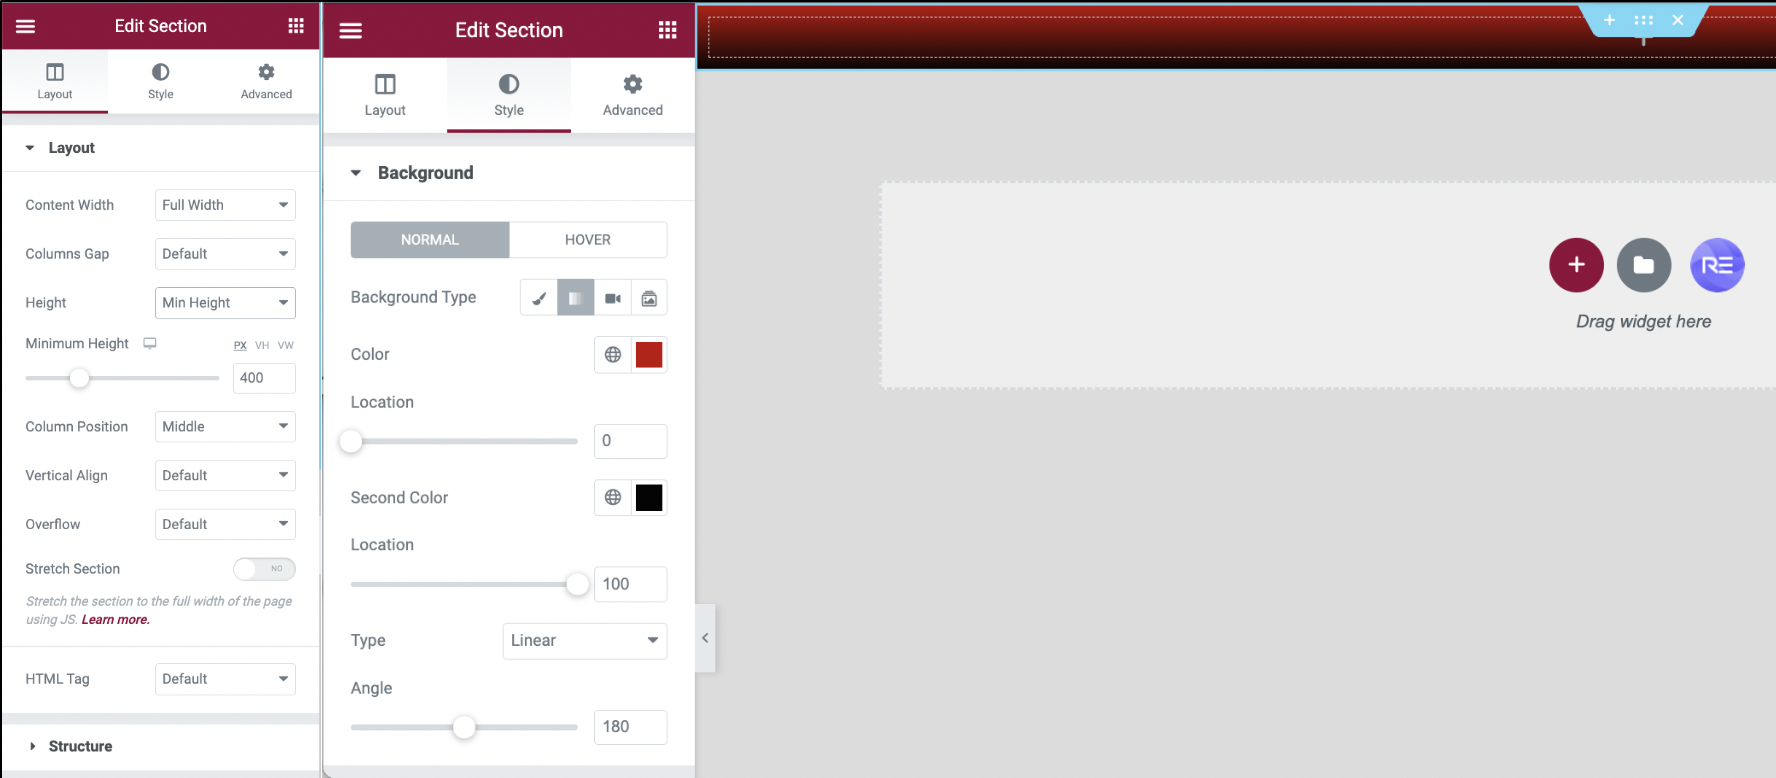

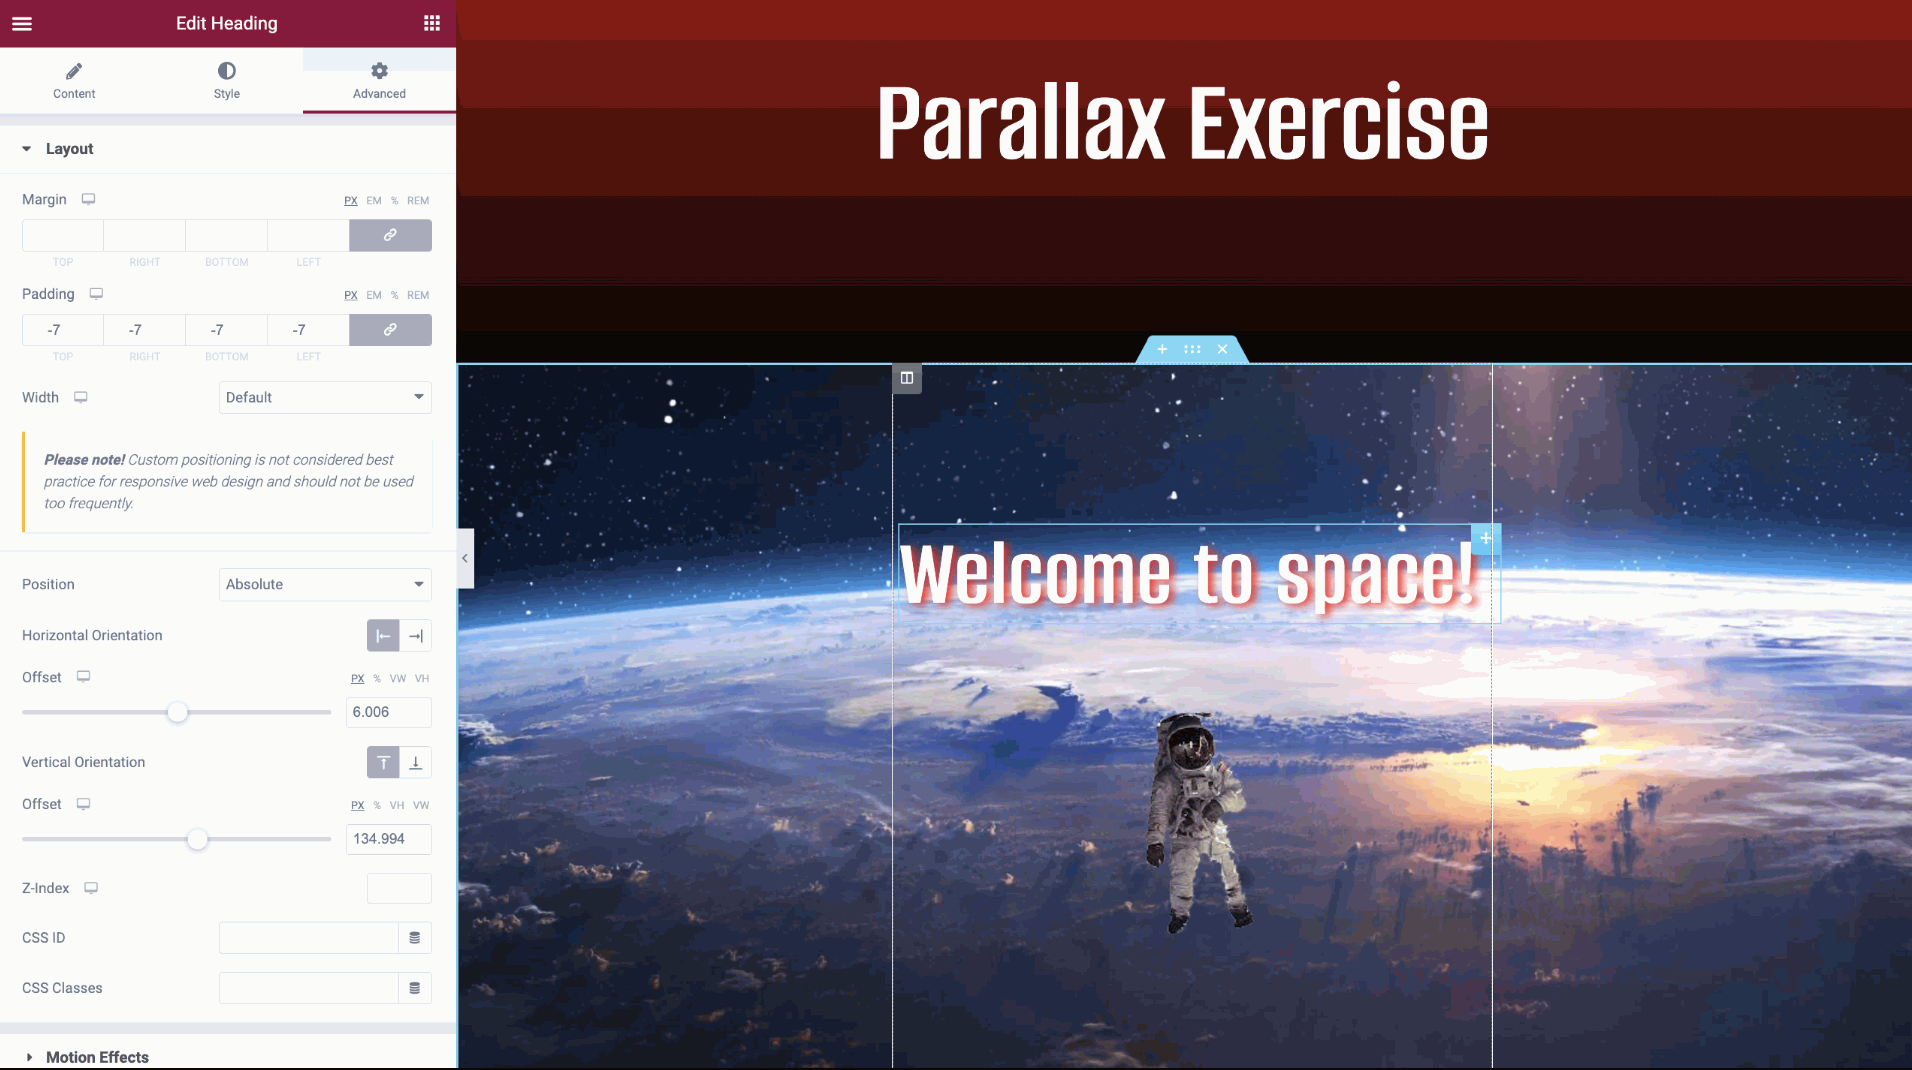
To start my parallax exercise, I applied a single-column section at the top of my page with a primarily centred heading quoted ‘Parallax Excercise’, as shown above. The background uses a gradient shade of two different colours that consist of black at the bottom, faded in with the red that appears from the top. Having a white heading just makes it clear for the user to see clearly what the page heading says. Settings on the left-hand side were used as shown in the first figure, to alter and change some layouts and designs, such as the background and text as mentioned.
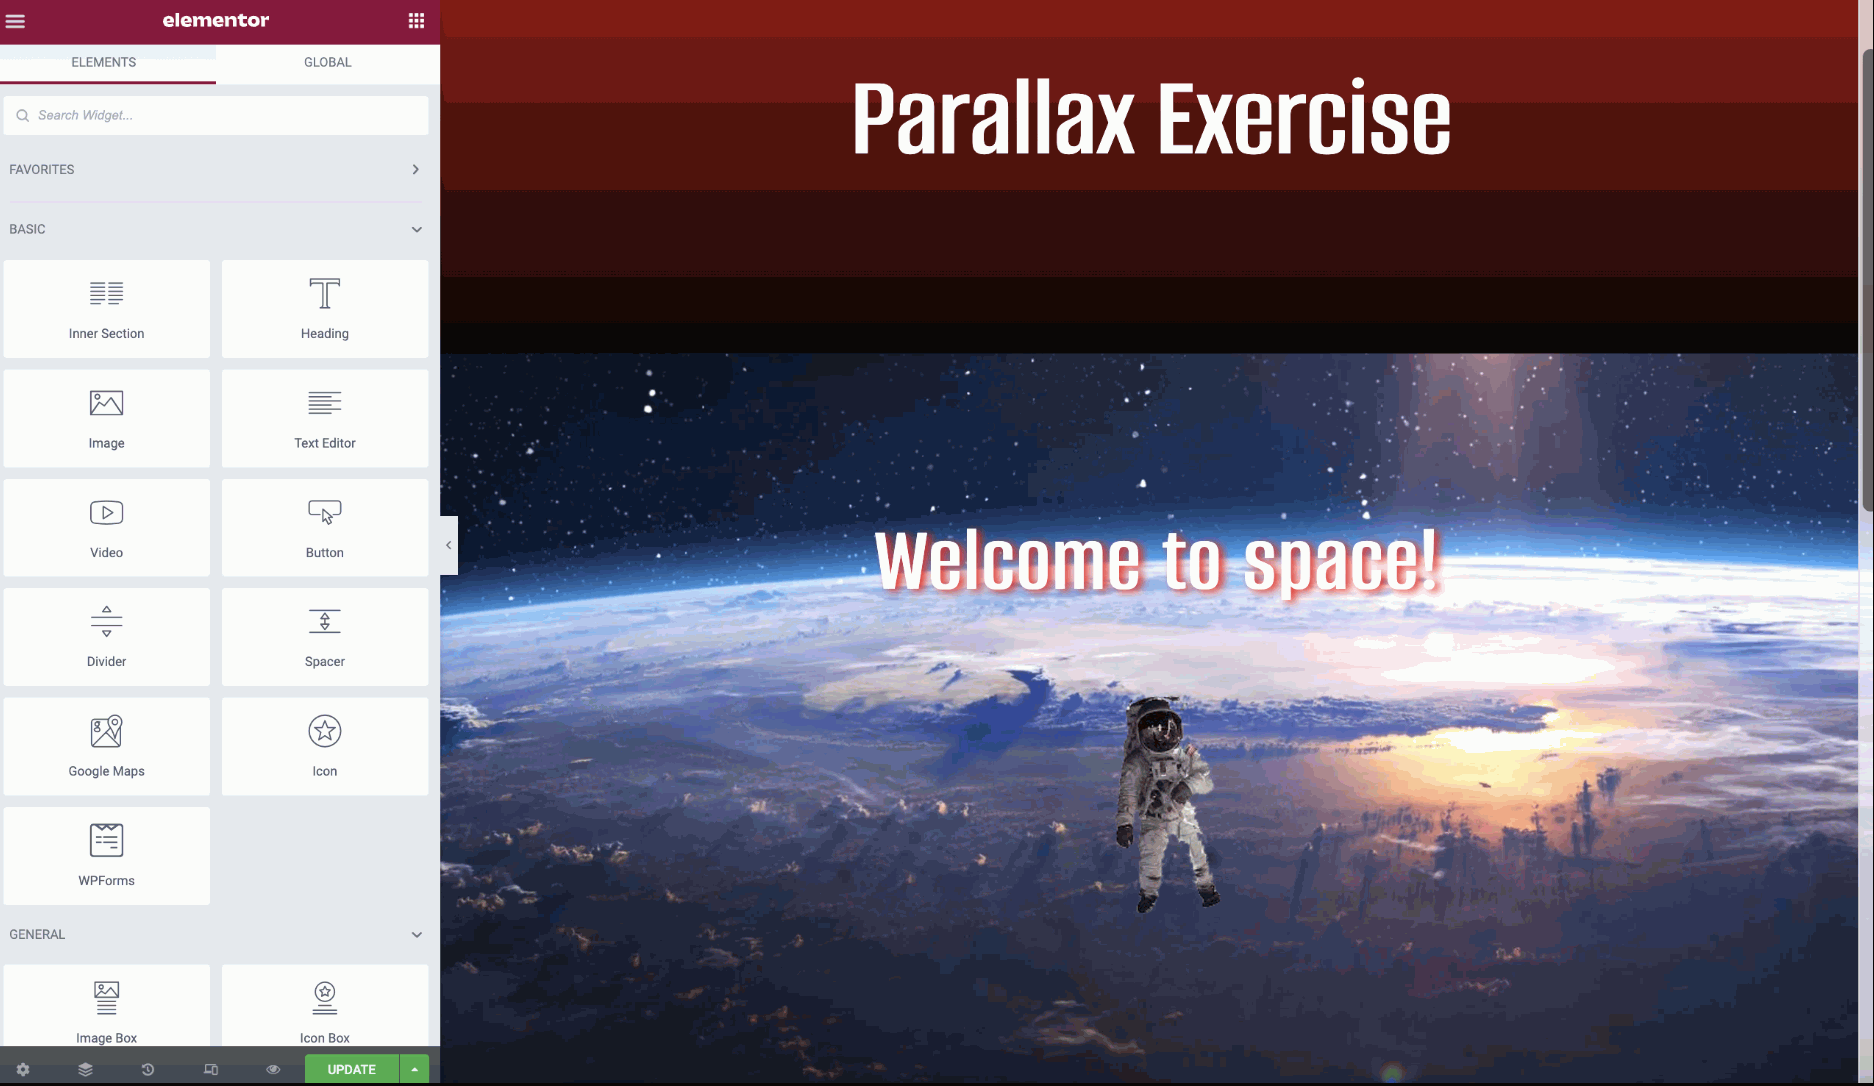
I then added another title to the centre of the page saying “Welcome to space!” to match the theme of the webpage. The text is white with a thick faded red shadow that swings out to the right side of every letter, this was done through the text’s settings which can be found on the left-hand side, where I altered the design of the text to make it look like the title is almost floating above the spaceman.
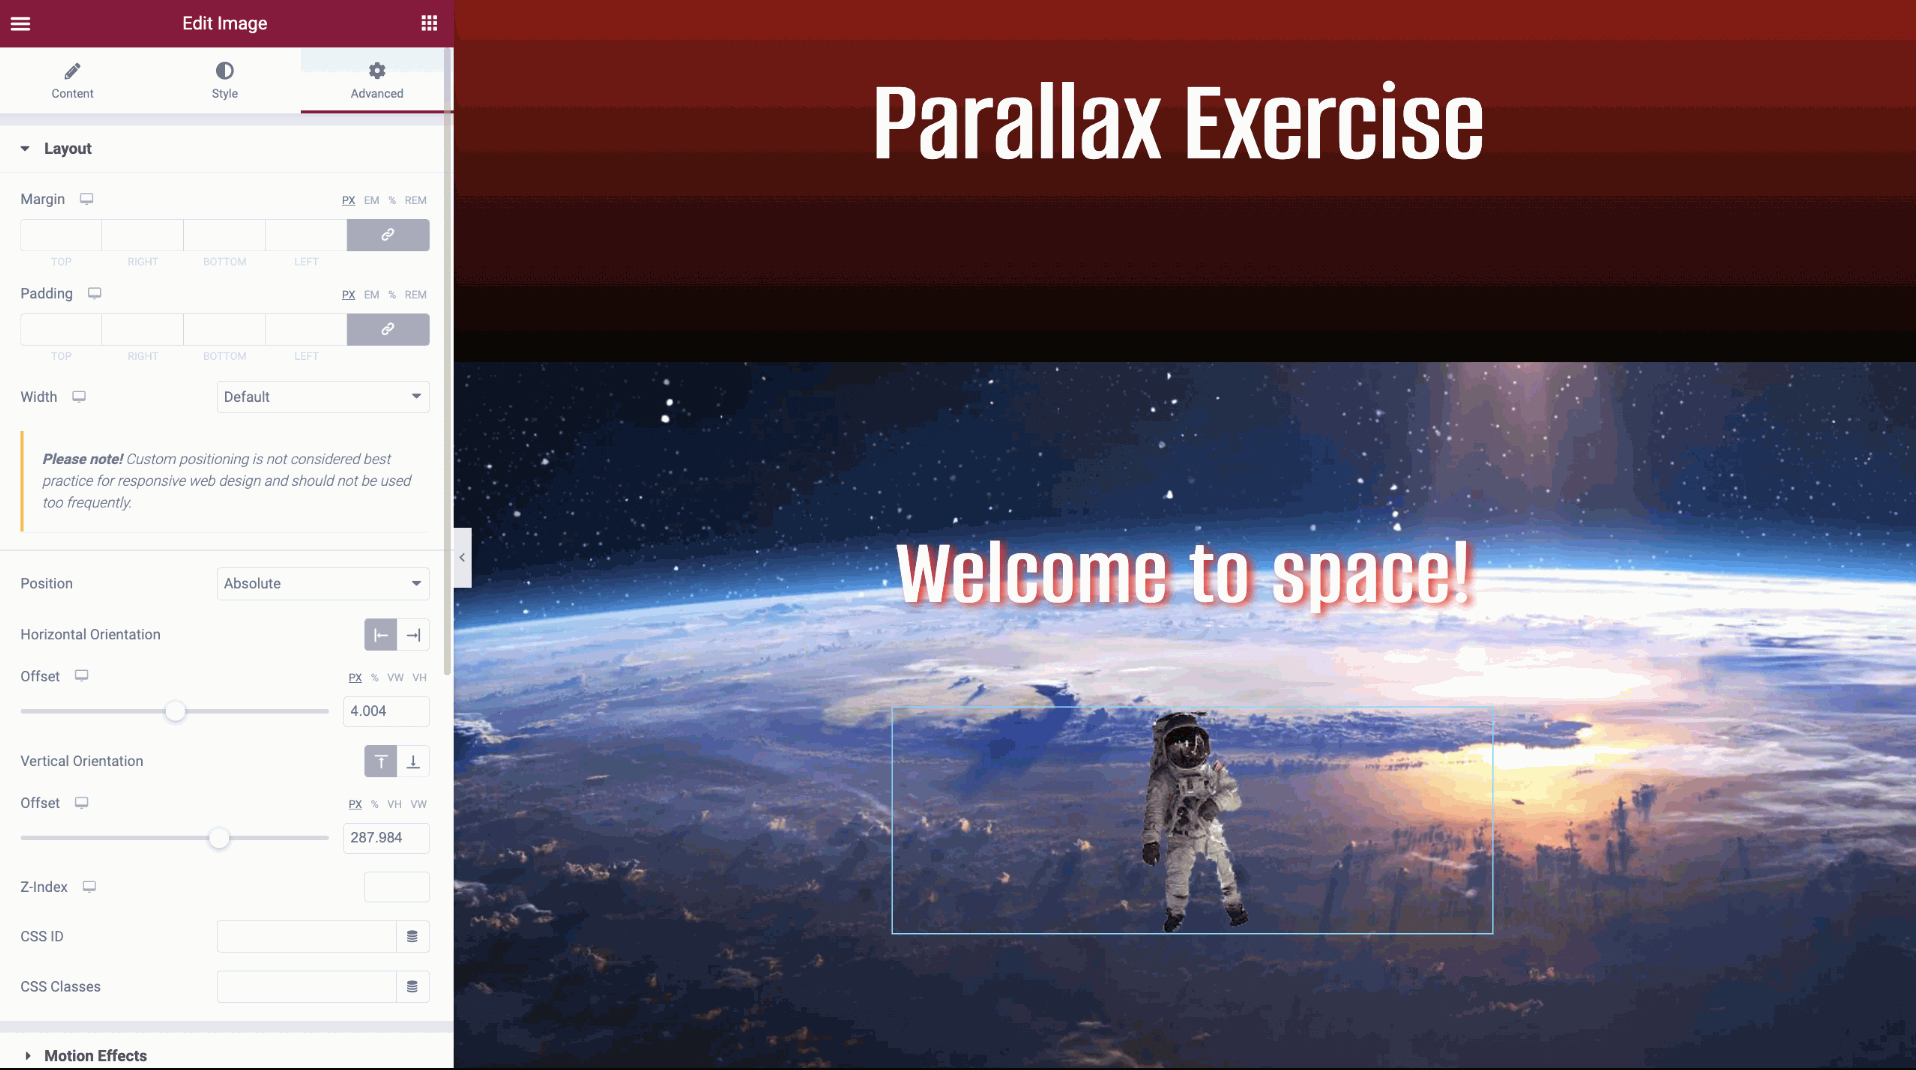
The spaceman was originally quite a large image but appeared small to my page layout. I went ahead and changed the settings so that the spaceman was floating just beneath my title. To do this, I needed to change the position to “Absolute” giving a free space selection of exactly where I wanted my spaceman or any object to stay in place.
Finally, so that the same settings were applied across this entire page, I went ahead and did the same to the title so that it stayed just above the spaceman’s head. When testing out the page to see how everything was, I found that the title was of the page and not in the correct position, that’s why I chose to apply these steps.
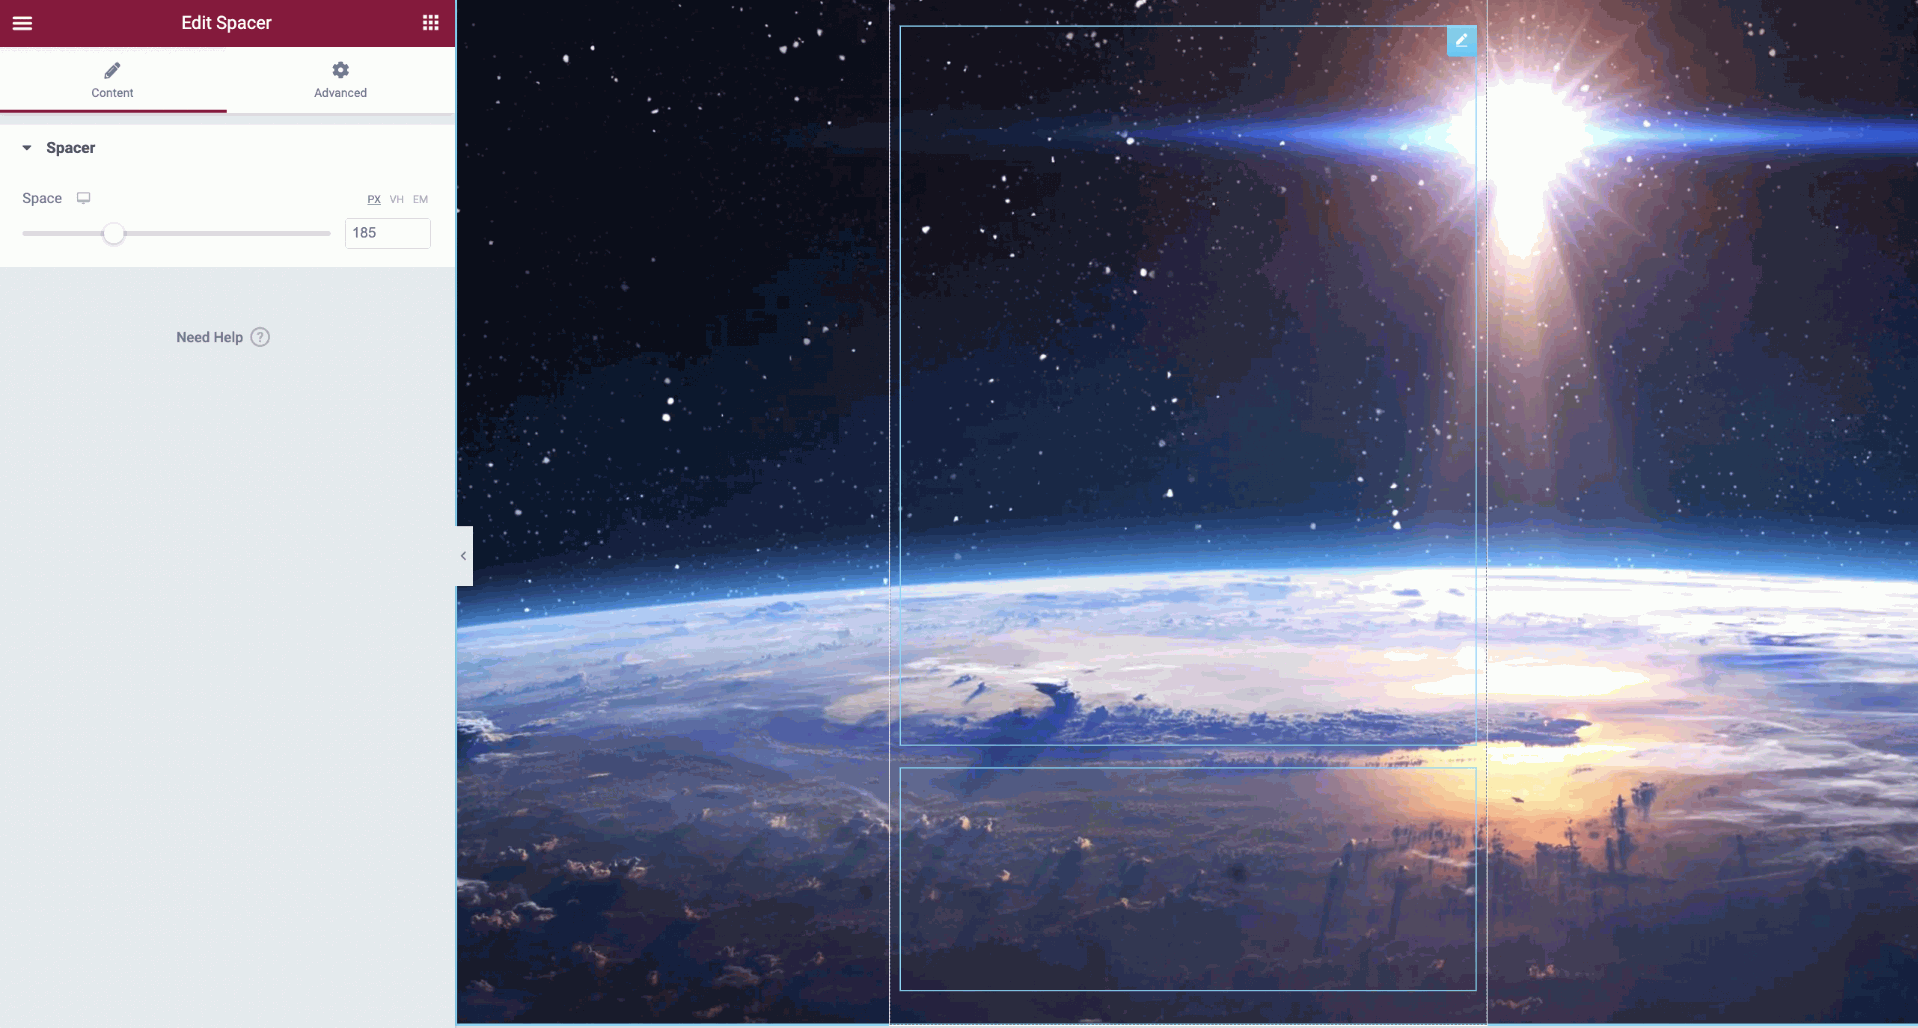
Finally, as it is not visible in the screenshots above, the background was not completely visible to the entire page, so in order to make the parallax purpose work, I added a large space holder to the page so that the background was now completely visible, and so when scrolling on the page, the parallax feature works to its best ability.
Testing the final design:
Parallax Exercise 2
For the final task, we were set to use an HTML close that allows a 3D effect to move with your mouse, an effect that looks like your screen has been broken through. The screen moves along in the same position as your mouse does.
References:
Images used for the parallax were provided for us:
HTML CODE: https://codepen.io/oscicen/pen/zyJeJw