
Adding a subscribe popup to your website only makes it easier for your audience to keep up with your updates and news whenever you post a new blog post.

The first step to this is to install the “Royal Addons” plugin, which will further allow you to add your popups and other further settings it included.
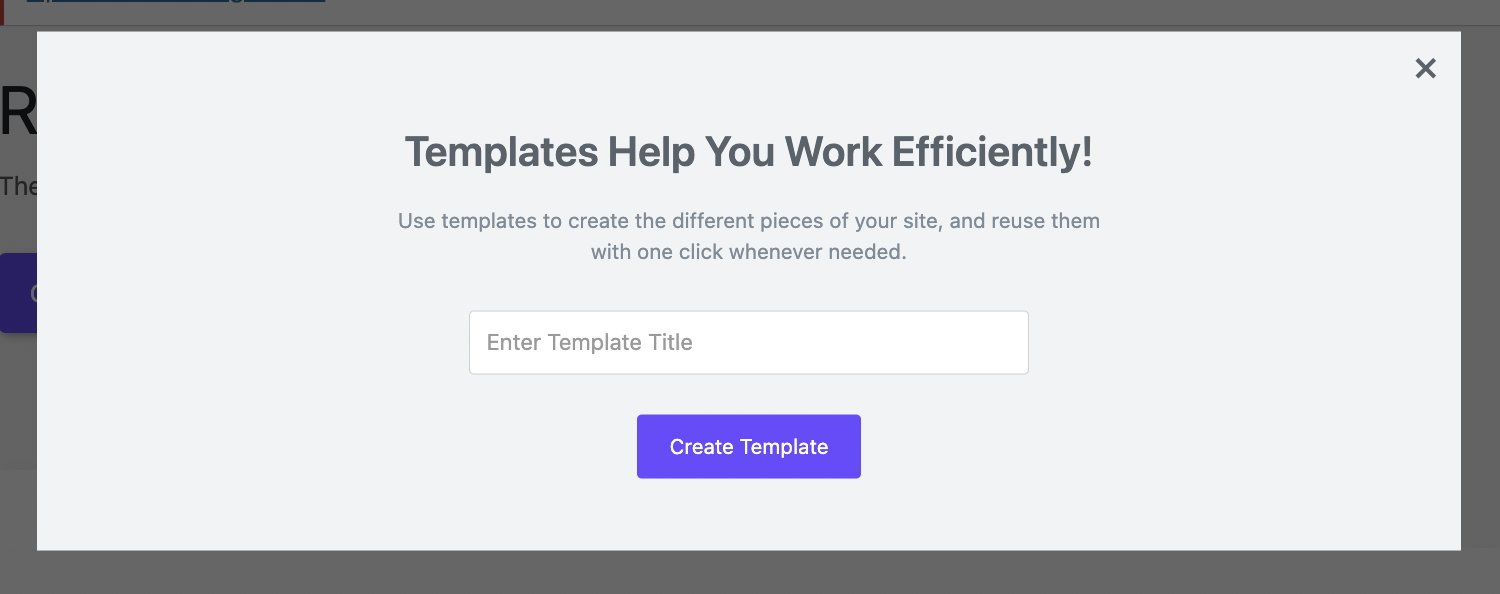
Selecting “Create template” at the bottom of your page will then present you with this small popup on your screen. Add in your popup name to begin and then select “Create Template” to continue.
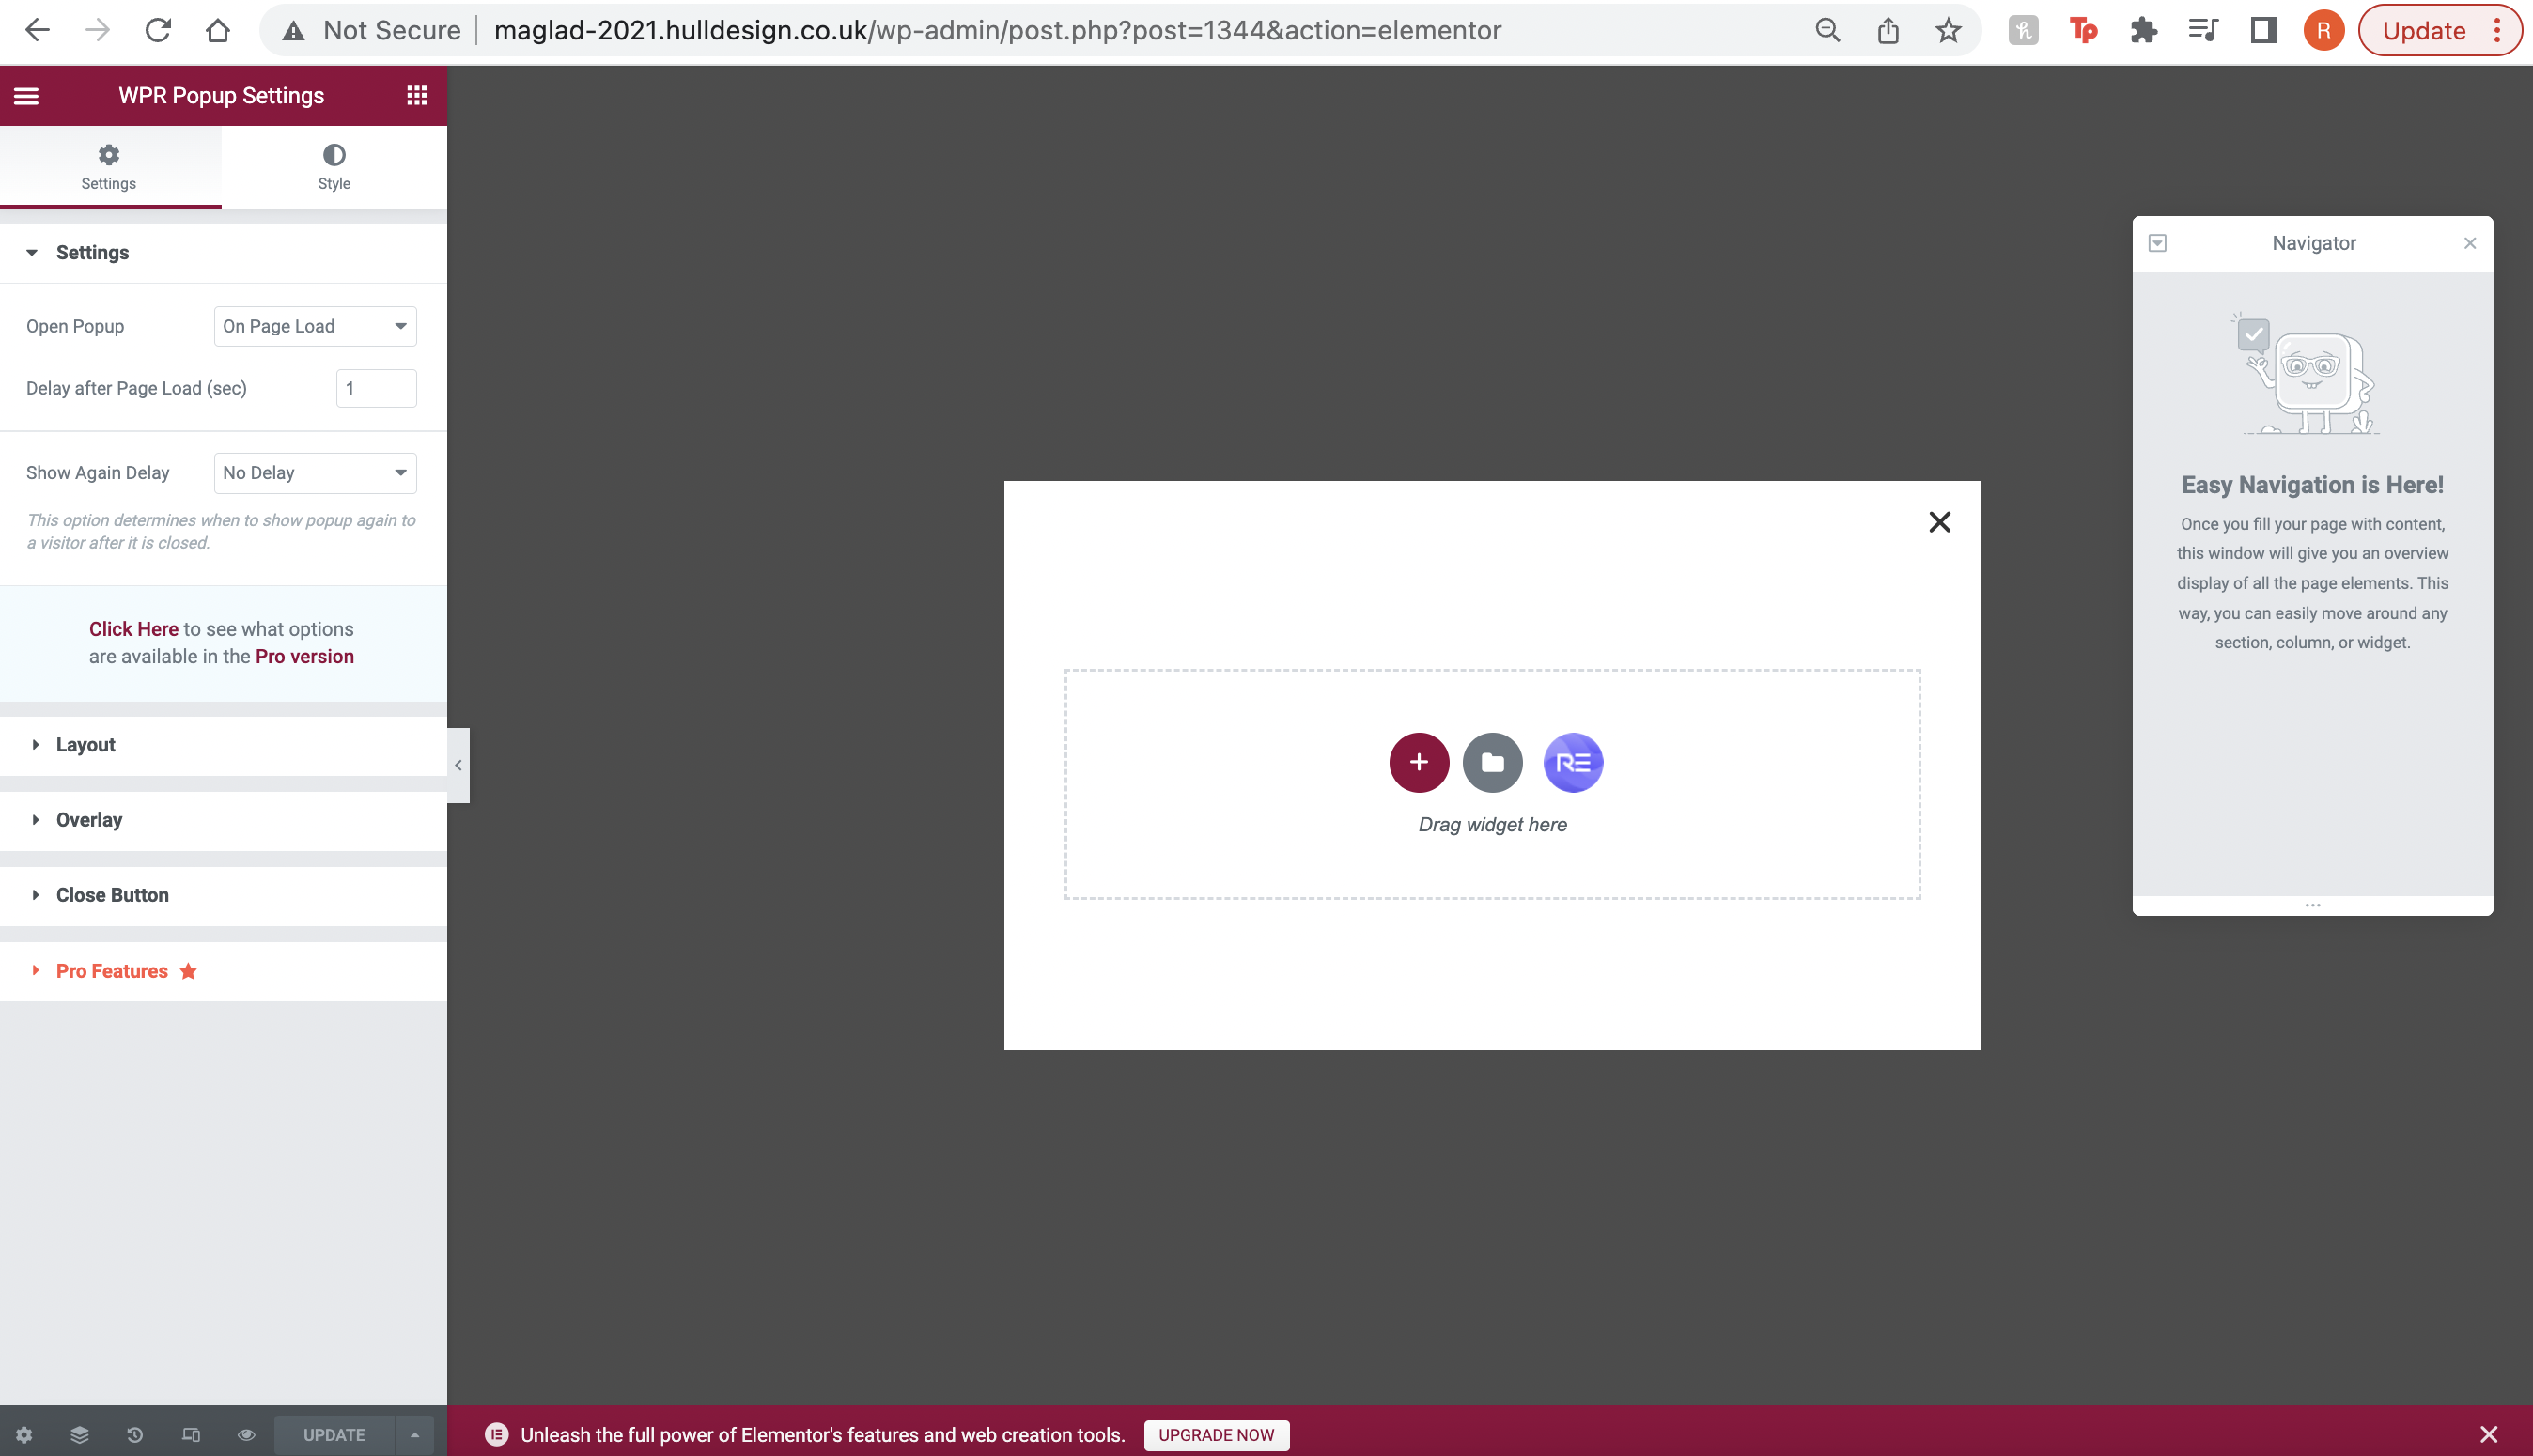
Once you have created your template, you will then be shown the Elementor page. Along the left side of your screen, you will see a list of different advanced settings allowing you to further create your popup in the design structure you want.
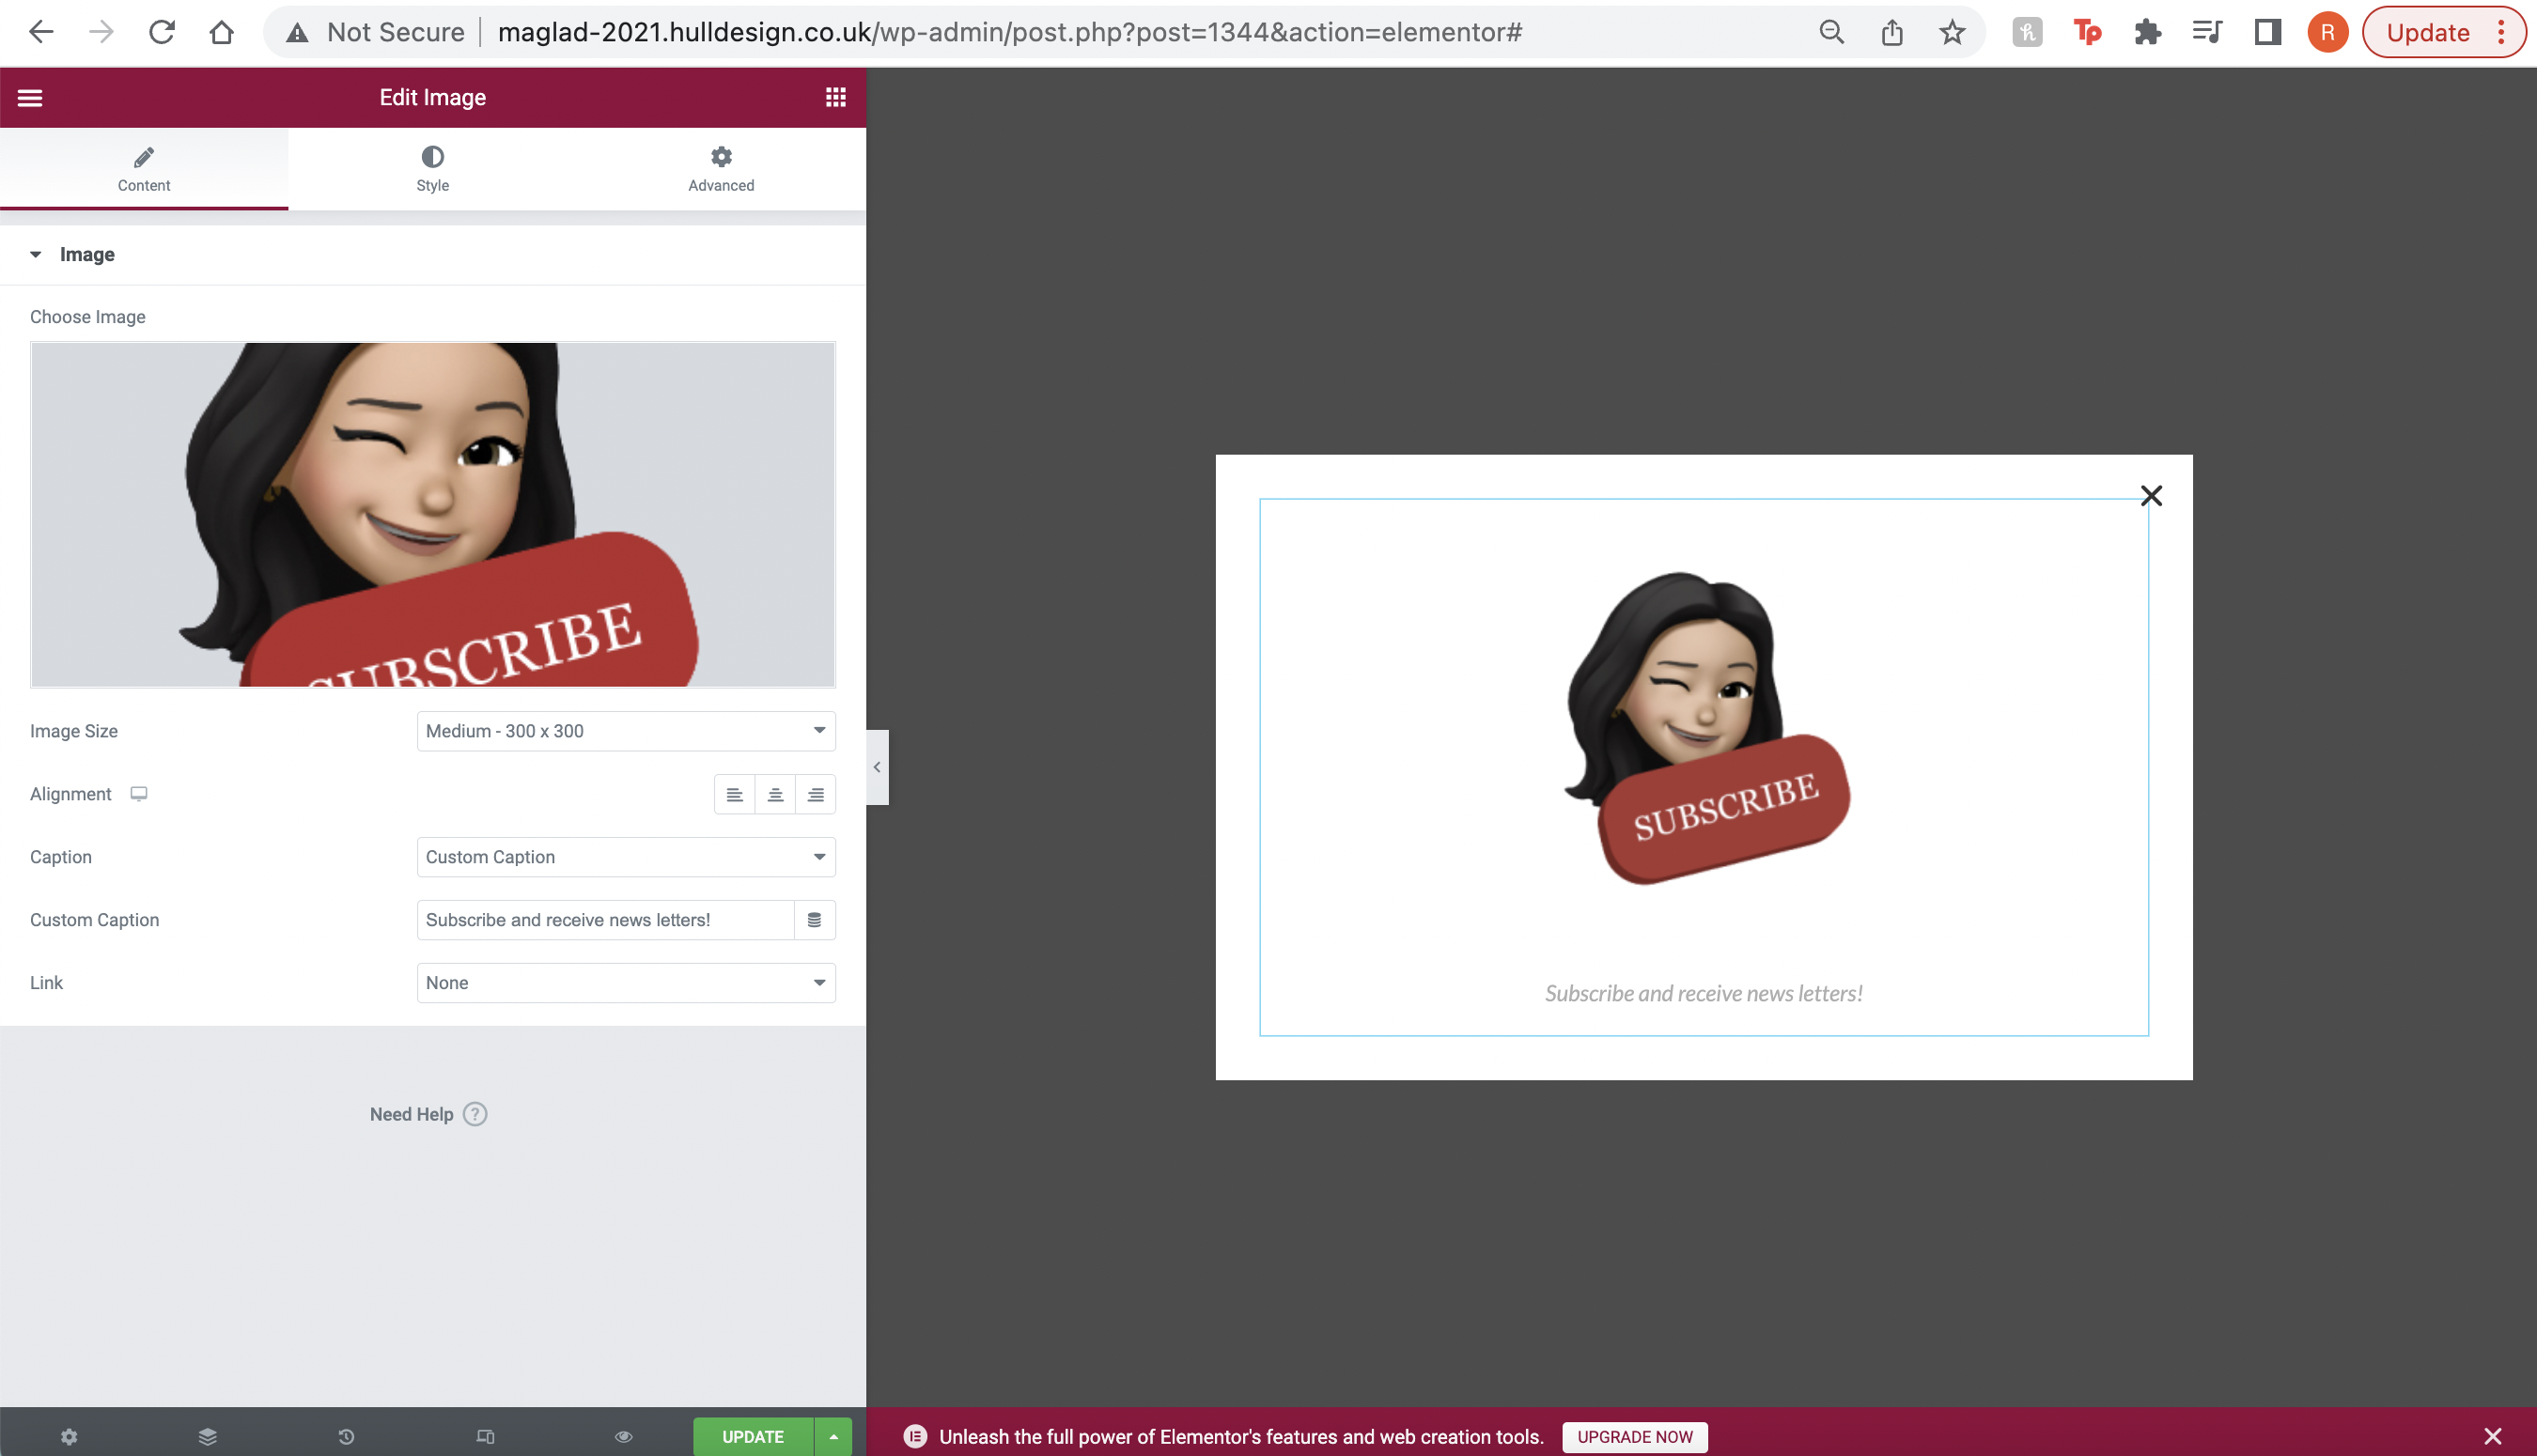
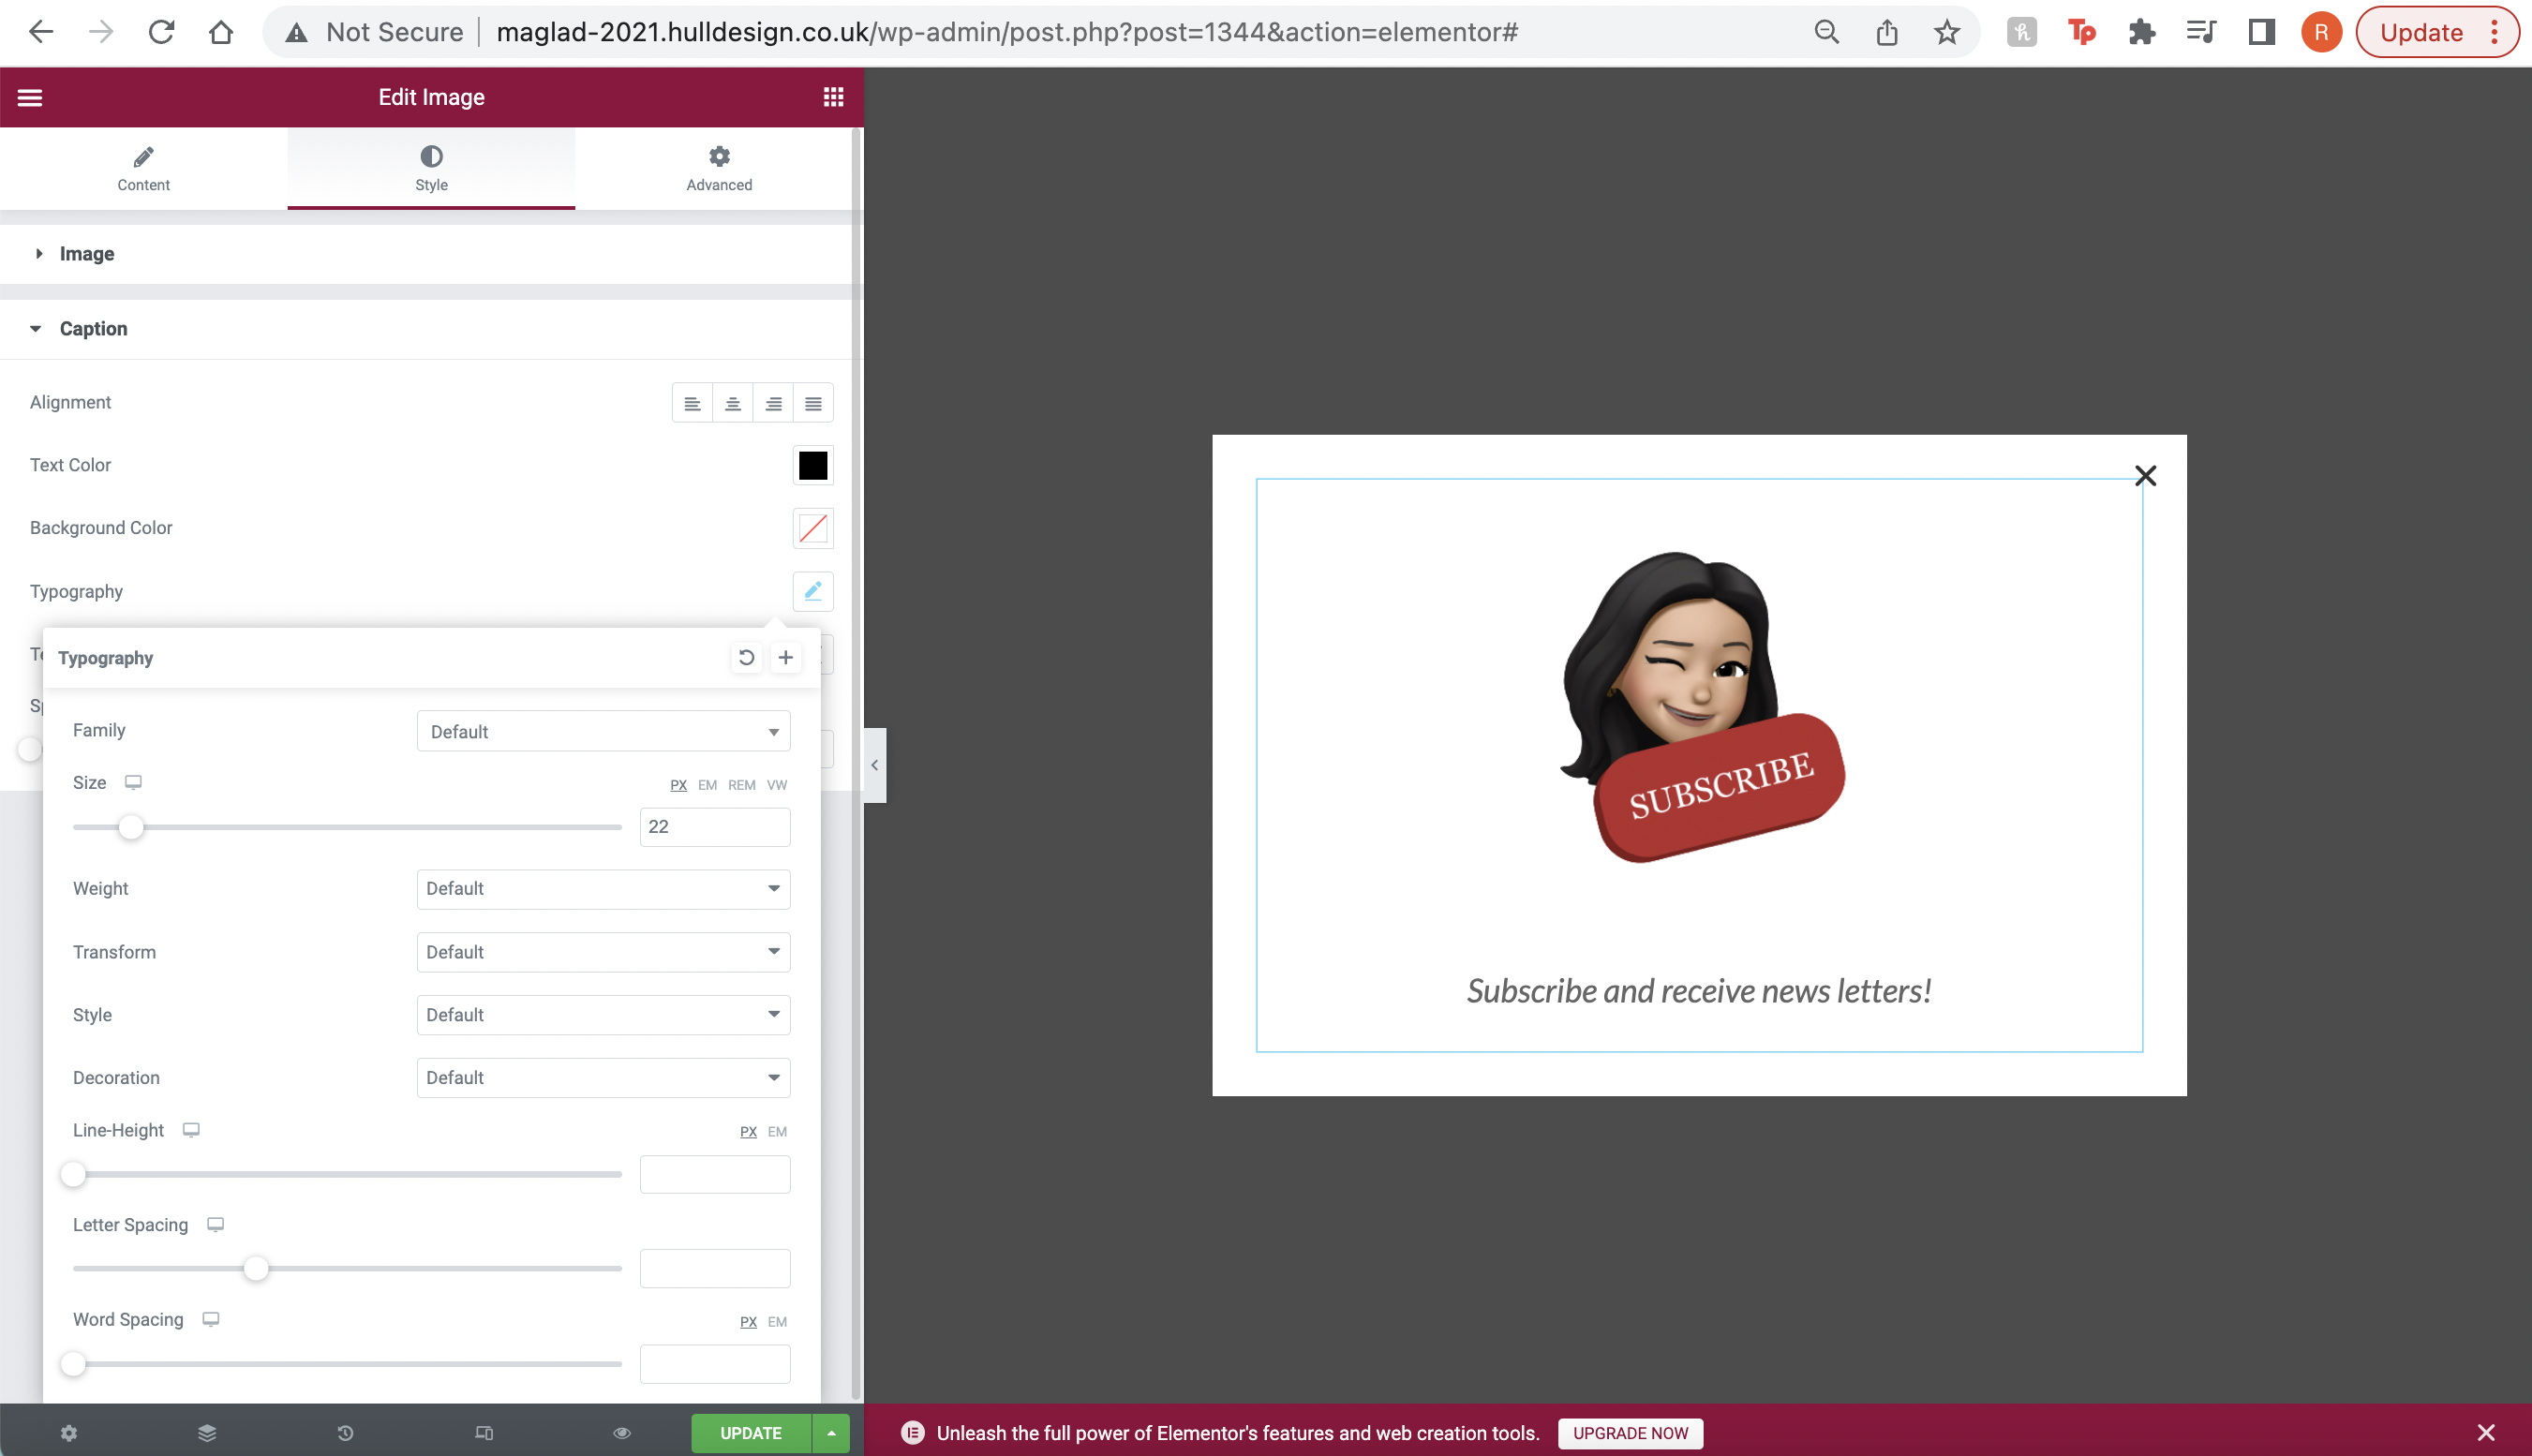
I then clicked on the group of squared dots in the corner of my settings, which took me to several different other settings. I found the first “Image” titled selection and dragged it to the centre of my page to begin designing my subscribe popup. Adjusting the settings to “Medium 300 x 300” so that it was a reasonable side across the centre of my page, along with a small caption just underneath the image.
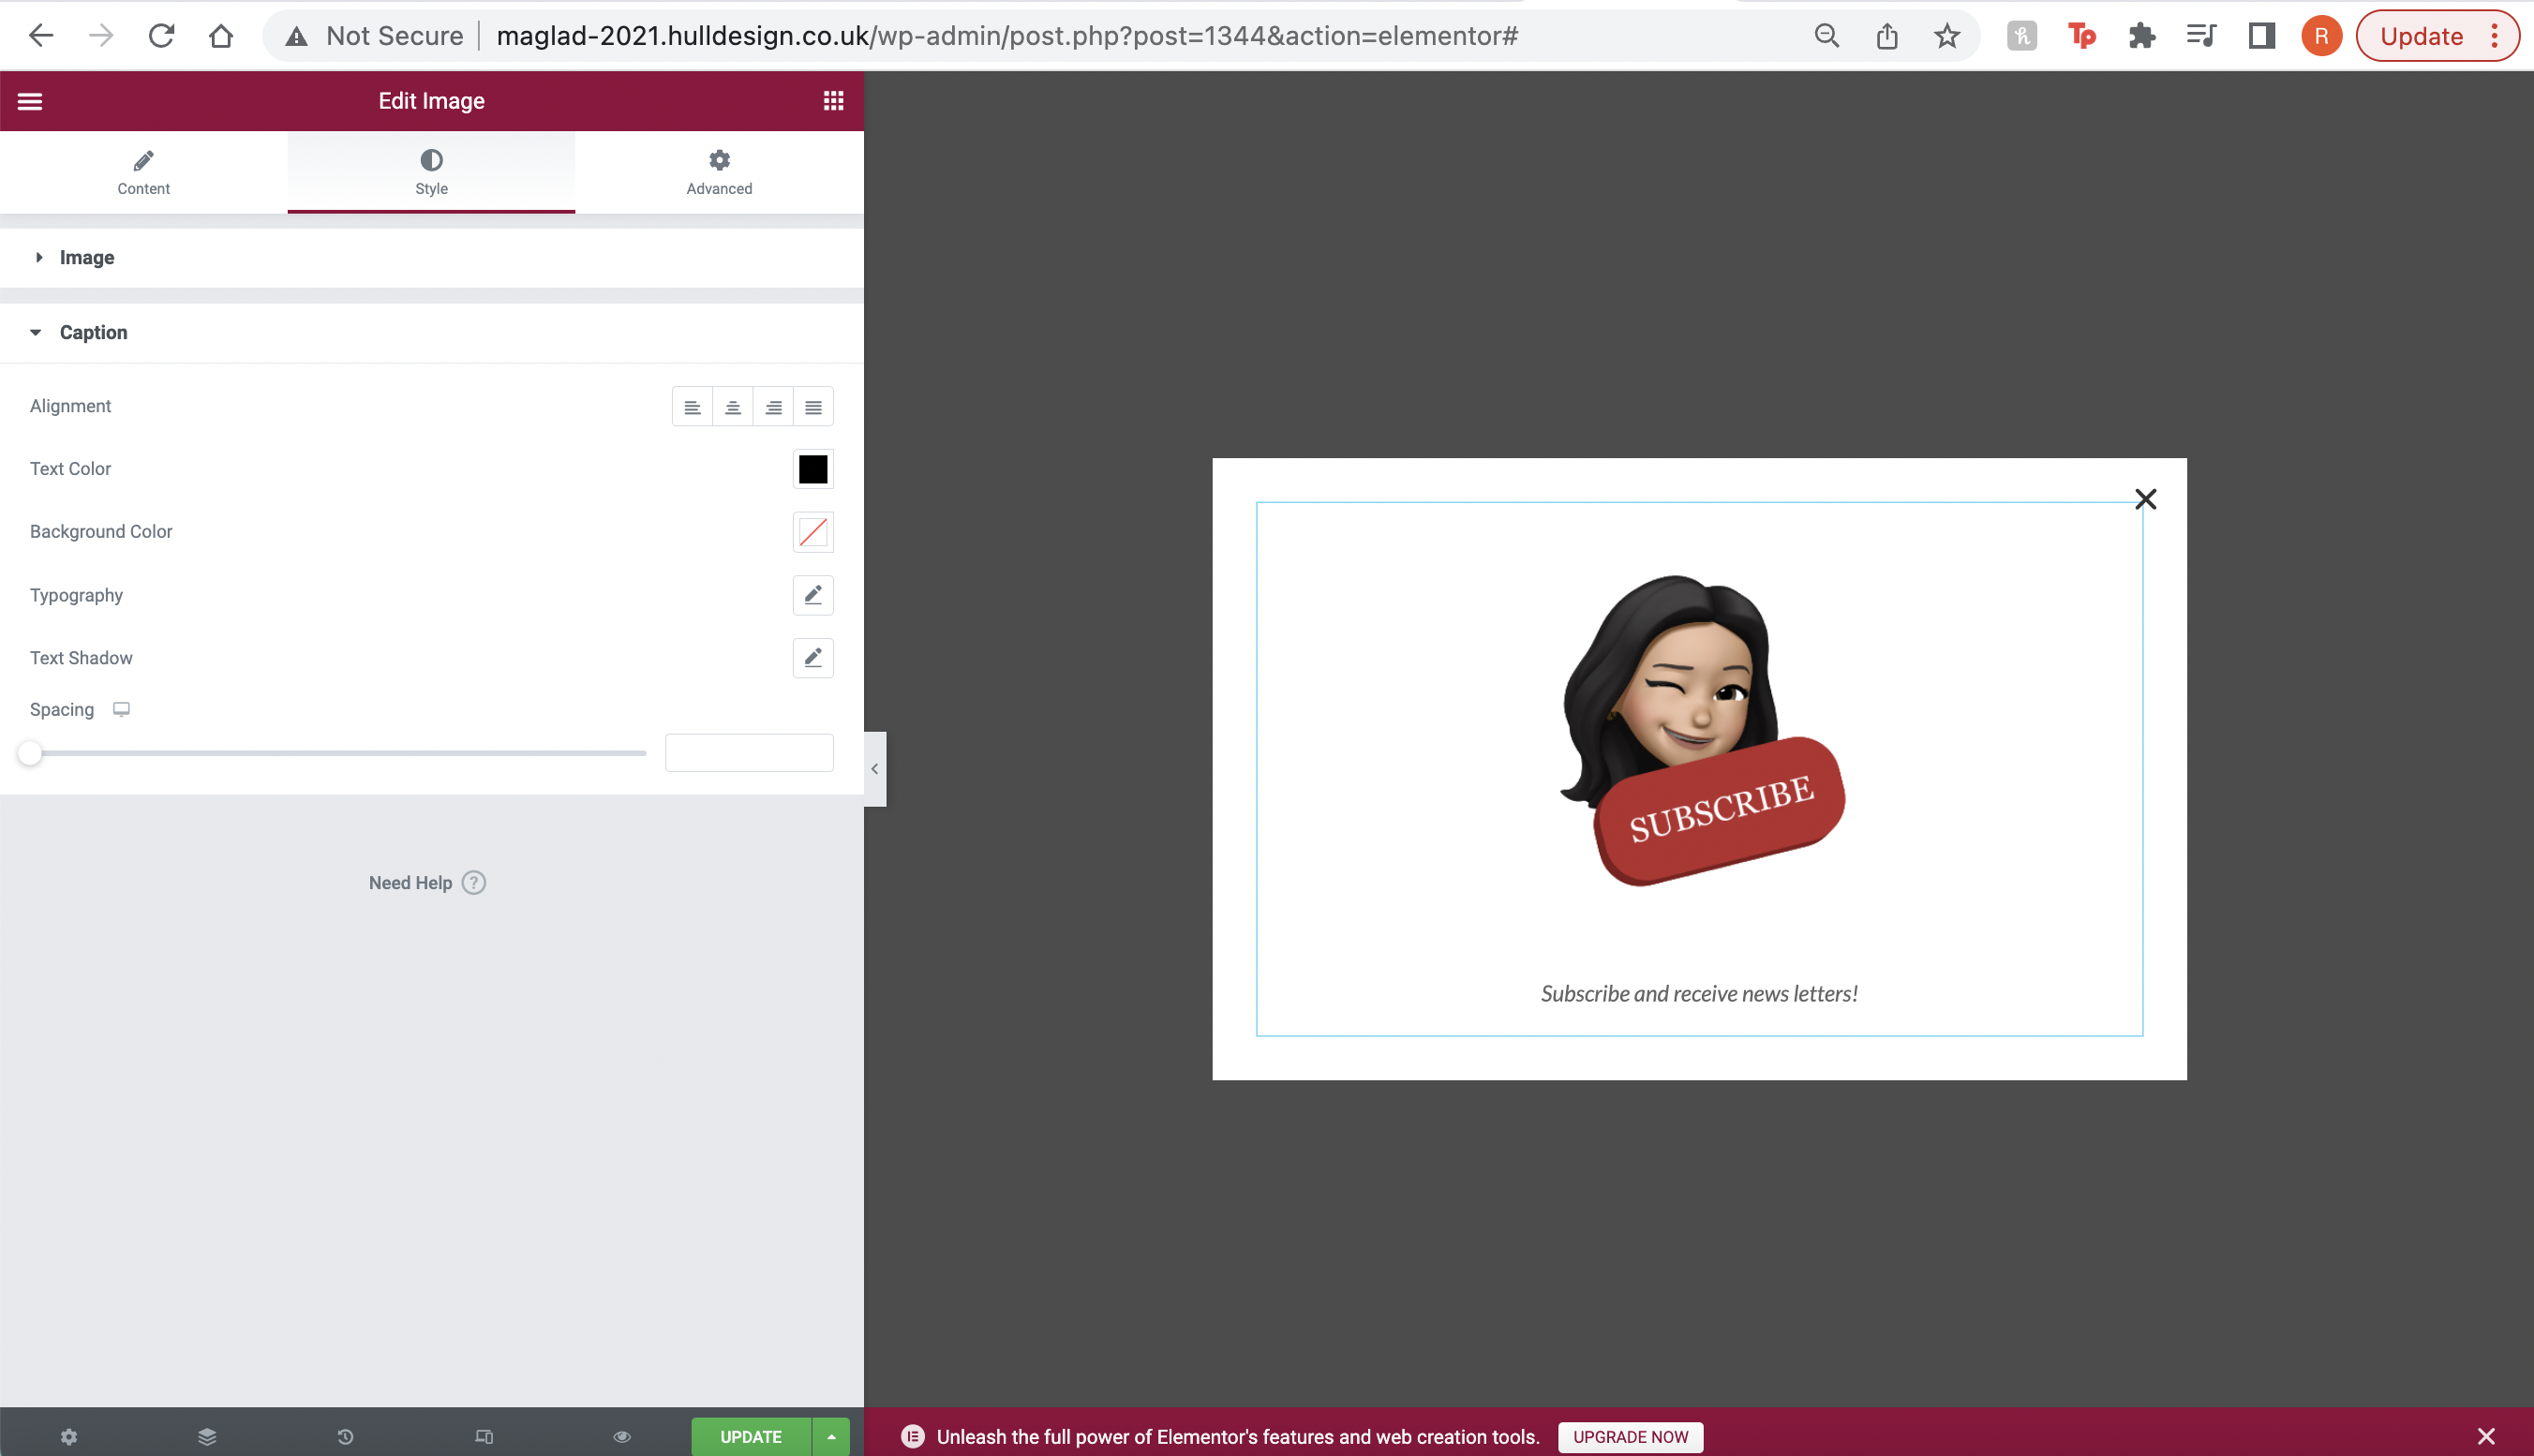
It then further gives you more selections to change and alter some of your designs, for example, I went ahead and changed the size and colour of my caption. The original colour was an off-black shade which contrasted slightly with the white background, so I changed this to a solid black shade, along with making the sizes a little bigger.
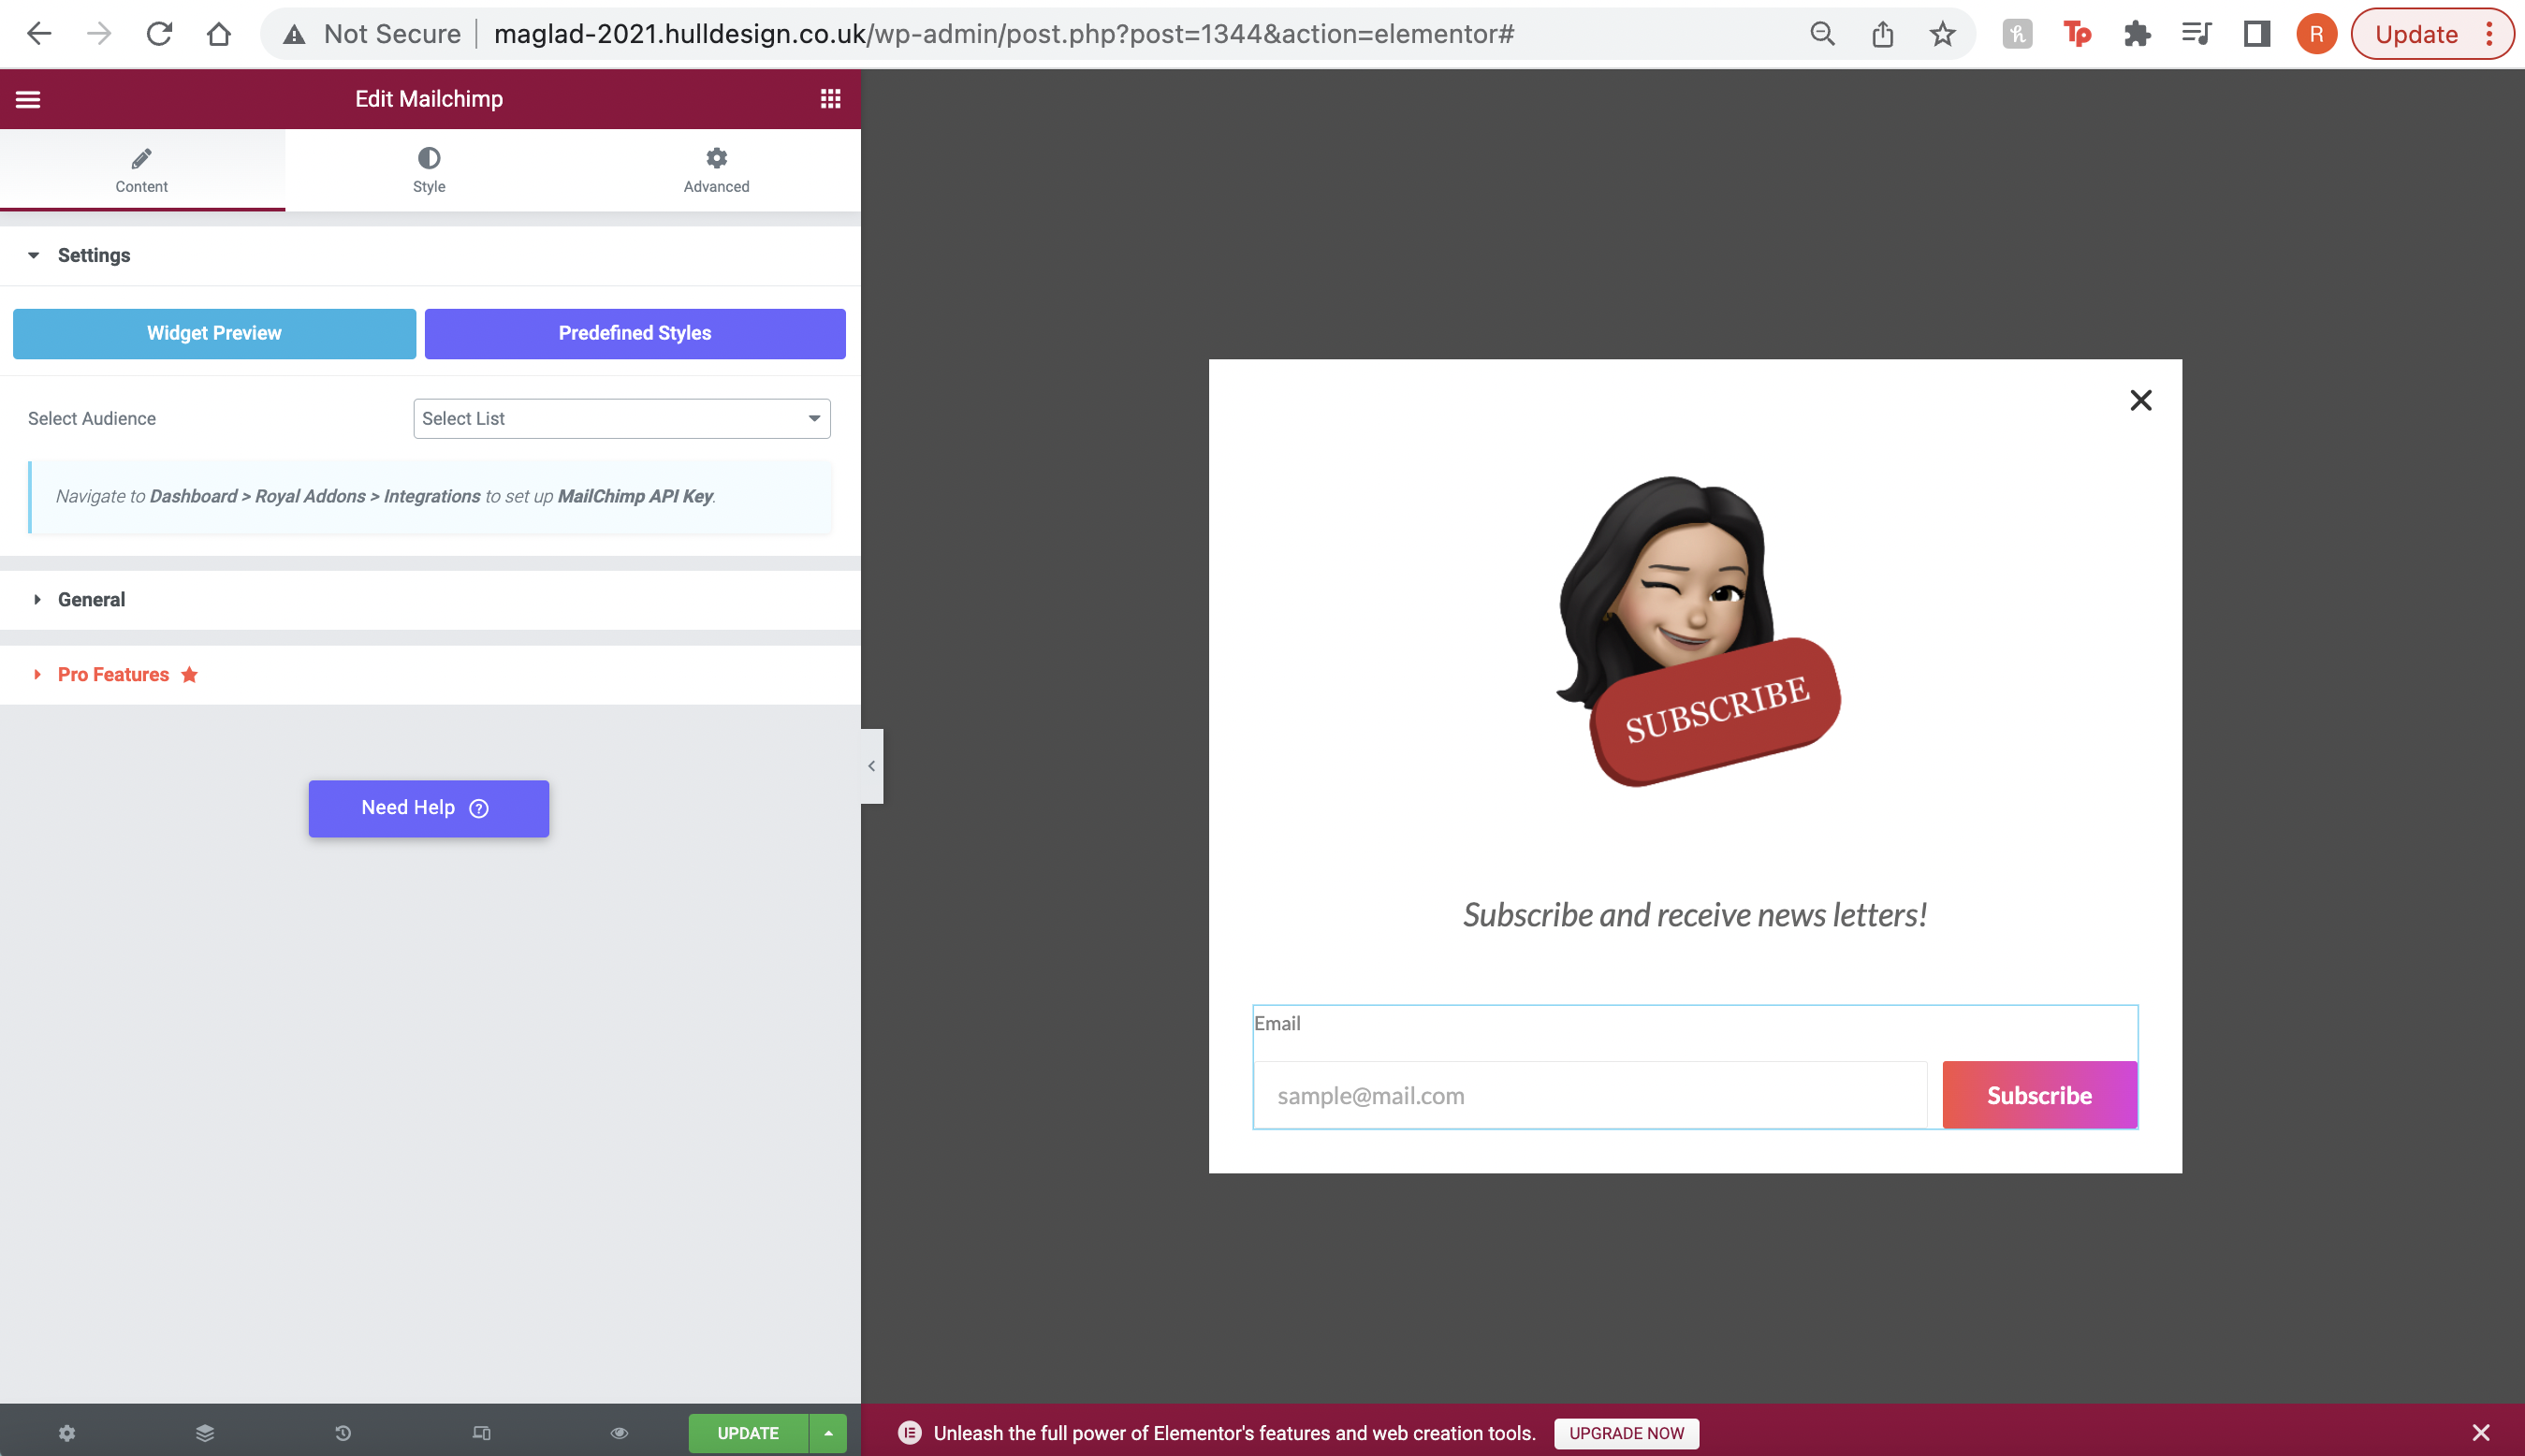
I then went ahead and added the Mailchimp selection to make my popup work, this allows my target audience to use my subscribe popup successfully and freely. As shown in the figure above, just below my caption you can visually see that it’s added another caption that says “Email” which will allow my audience to type in their email to subscribe and receive newsletters about my blog page.
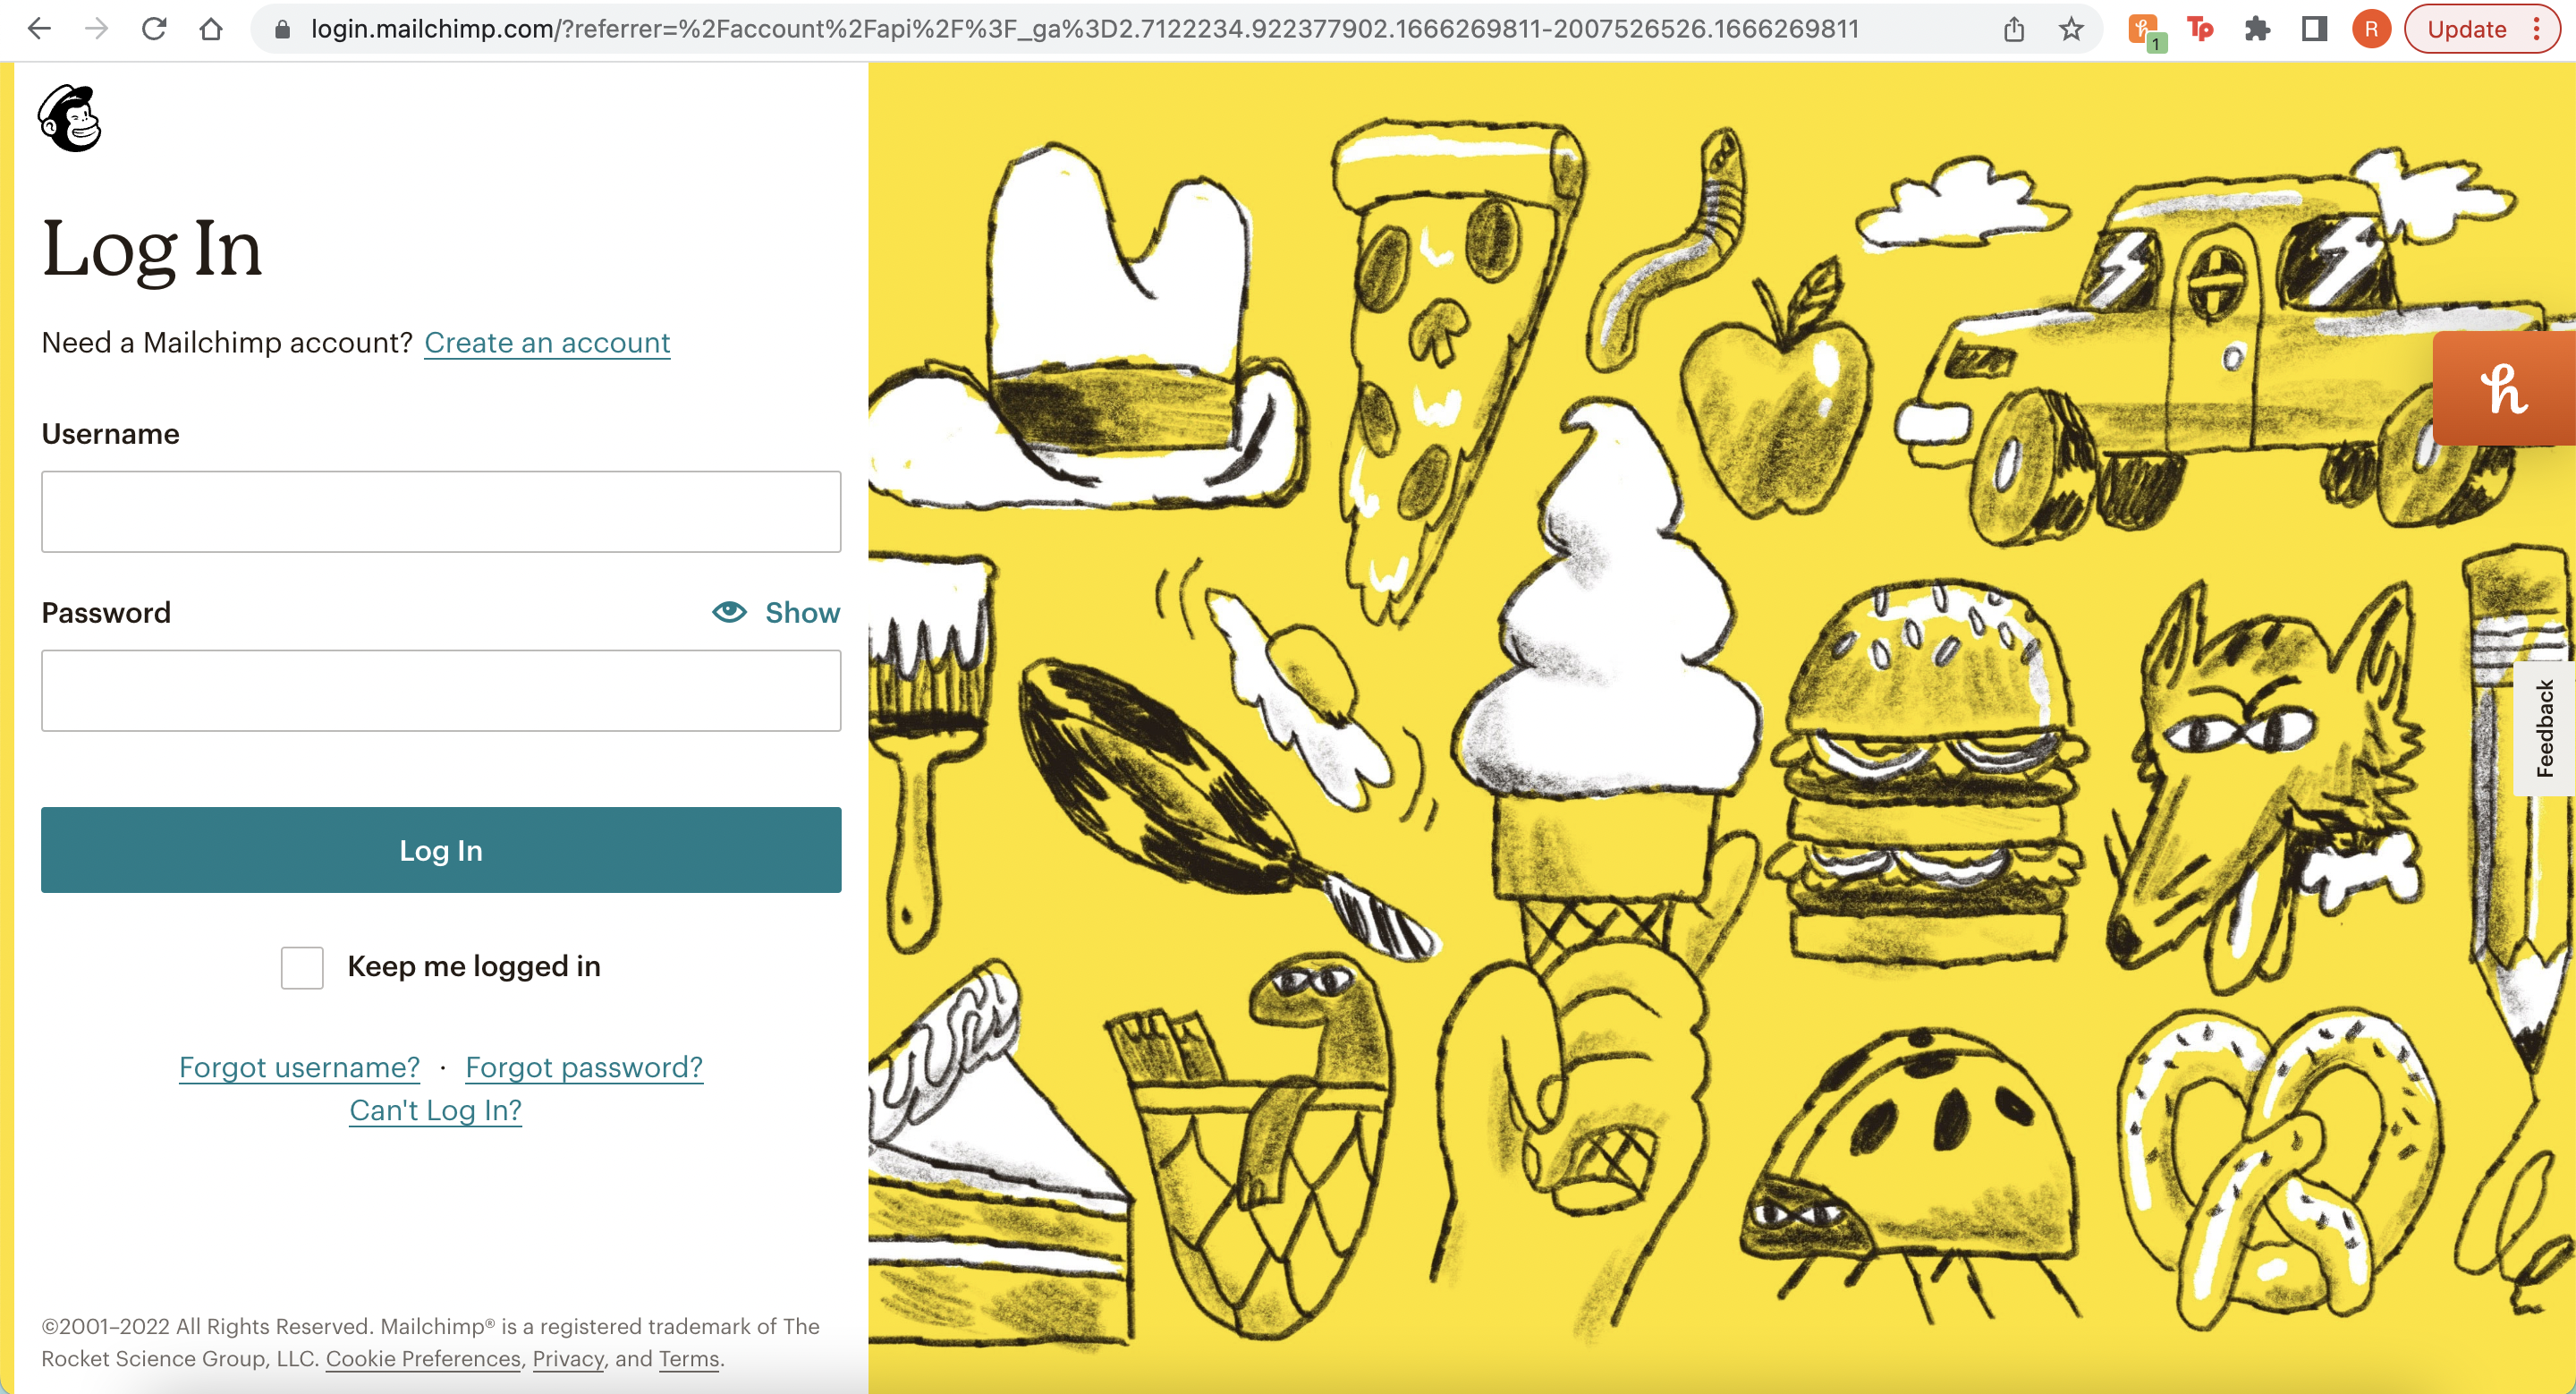
Using the Mailchimp website, I created an account for the website so that I could create the API Key and apply this to my subscribe button.
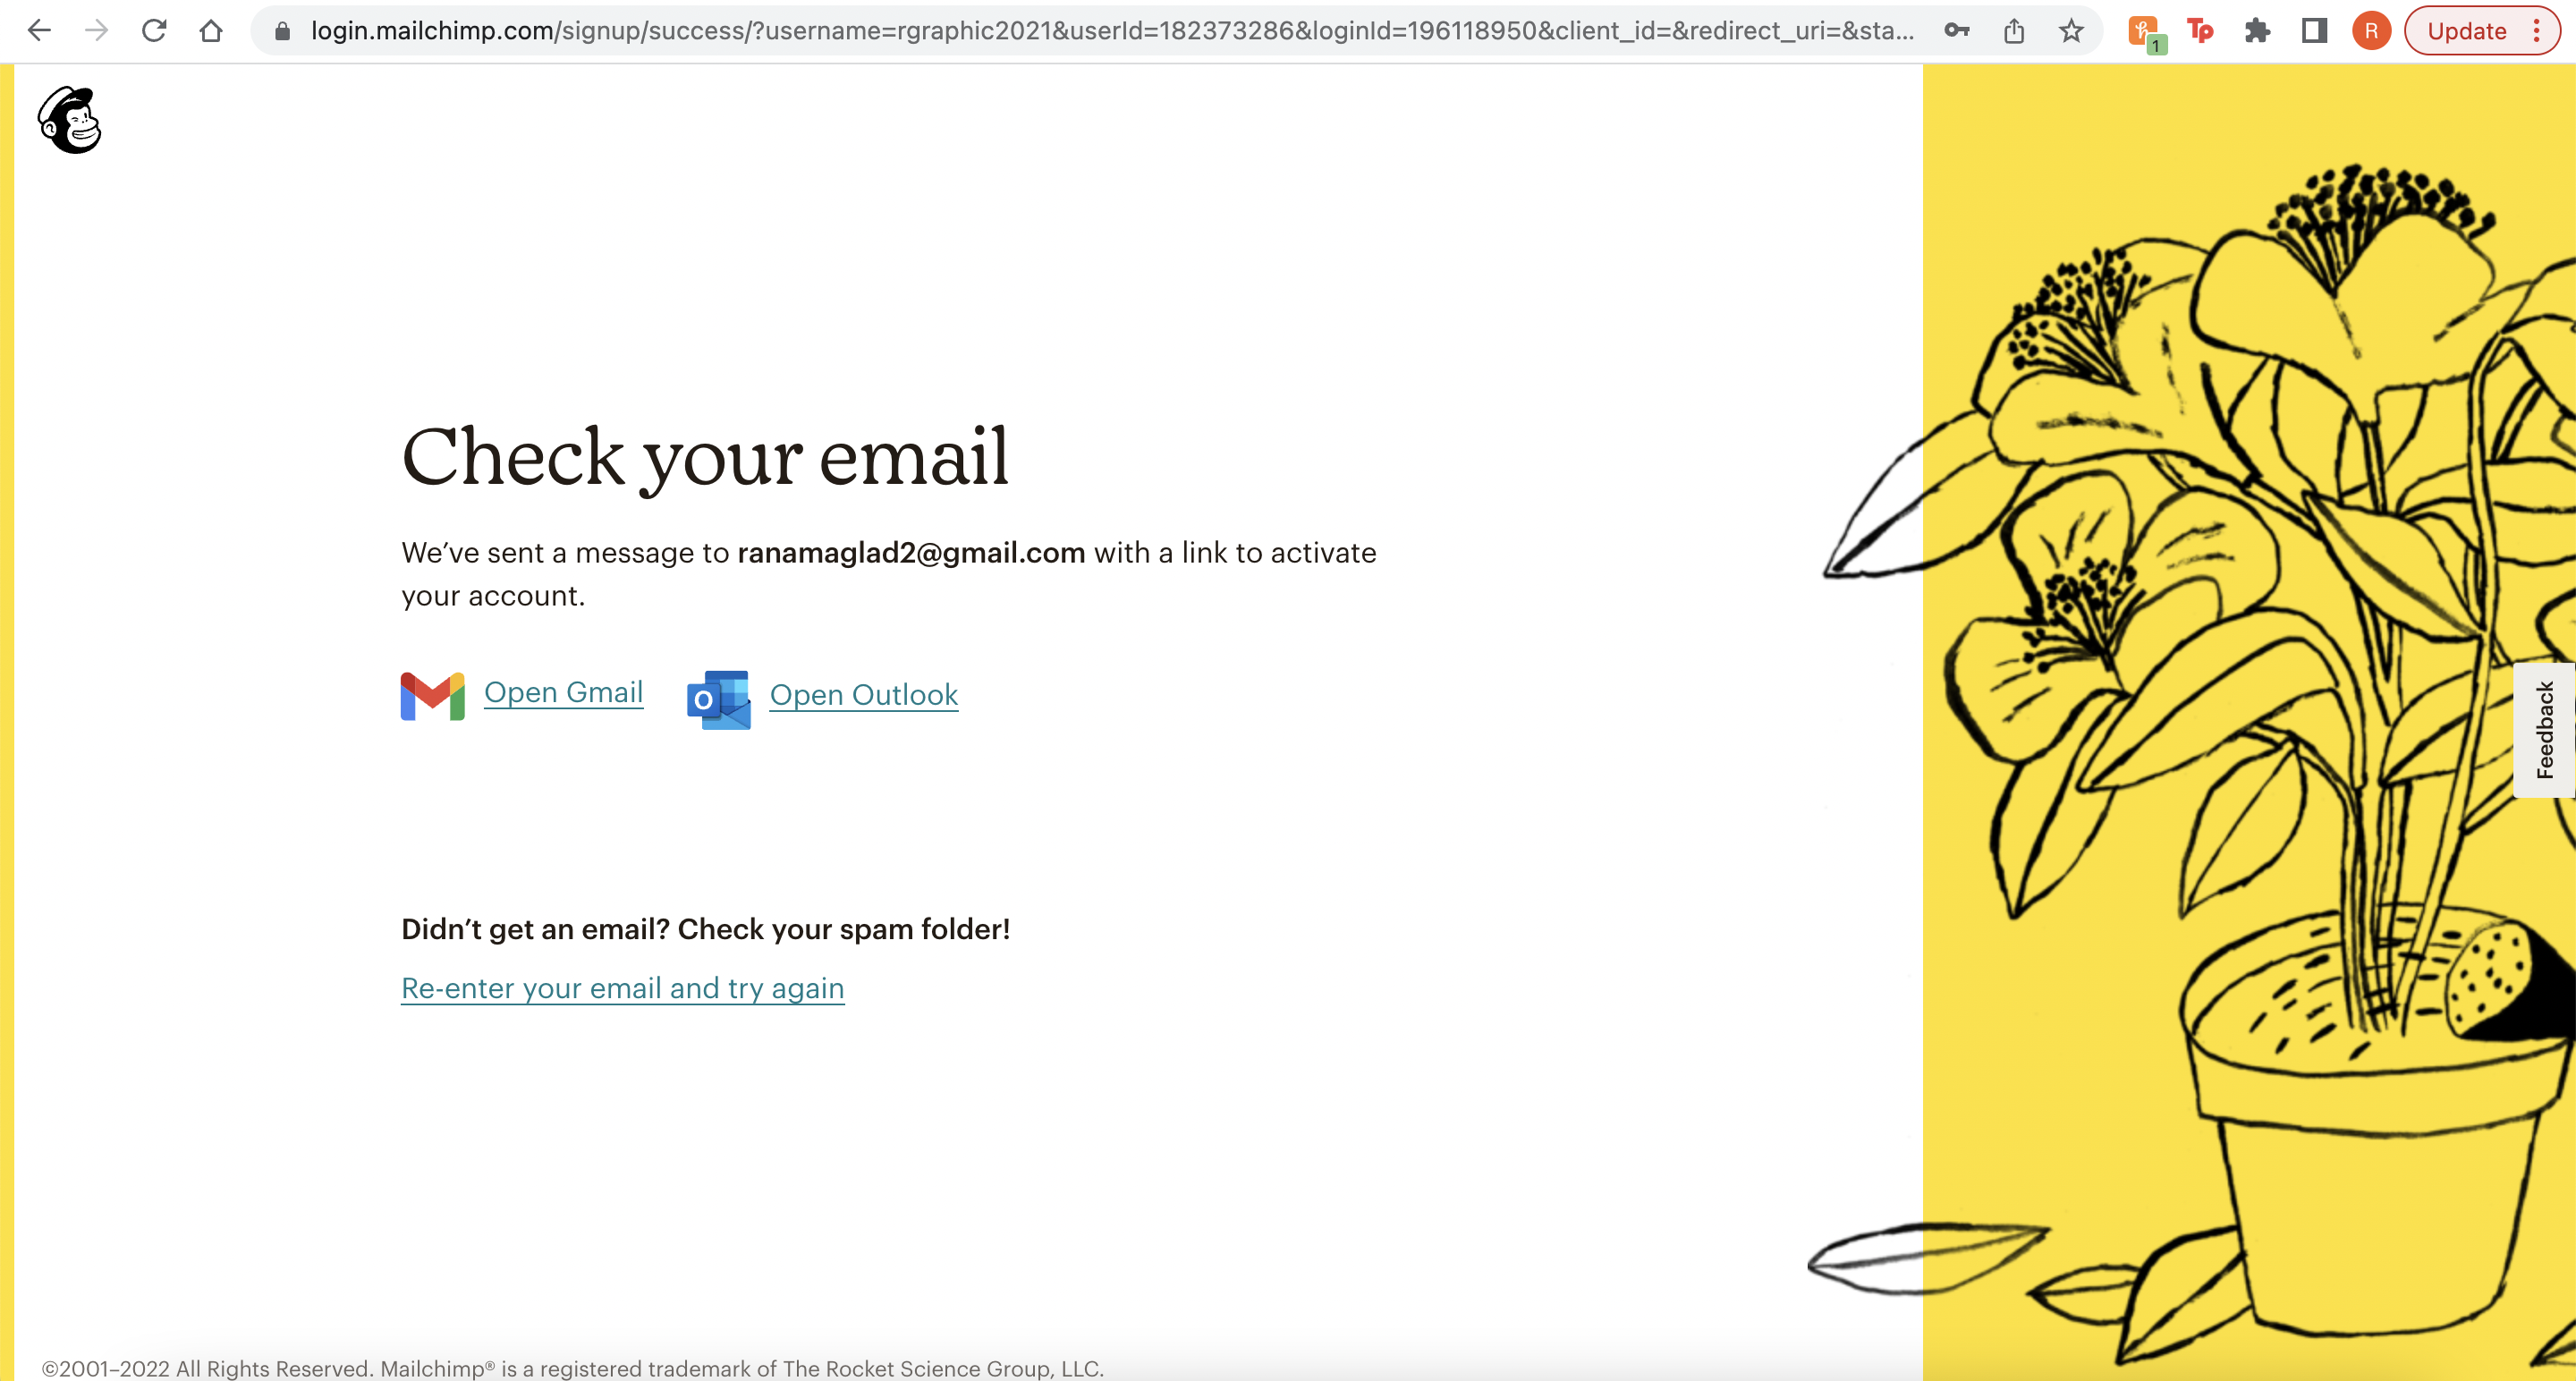
Once completing all the required steps, I was sent a confirmation email which then take me to my next steps in claiming my API Key for my Mailchimp to work.
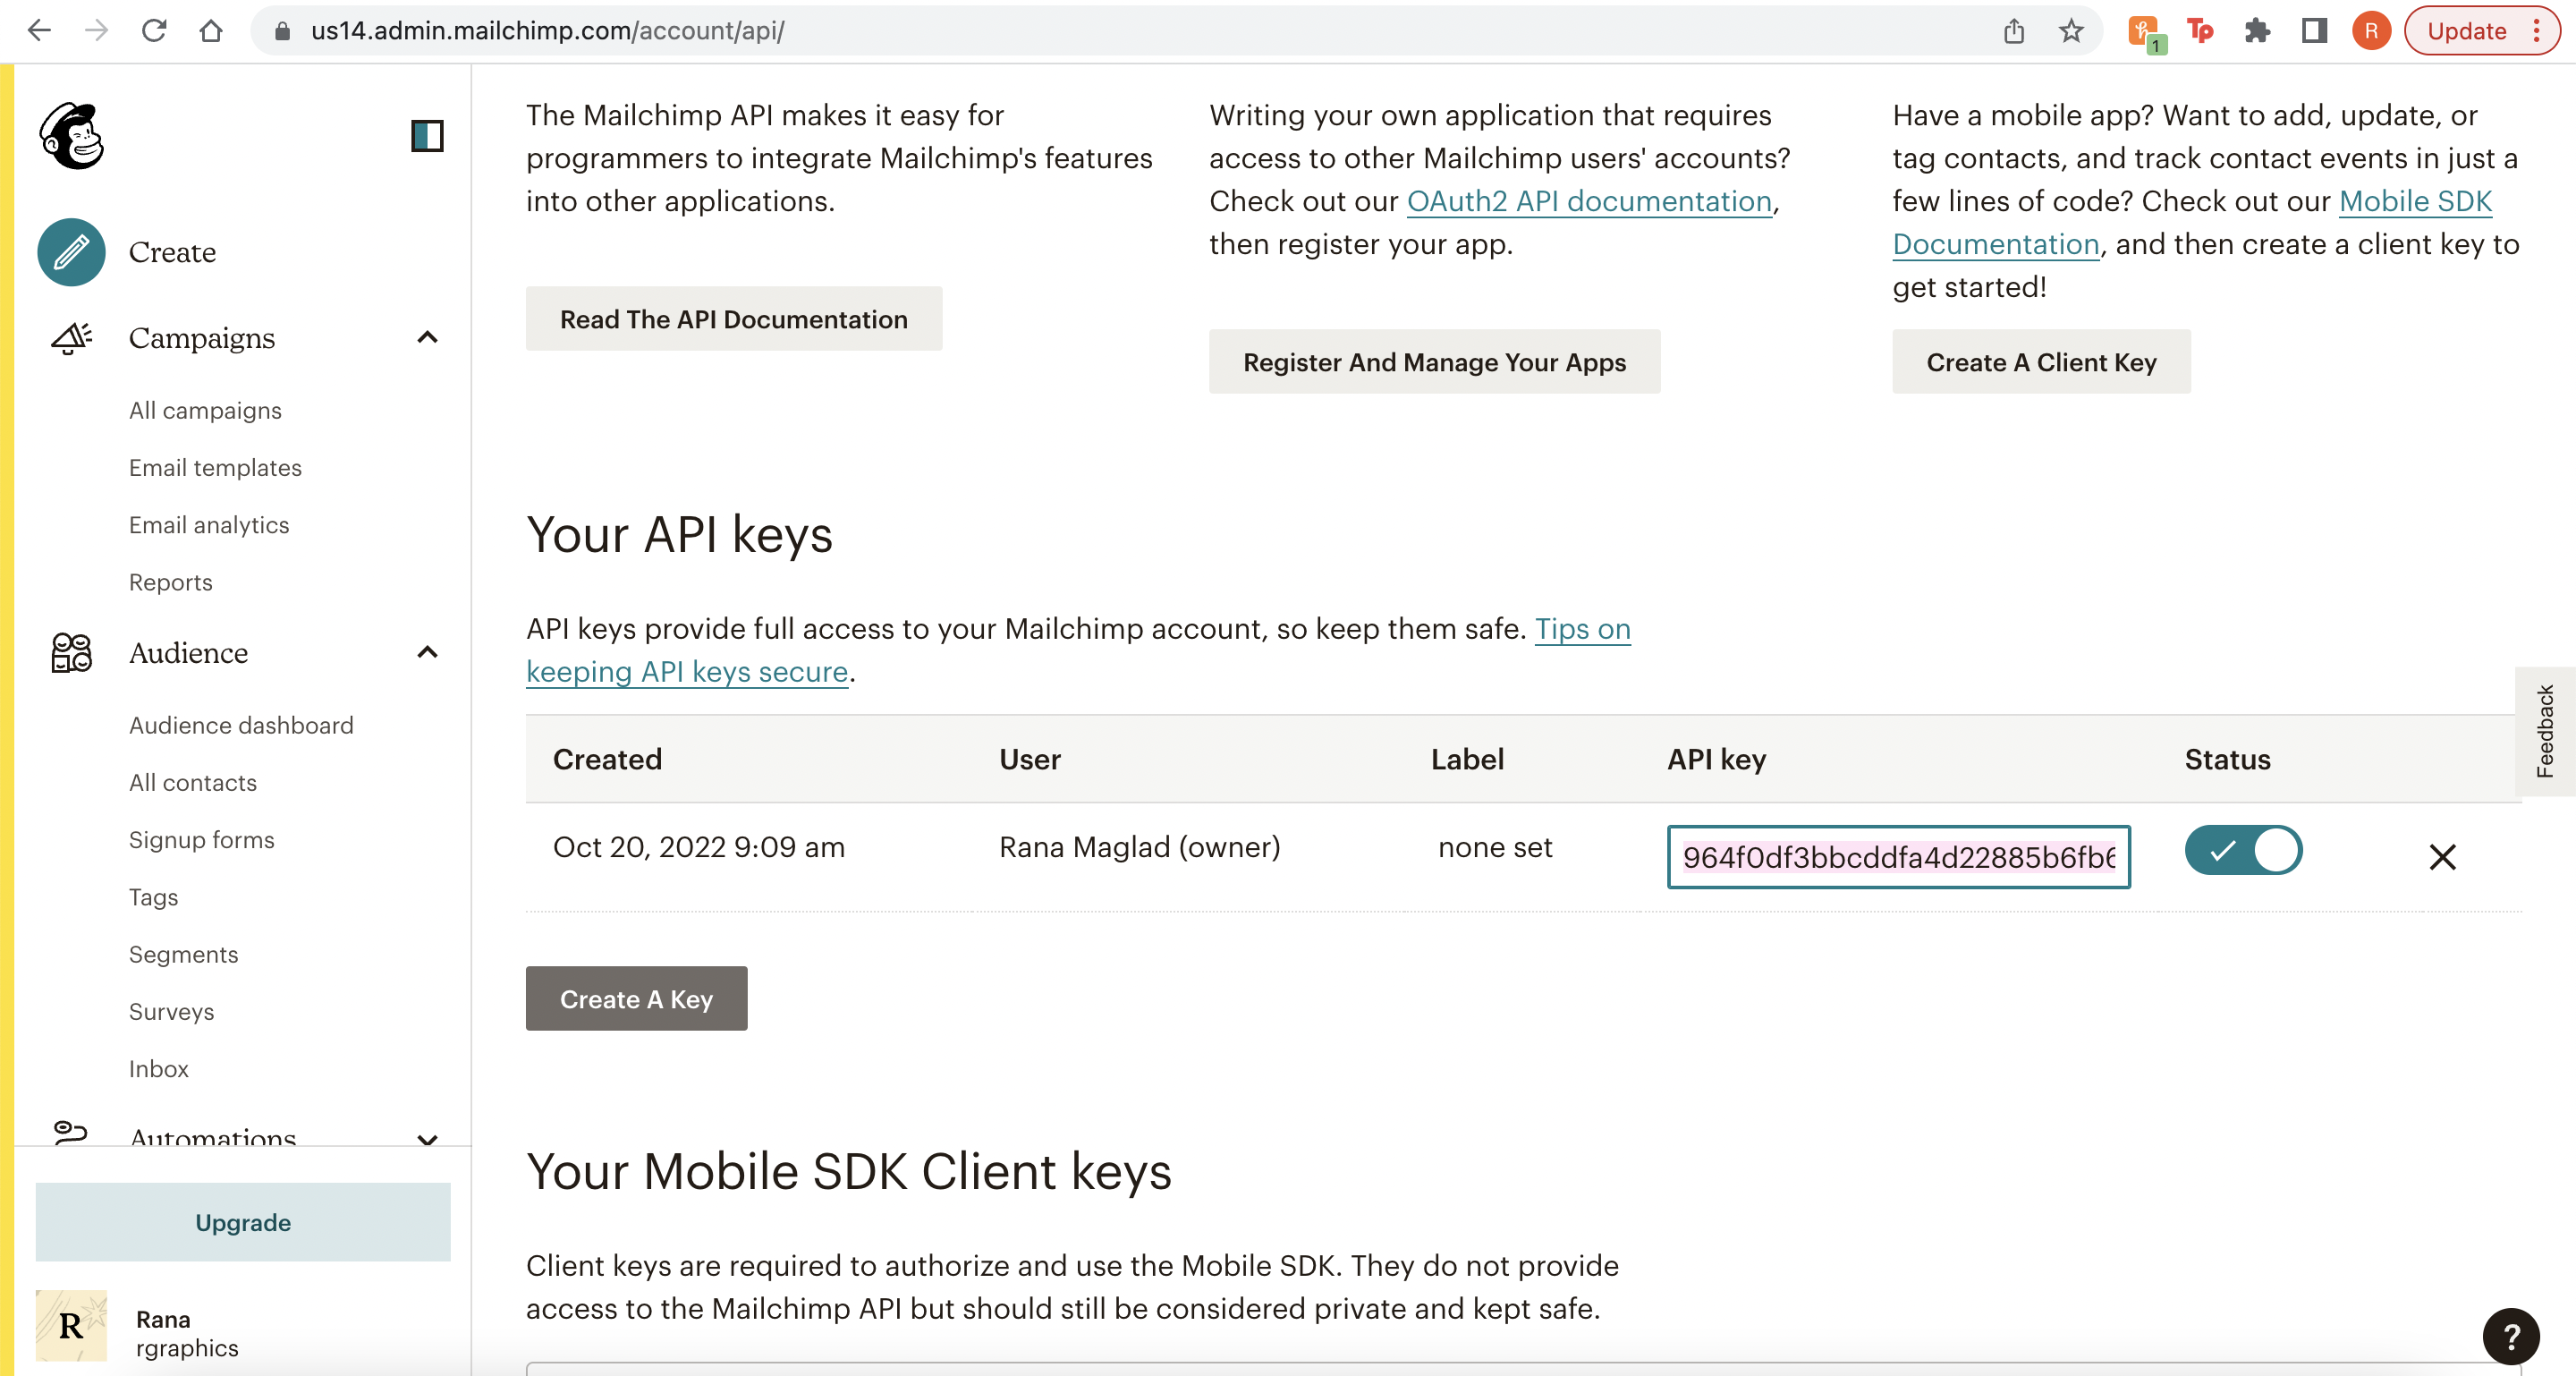
I selected my profile account and came forward to ‘settings’ then scrolled down to ‘API Key’ and copied the created API Key address.
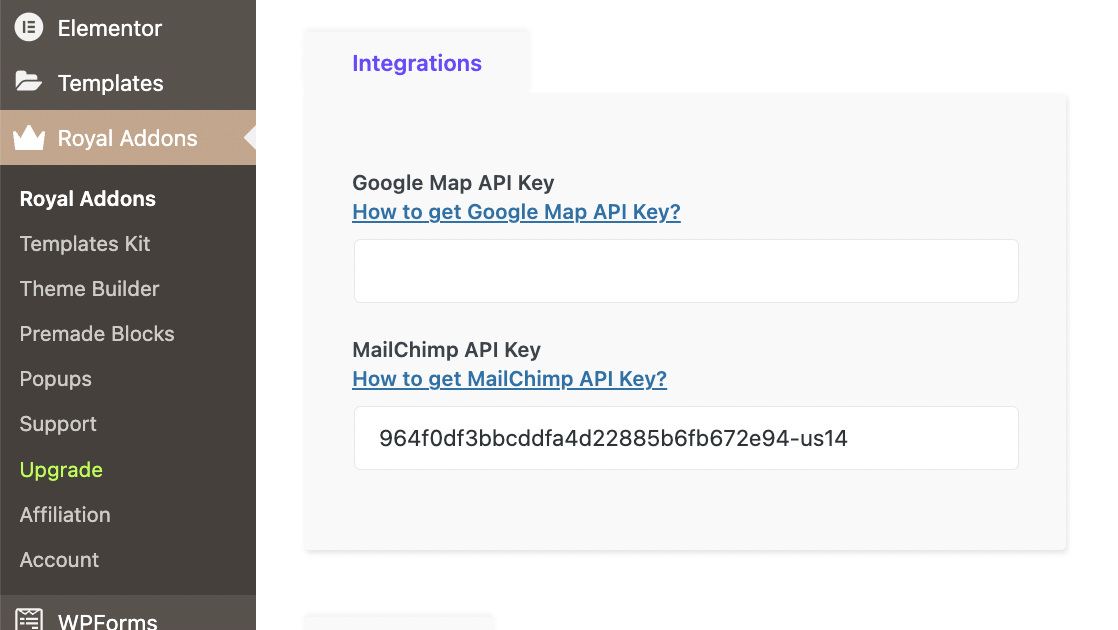
Forwarding forwards, I came back to my WordPress settings and applied the created API Key to royal addons settings, then saved it so the profile of my audience would now be visible through my link.
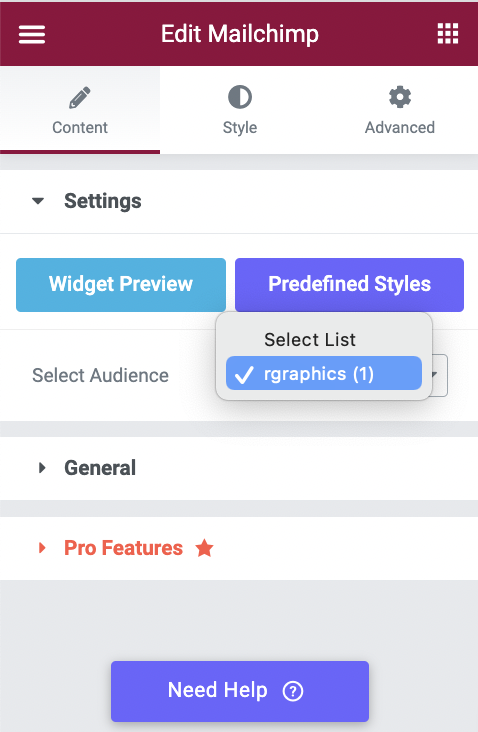
`When I returned to elementor, I found that when I go to the audience, It gives me the option to add in my created link. This is visible because my created API Key allows people to subscribe using their email, which gets registered through the audience on my Mailchimp account, which then sends them emails and news updates about every time I post or create a blog.
Finally, I returned to my entire created subscribe button and made sure everything was created to its standard size, all my links were created and checked through all my extra layers of editing, saved the button so that now my audience could use this function to stay up to date with news and updates on my WordPress website.
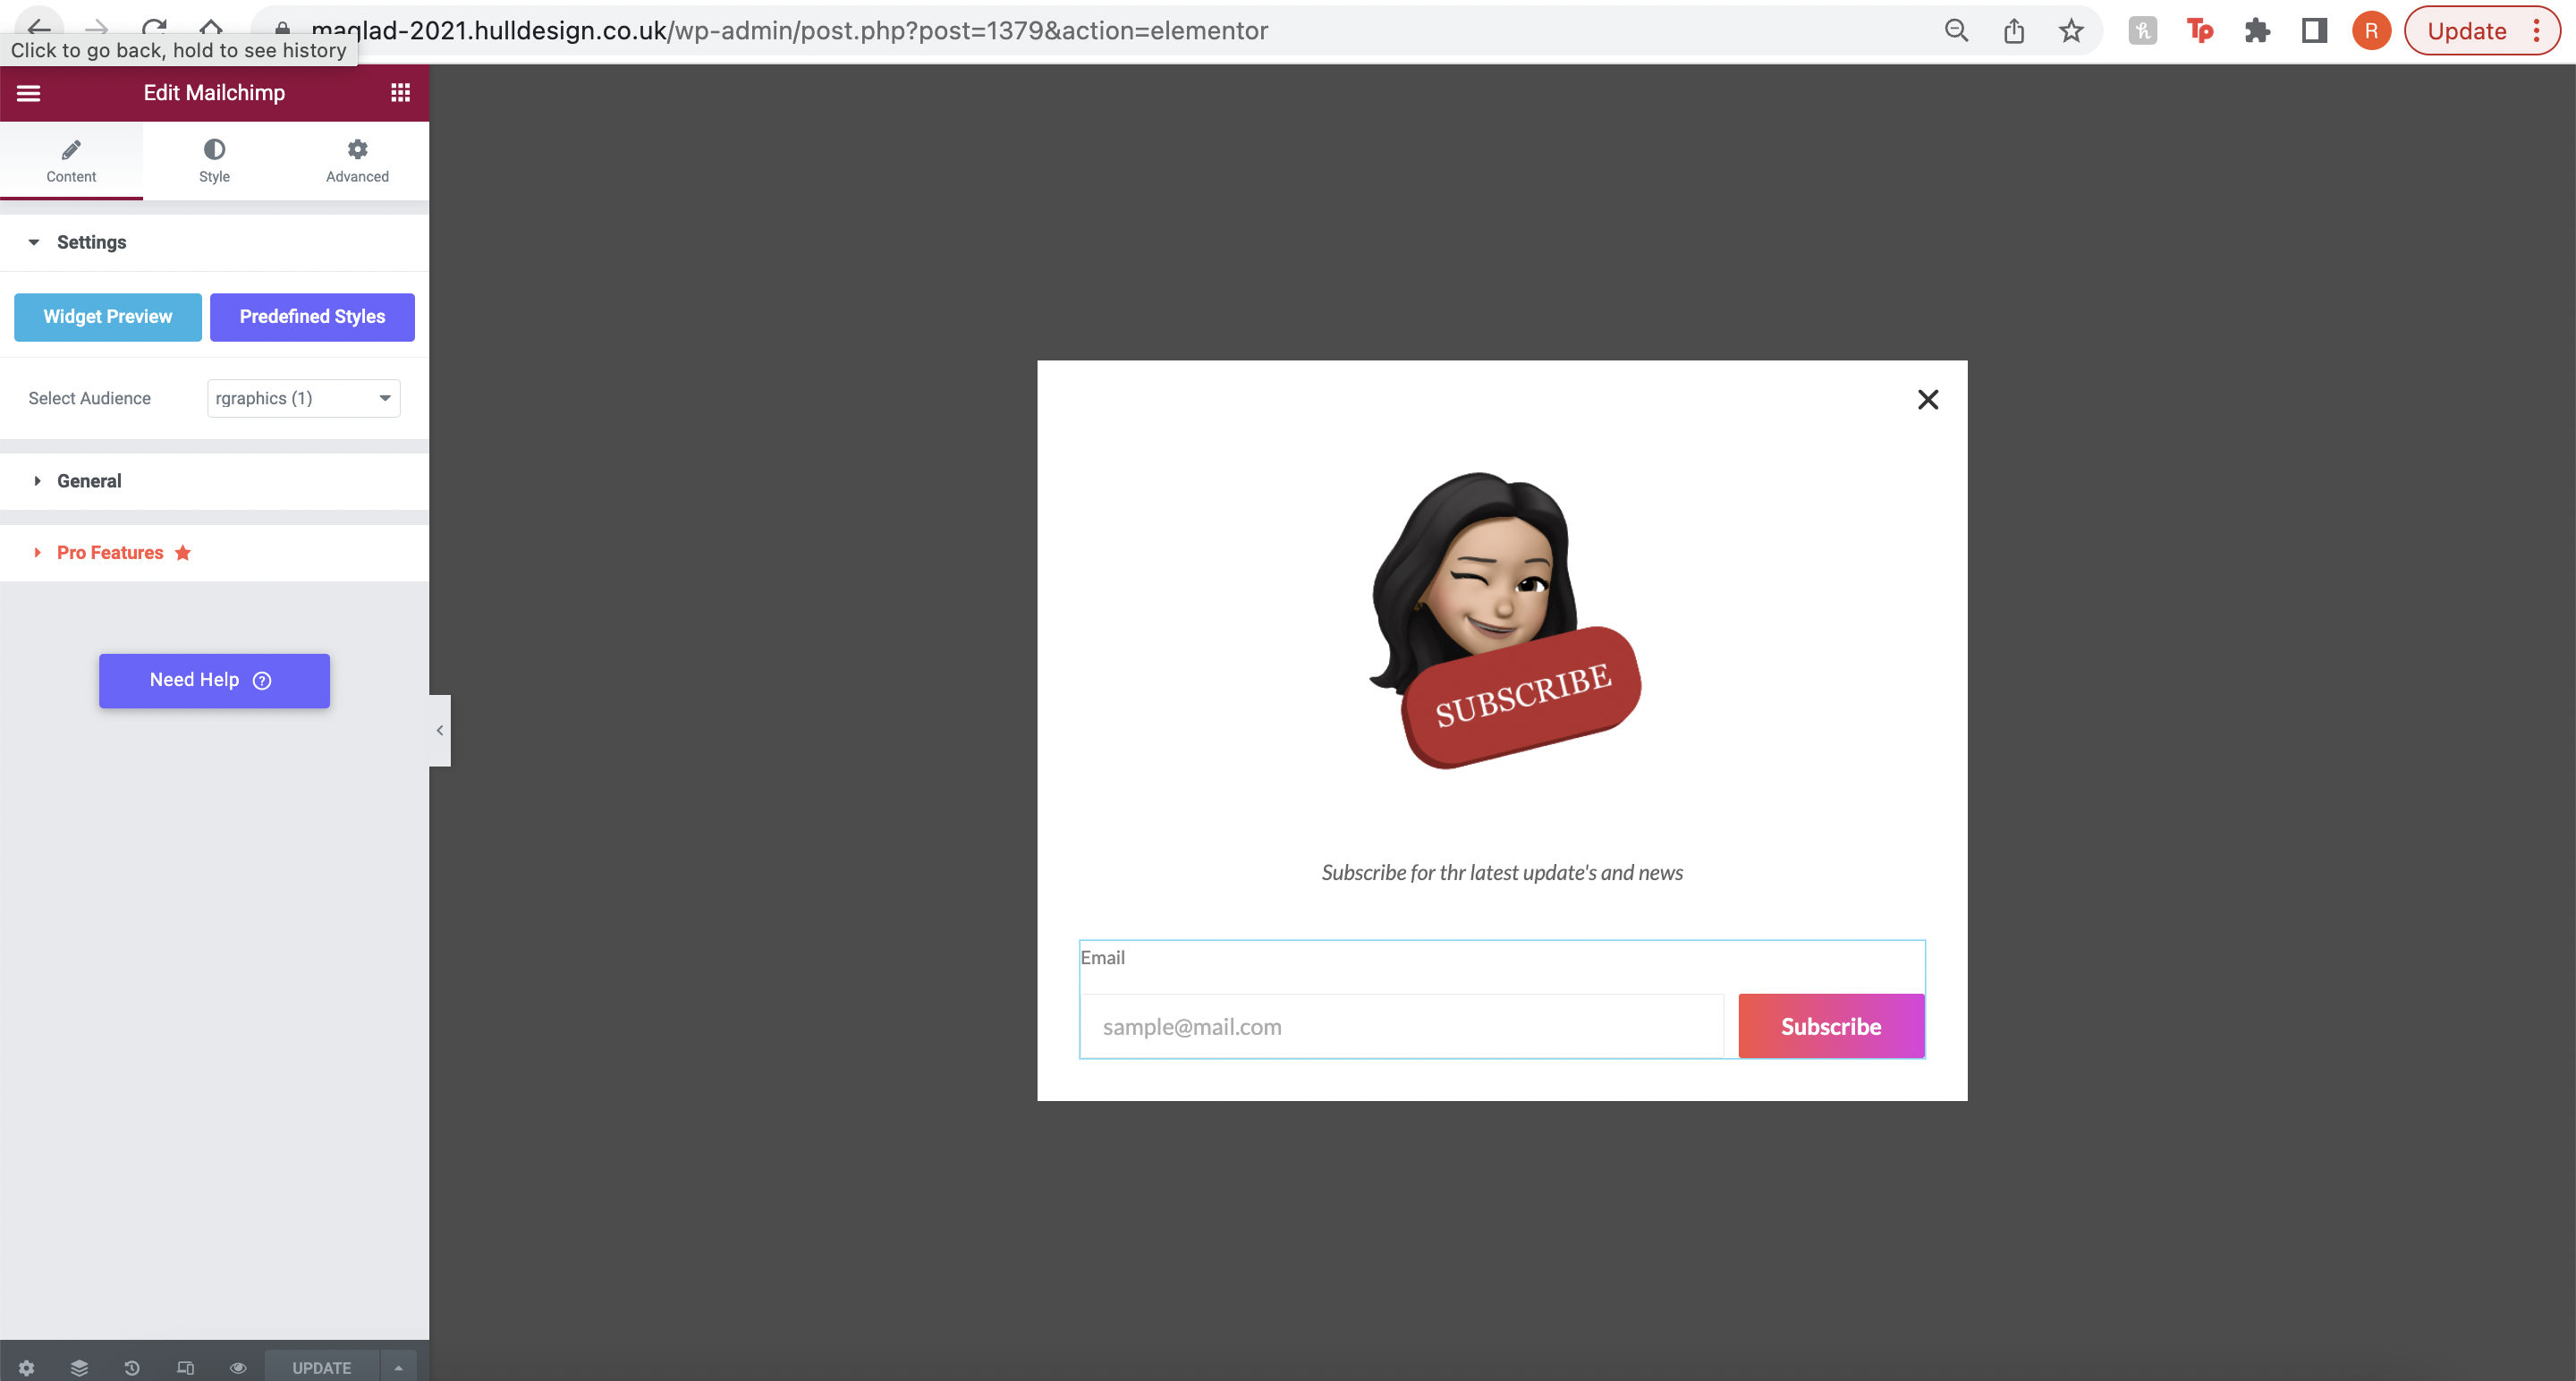
Testing
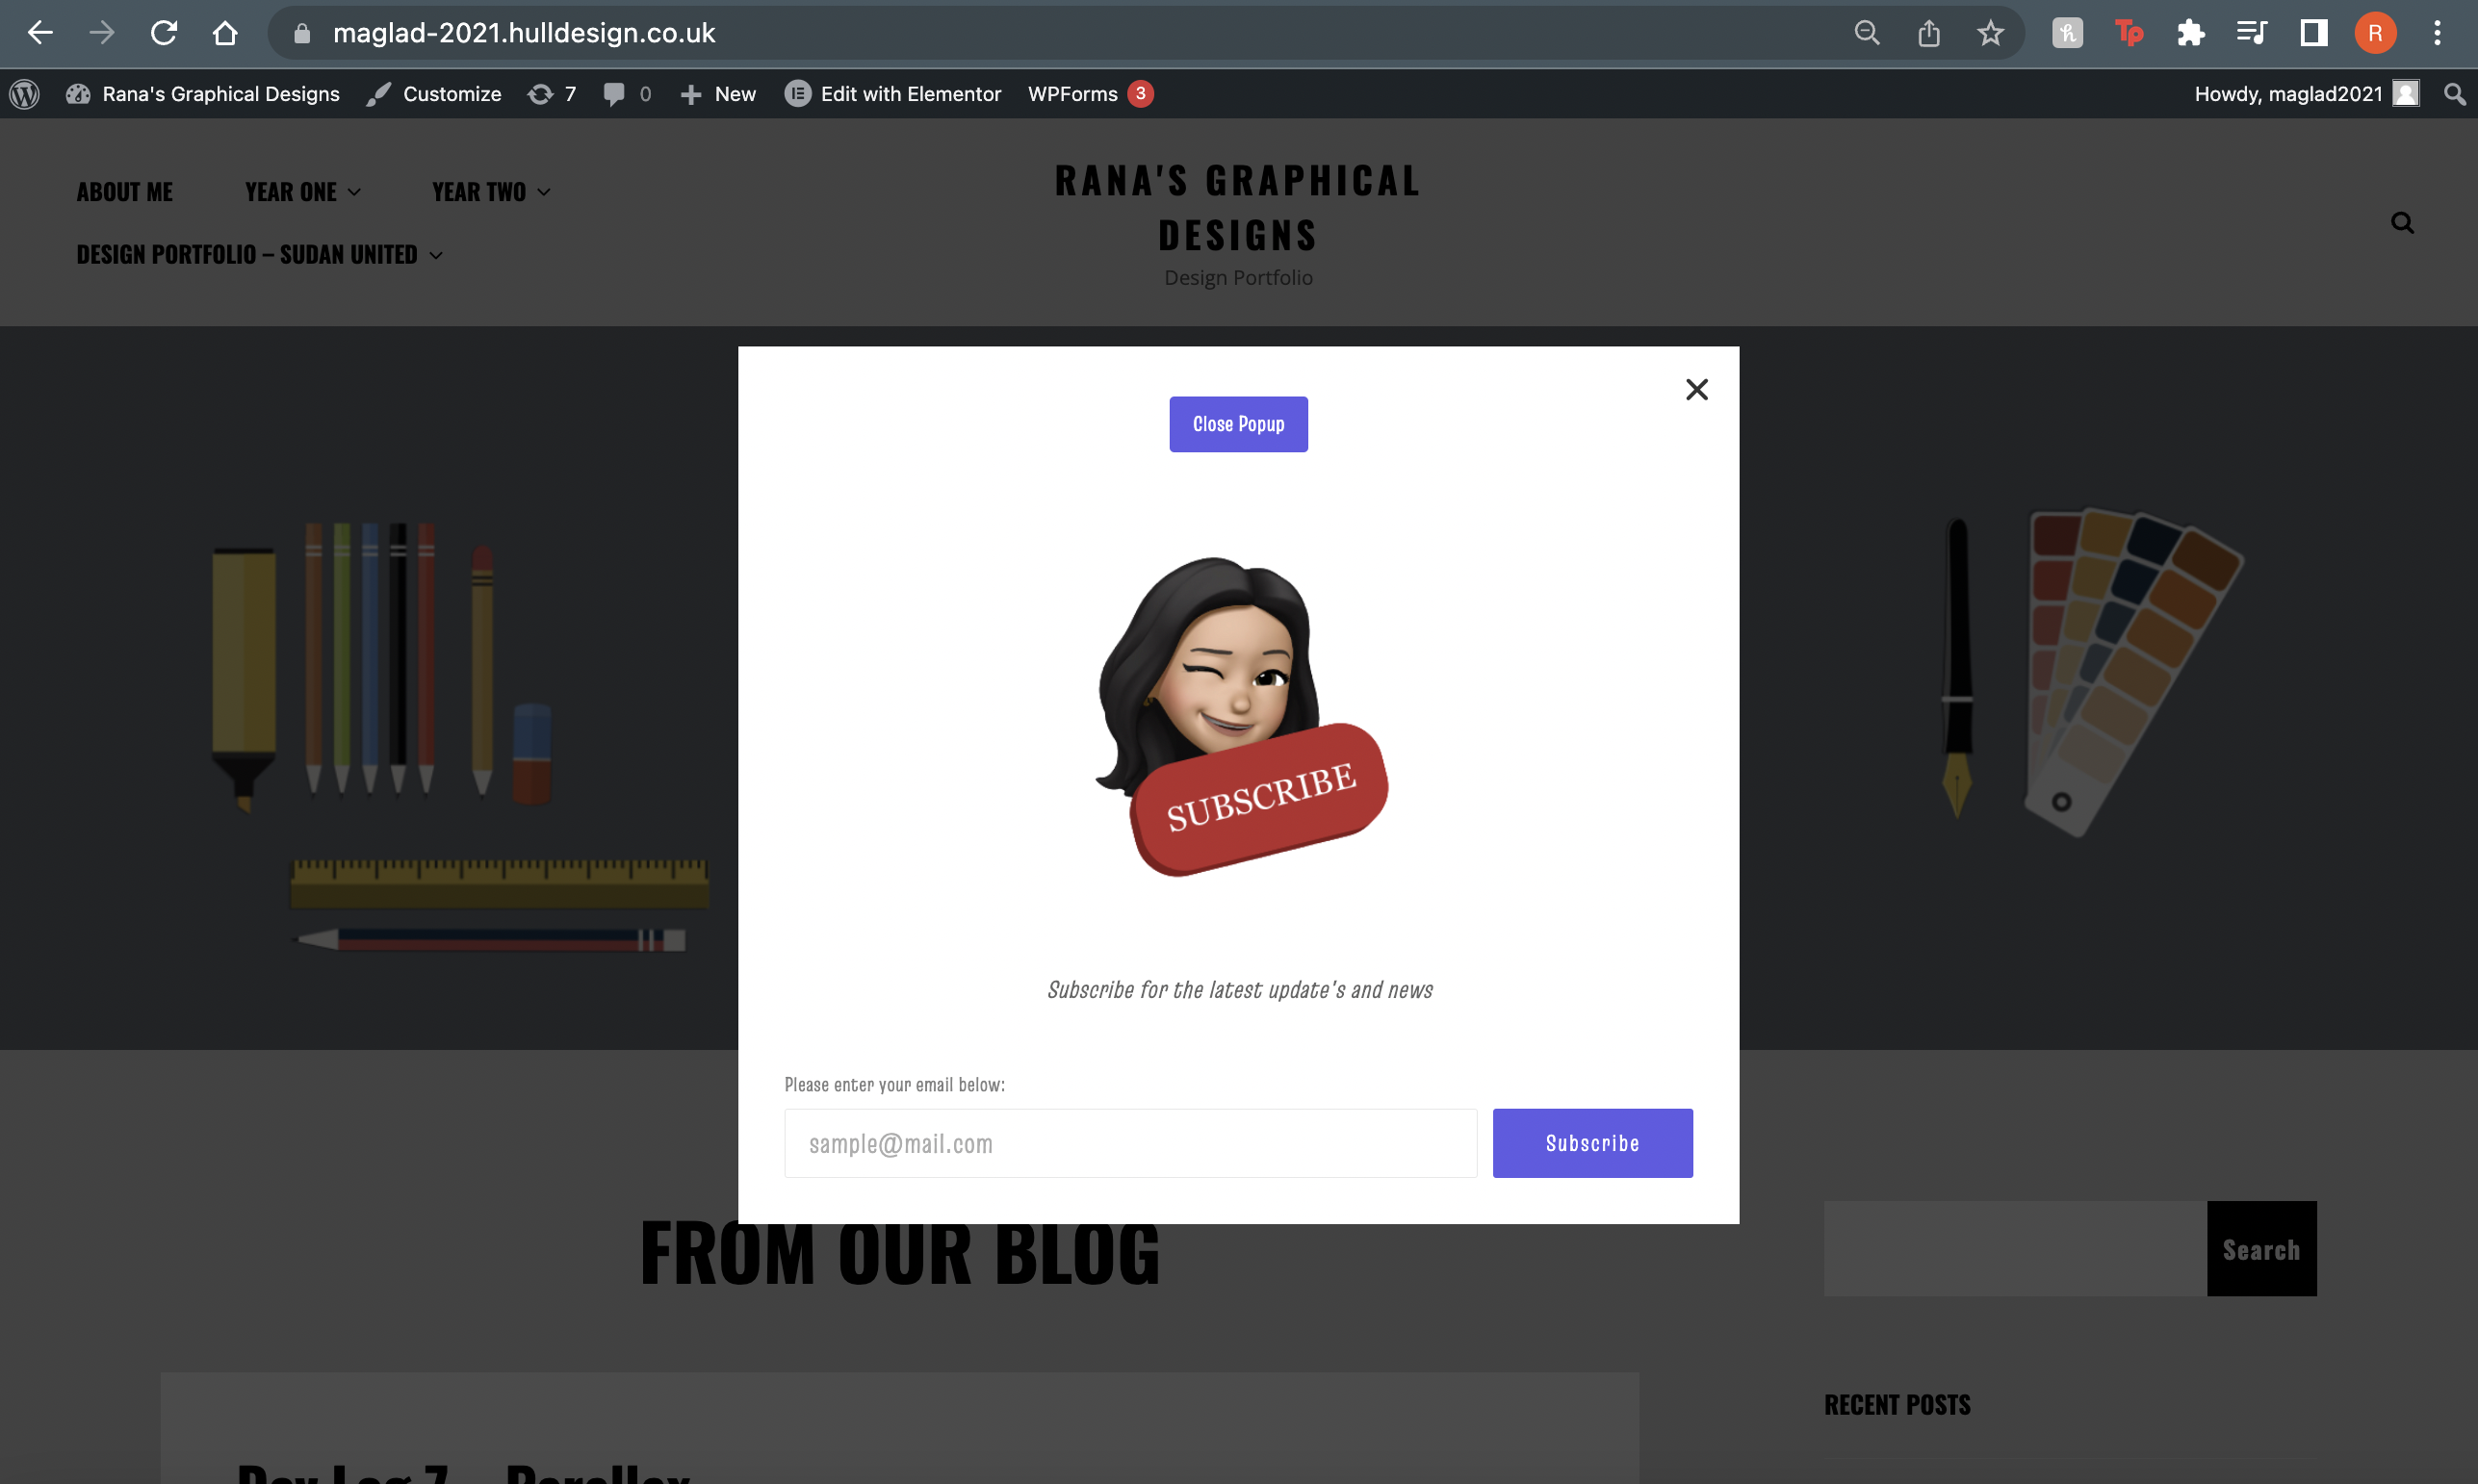
I then went ahead and tested that the popup function works on my WordPress blog, shown in the image above. The popup function allows my users to subscribe to my WordPress sight easier and faster.
Reference:
View Popup: https://maglad-2021.hulldesign.co.uk/?fbclid=IwAR1RT2BSf4MhJzxSA8DtoZcmynyT22_m-YCvtXzKOAjSSEgVhpfPmSCxGIY