
CPanel

When signing into CPanel, a list of different types of tools is opened up on your screen with many different options and selections of settings.
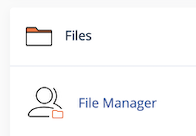
Through the different settings and options, I then scrolled down to “Files” and selected “File Manager”. This step was done to then give me further settings on downloading and creating my web page.
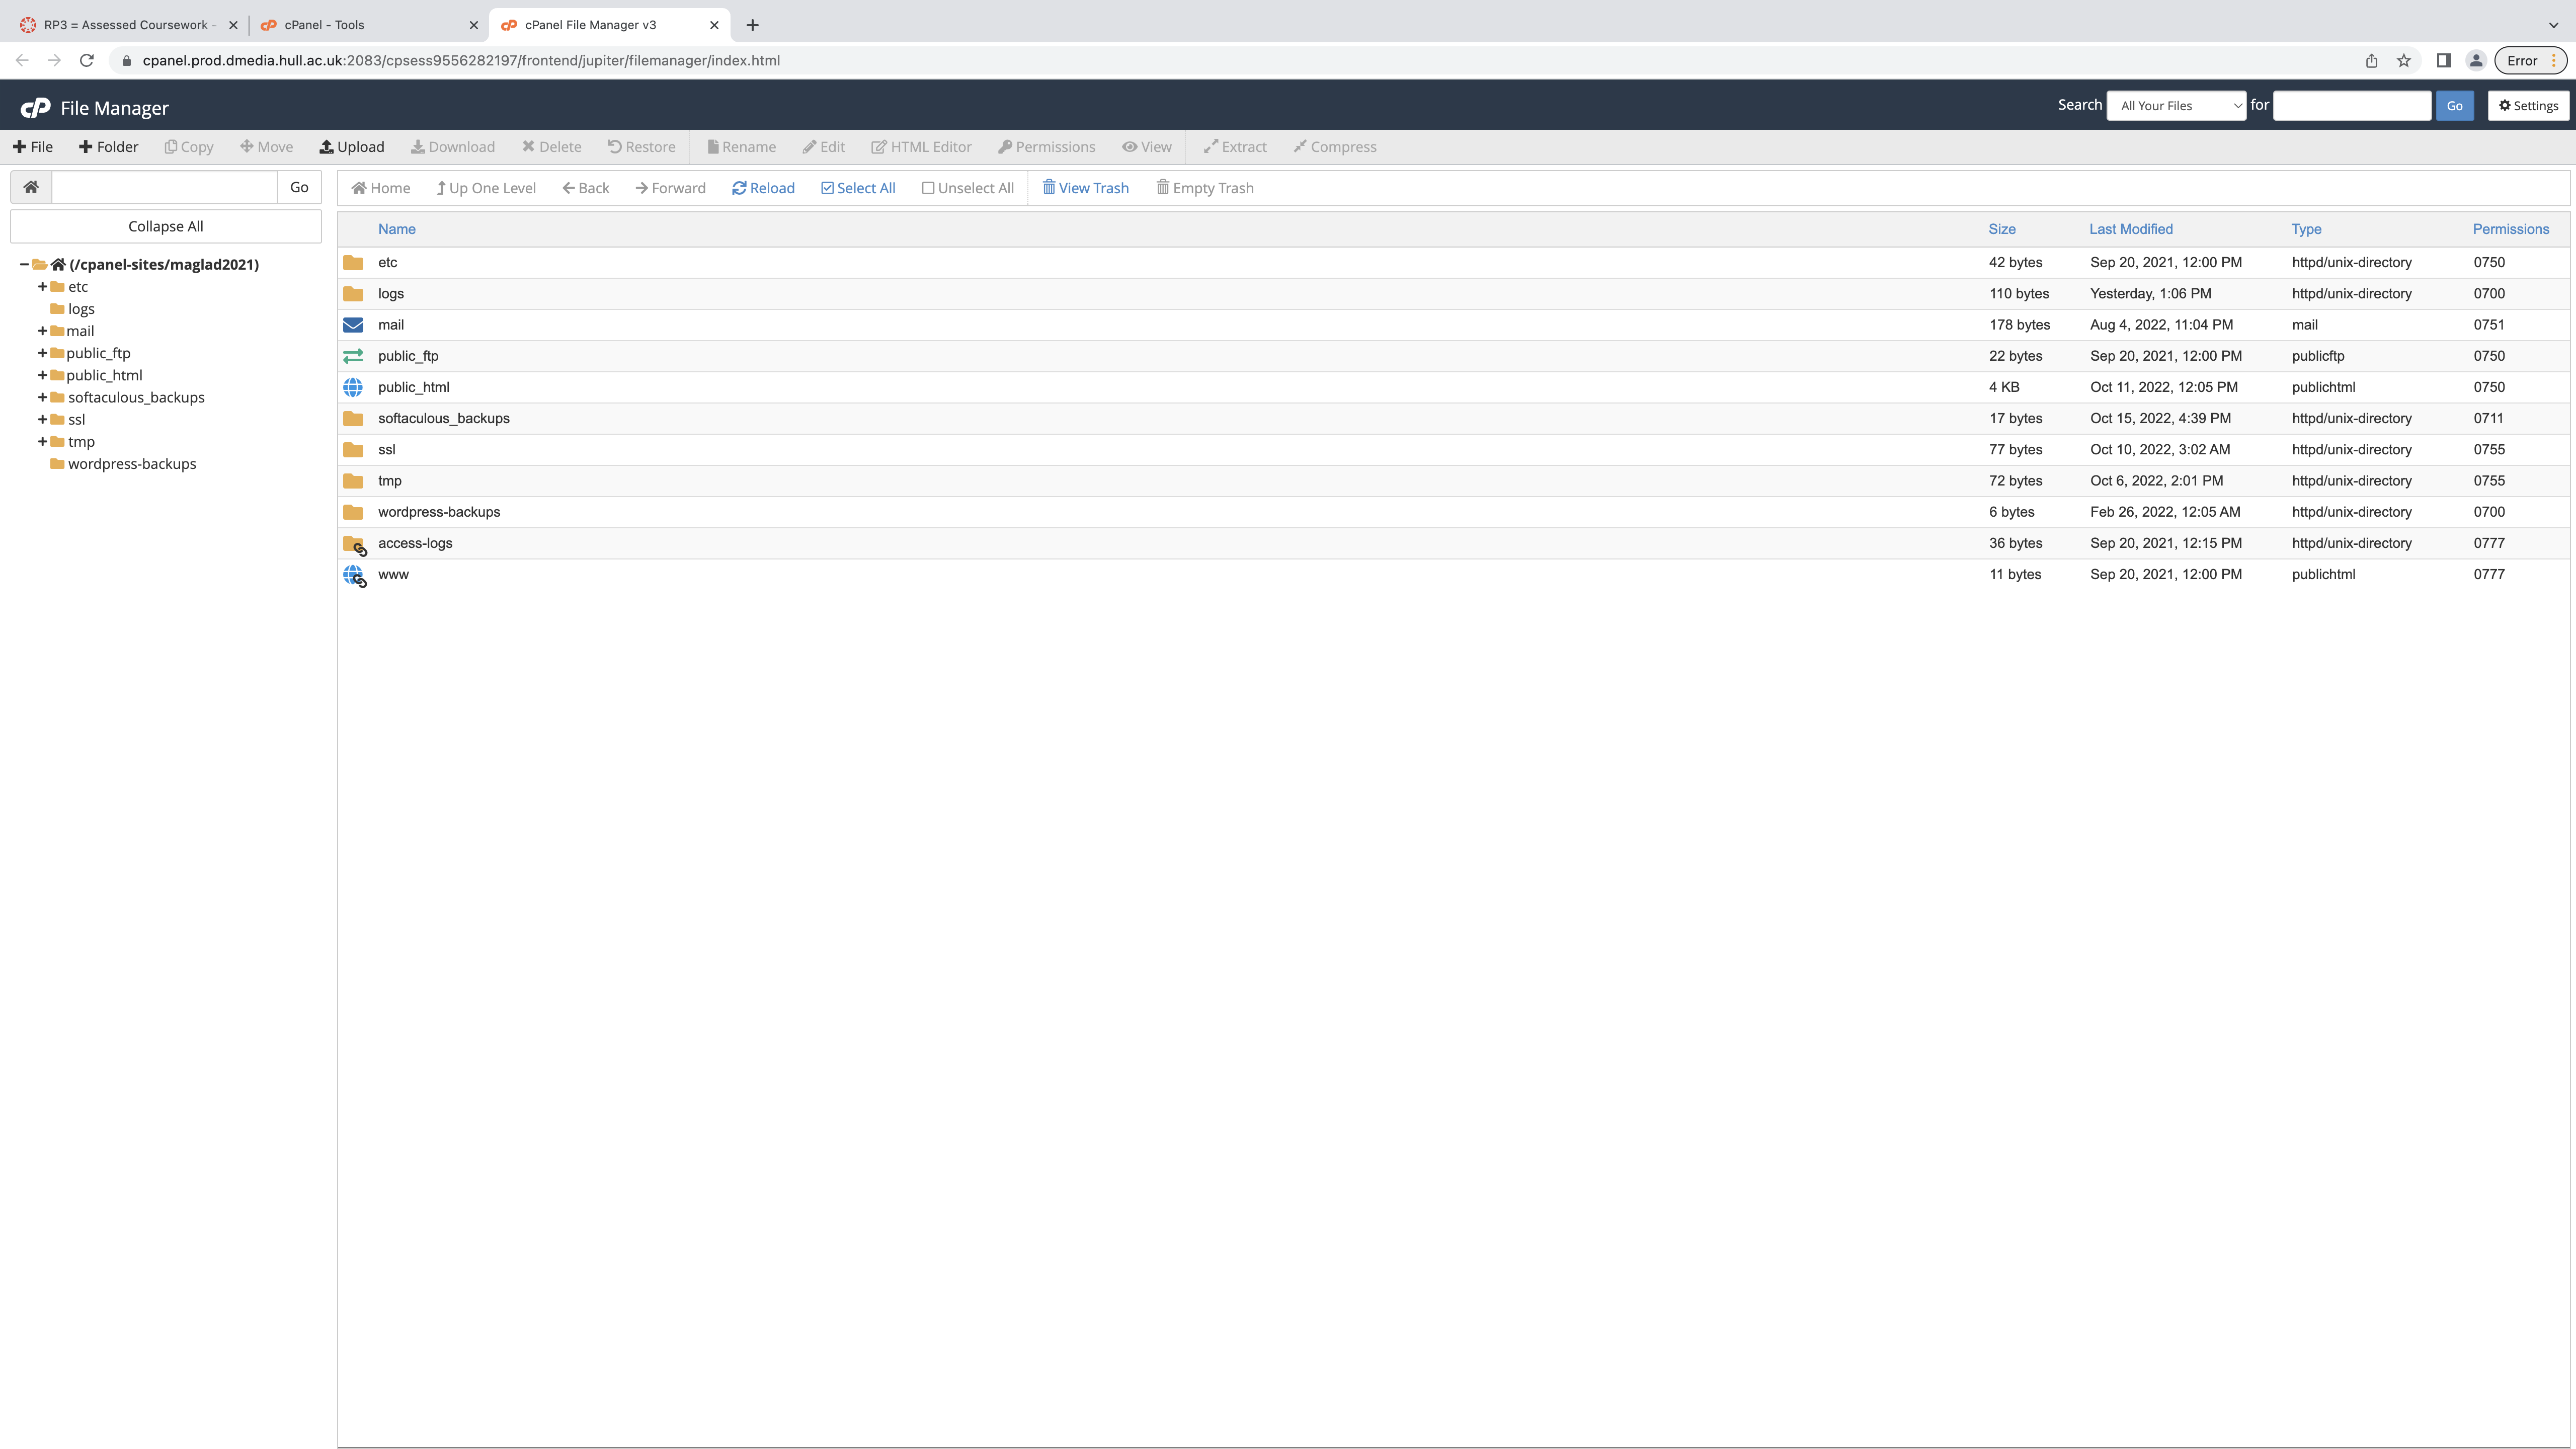
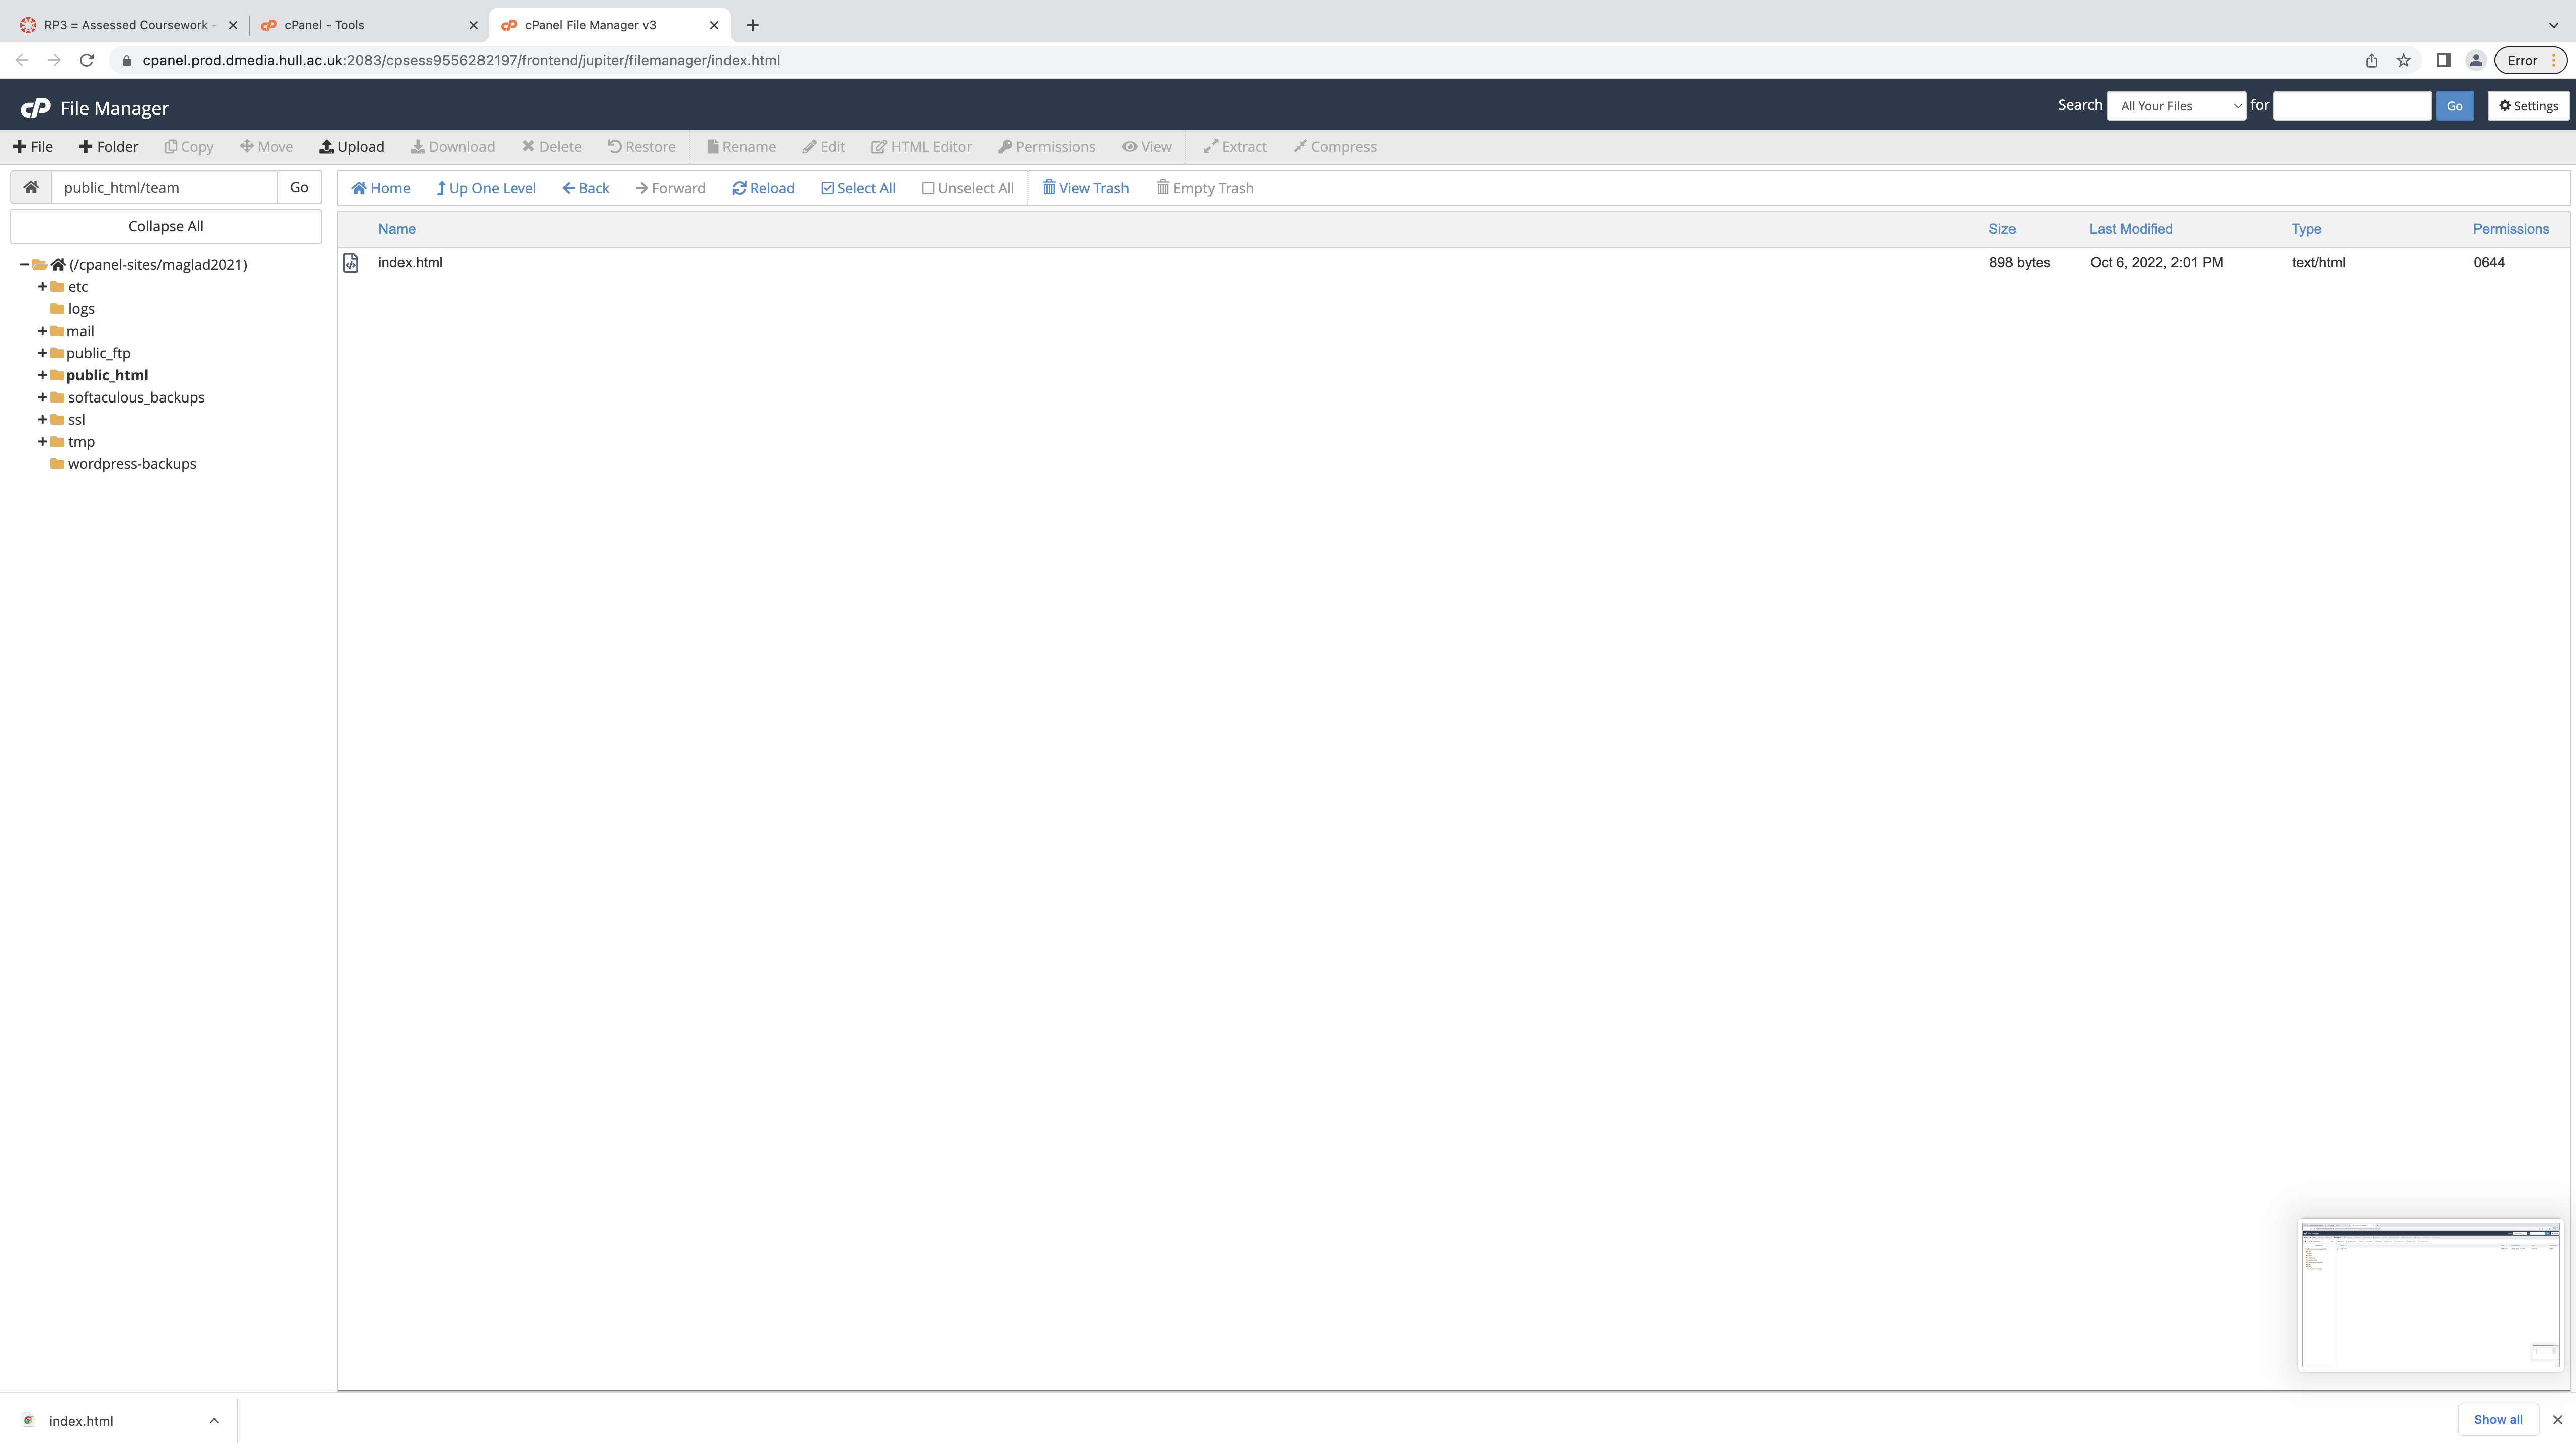
It then showed me the files page which included several different downloaded files to this page, this included file pages that are shown across CPanel, however, so I could have my section for my webpage, I needed to add a new folder.
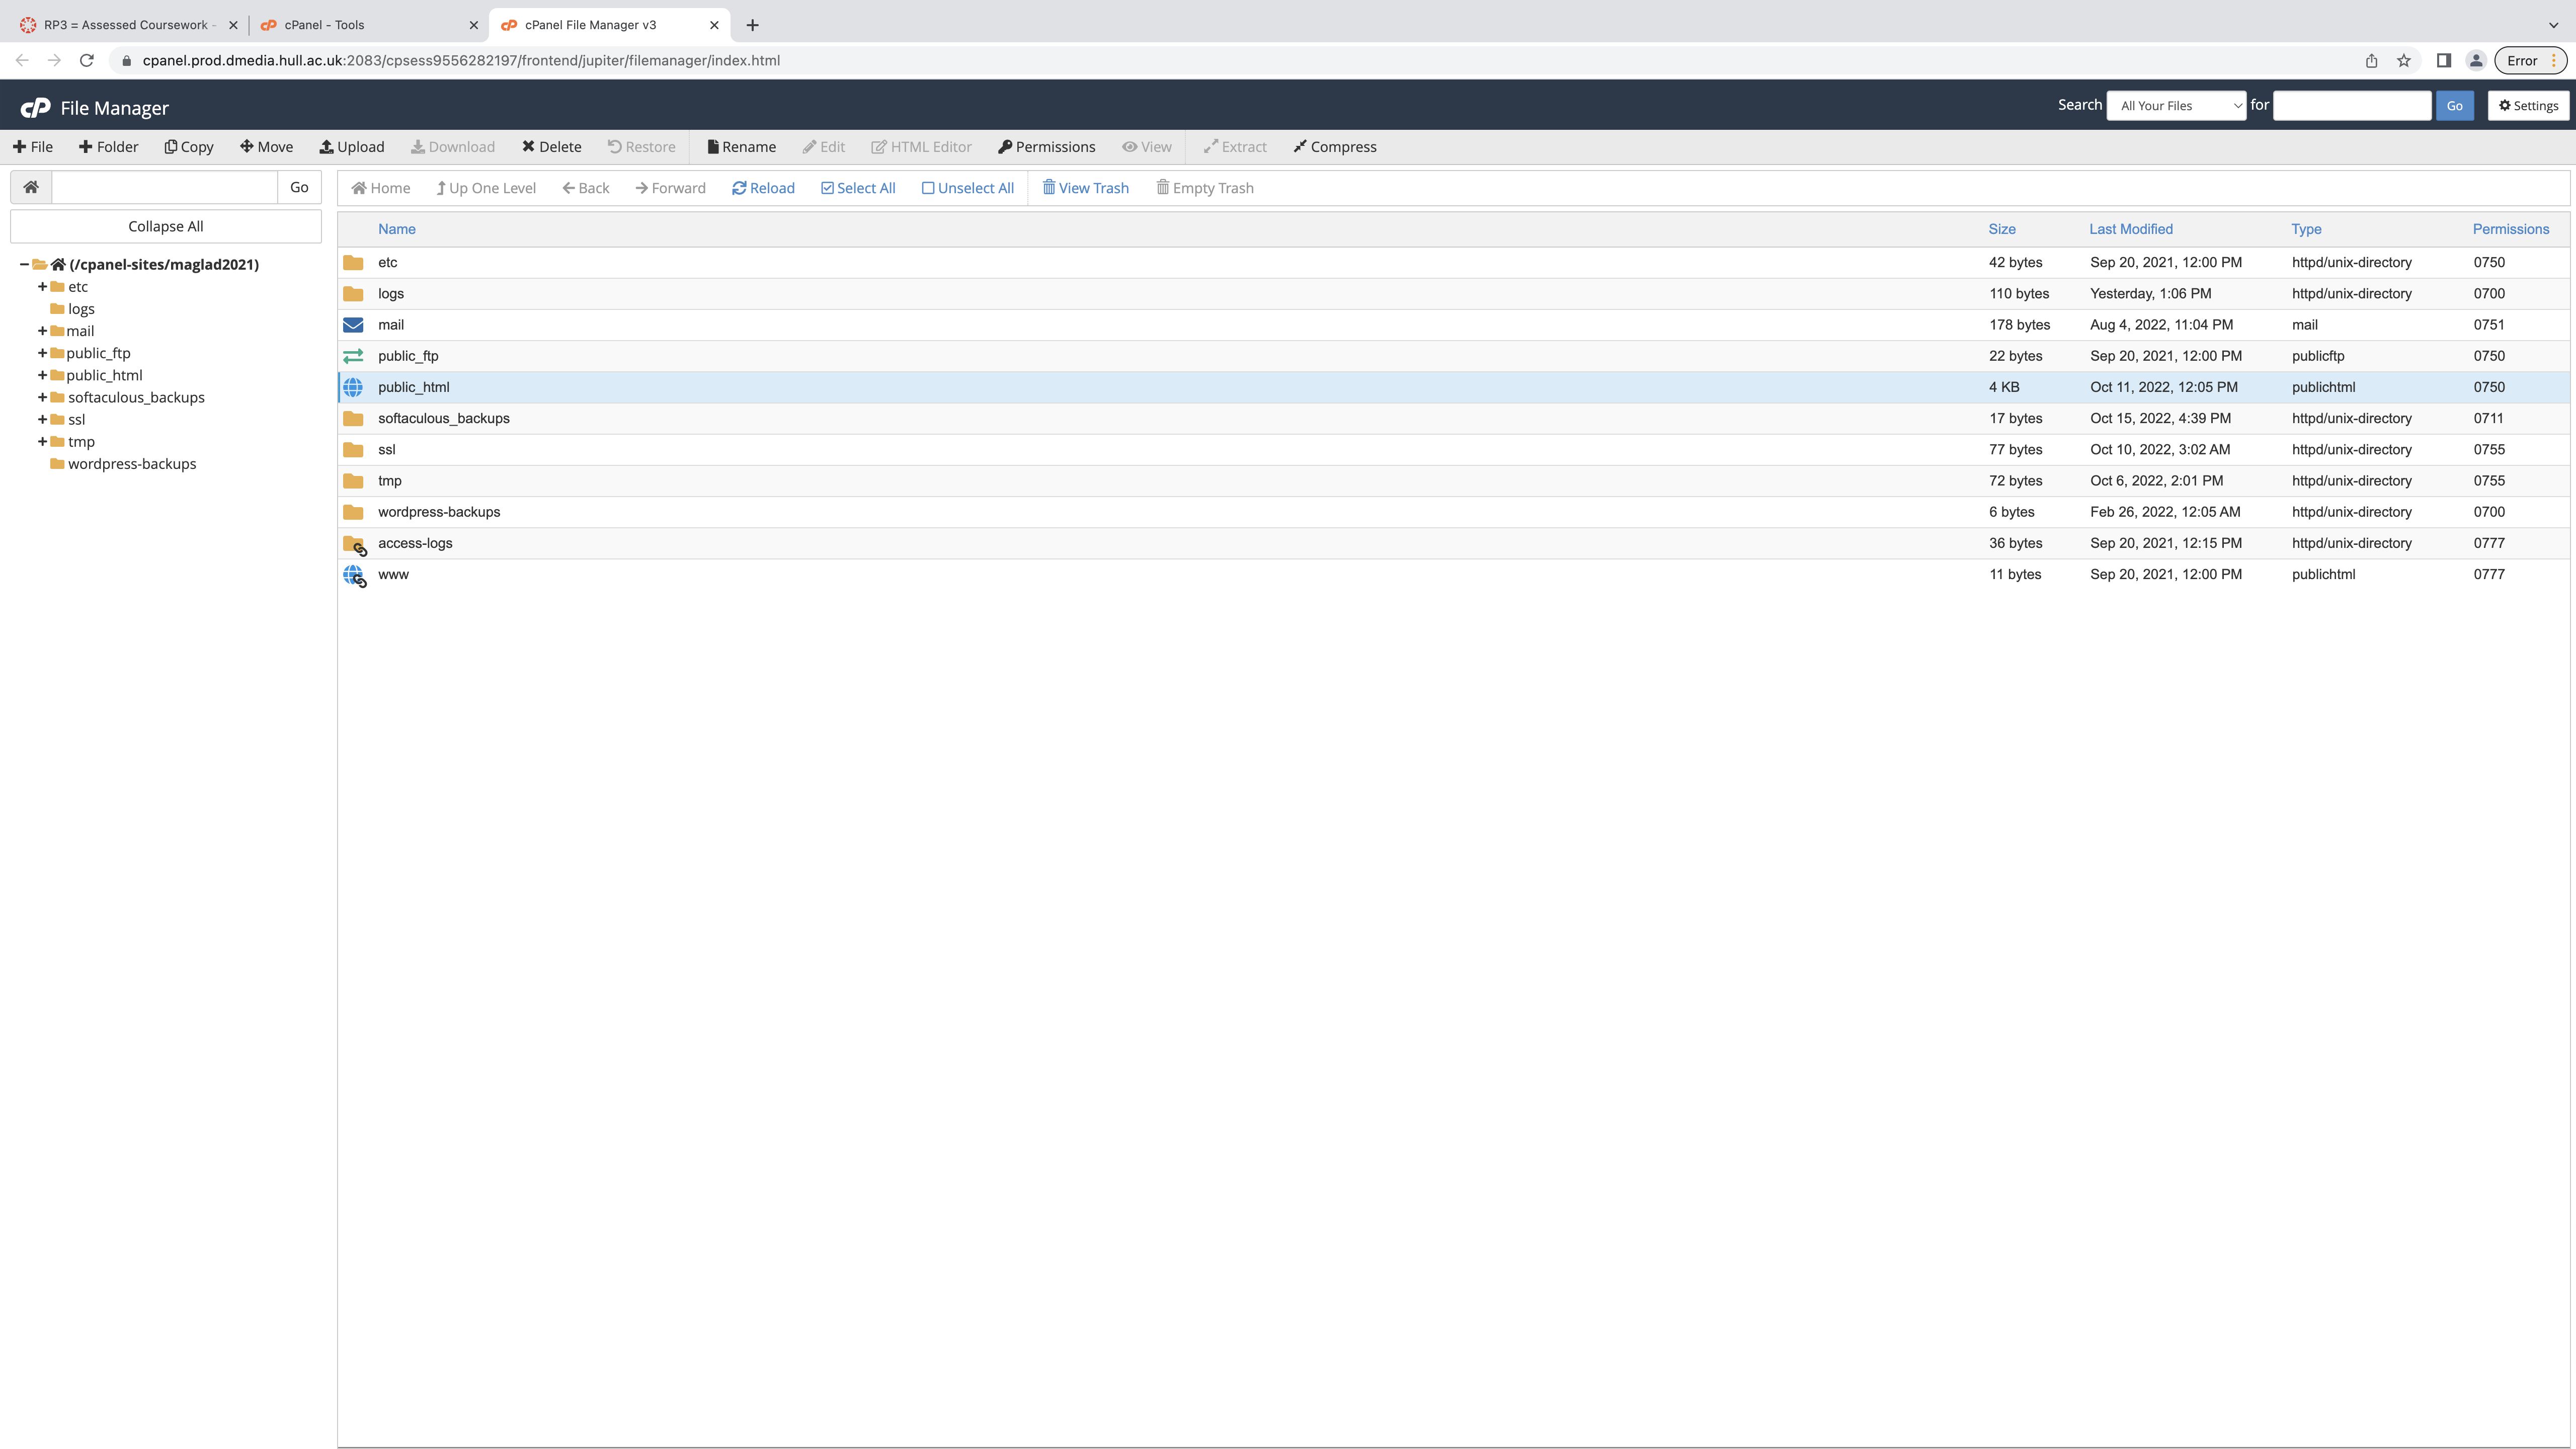
Because I plan to create a website, I would need to access the “public_html” folder so that my website can be opened through the HTML portal, I created my folder through this section.
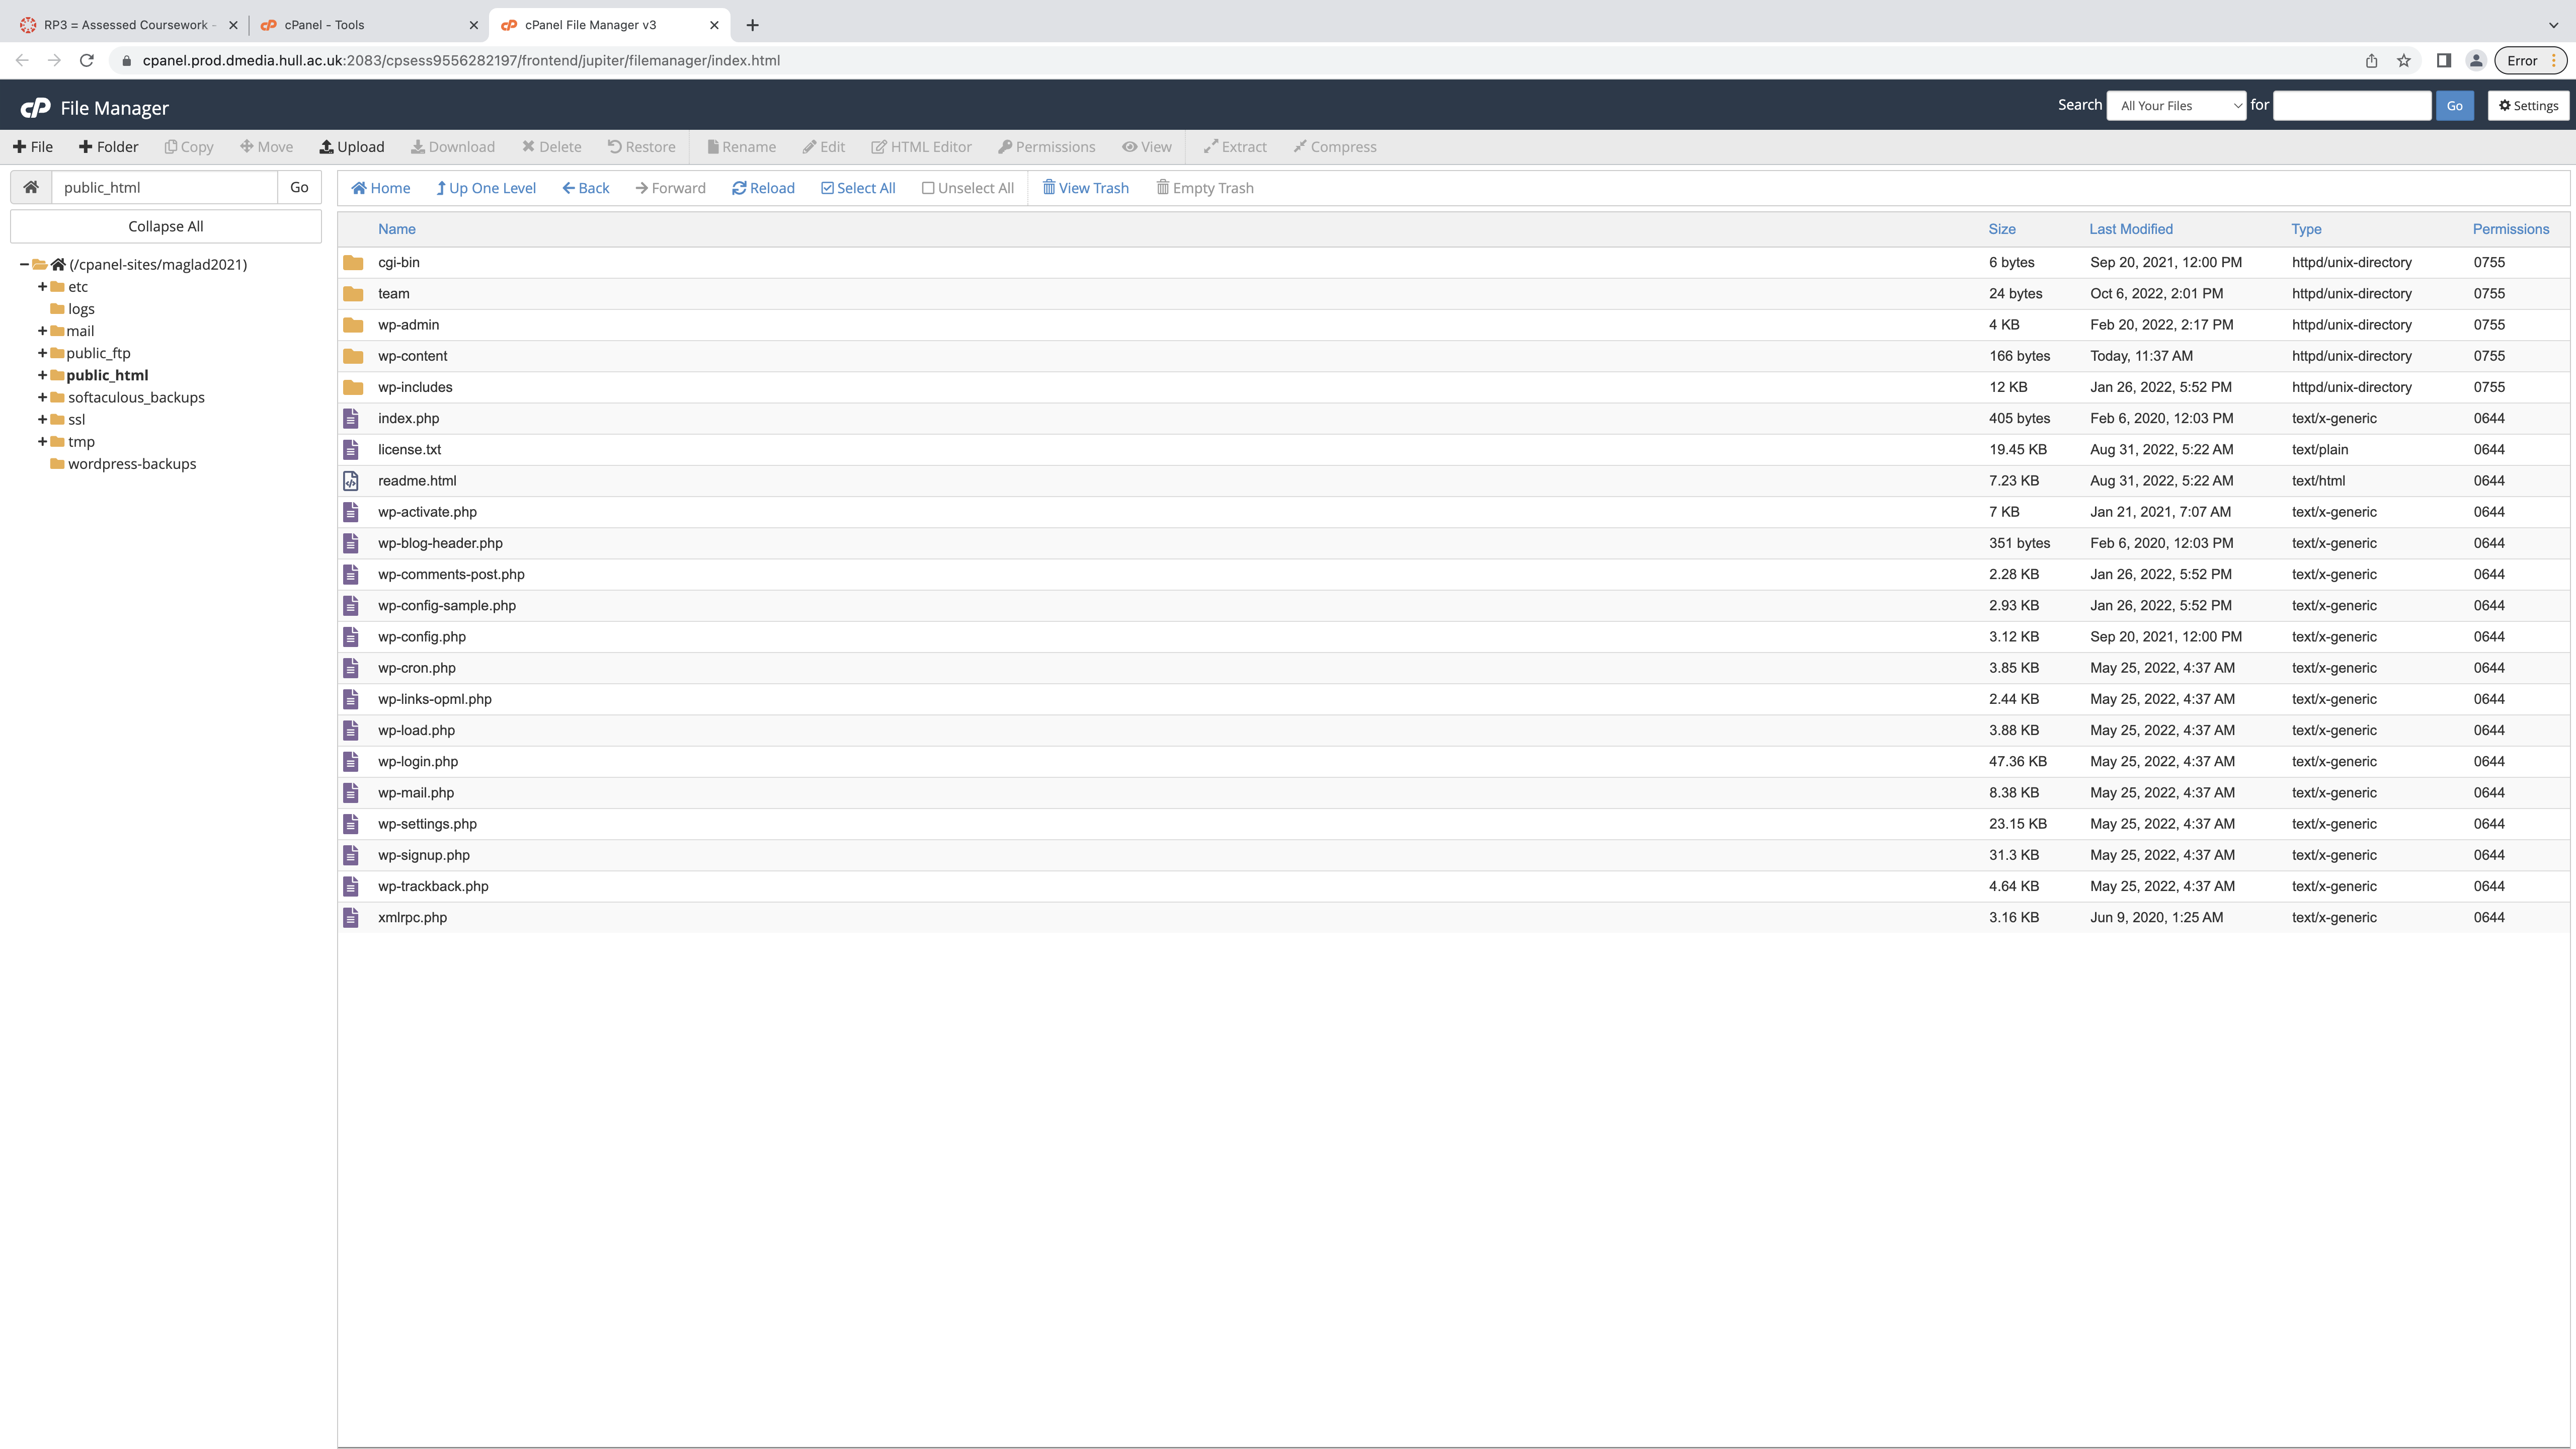
As shown in the image above, when you open the “Public_html” folder, several different created files are listed on the page, these files are all linked to different parts of the website for CPanel. Continuing to make my website, I added my folder and named it ‘Teams’.
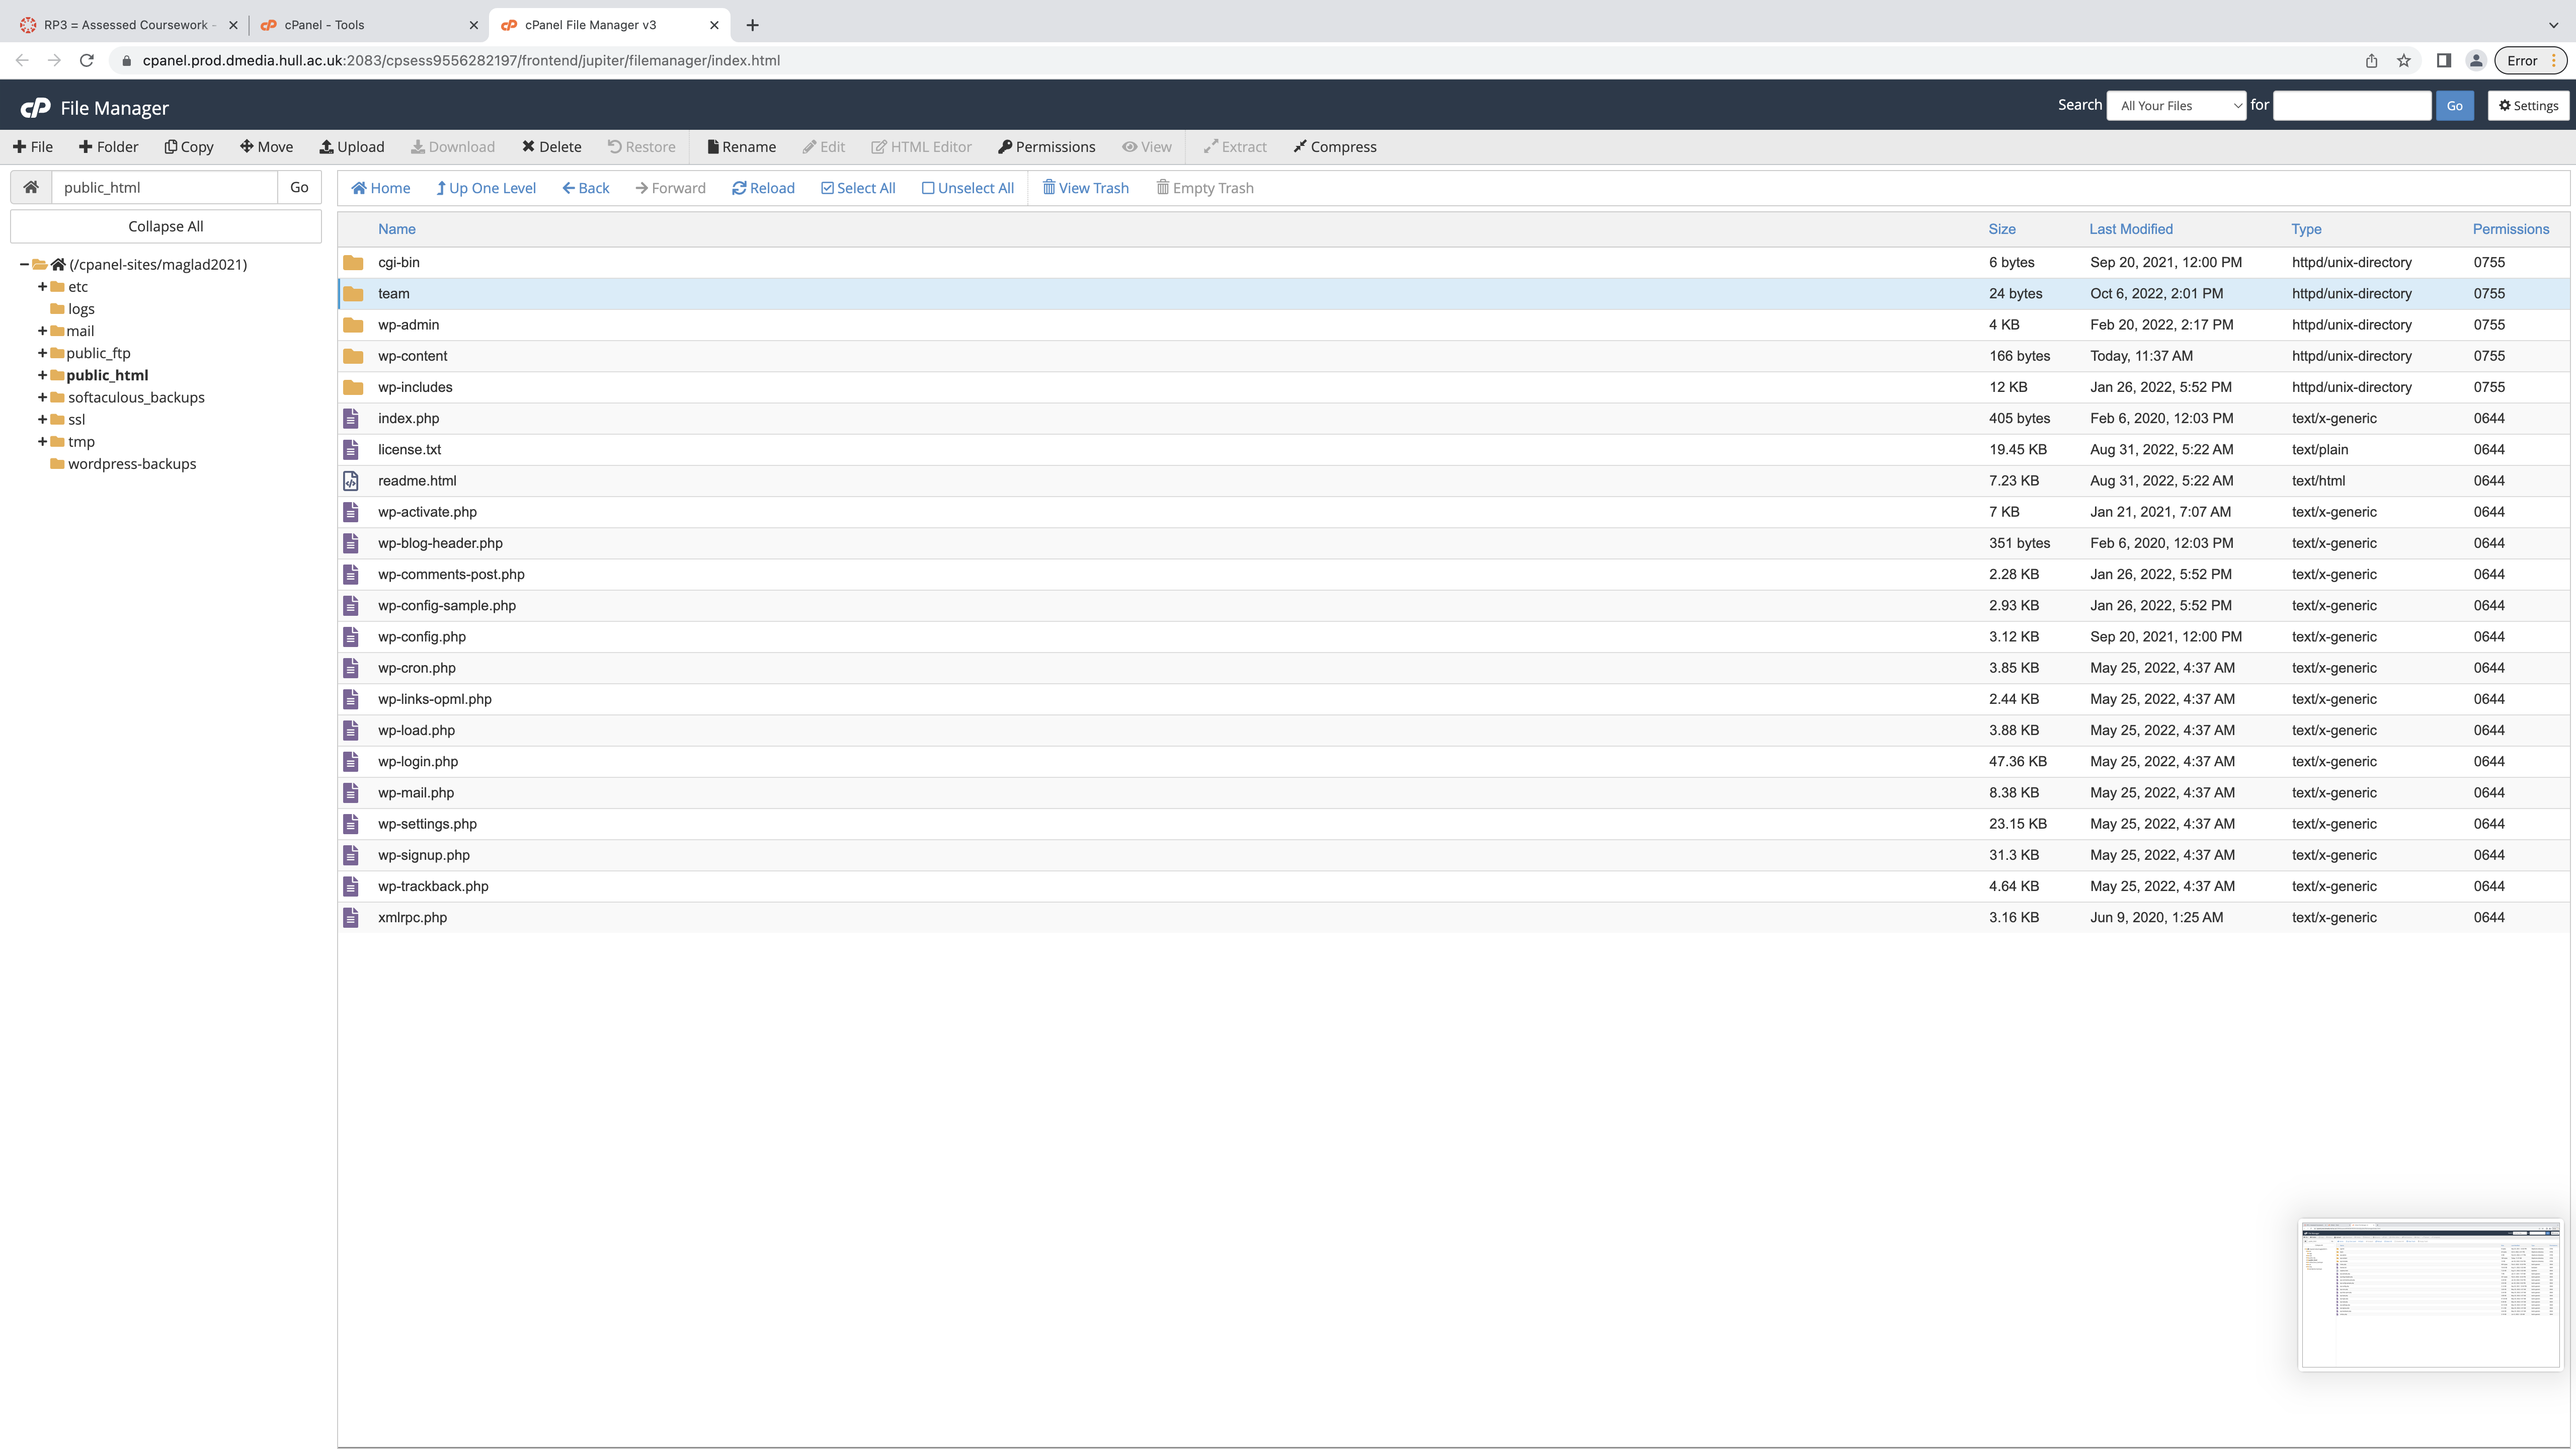
The reason I had chosen a simple name such as ‘teams’, the less complex the title is for the website, the less complex the system has calculated how to open that specific page. Make sure when creating this name, you have no capitals, no symbols or numbers. This makes it easier for the system not to get confused, since these symbols and numbers are used for coding to help open this webpage.
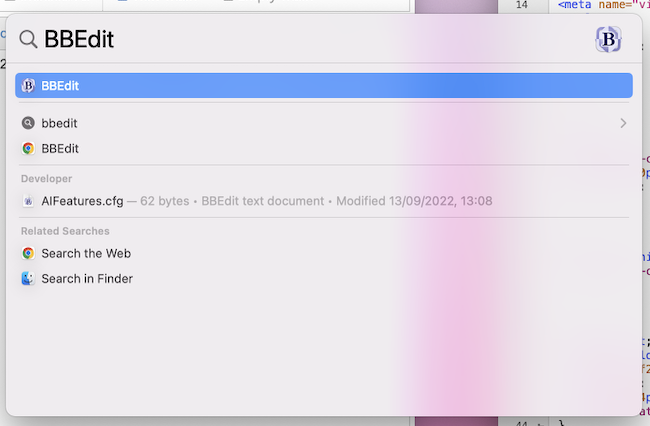
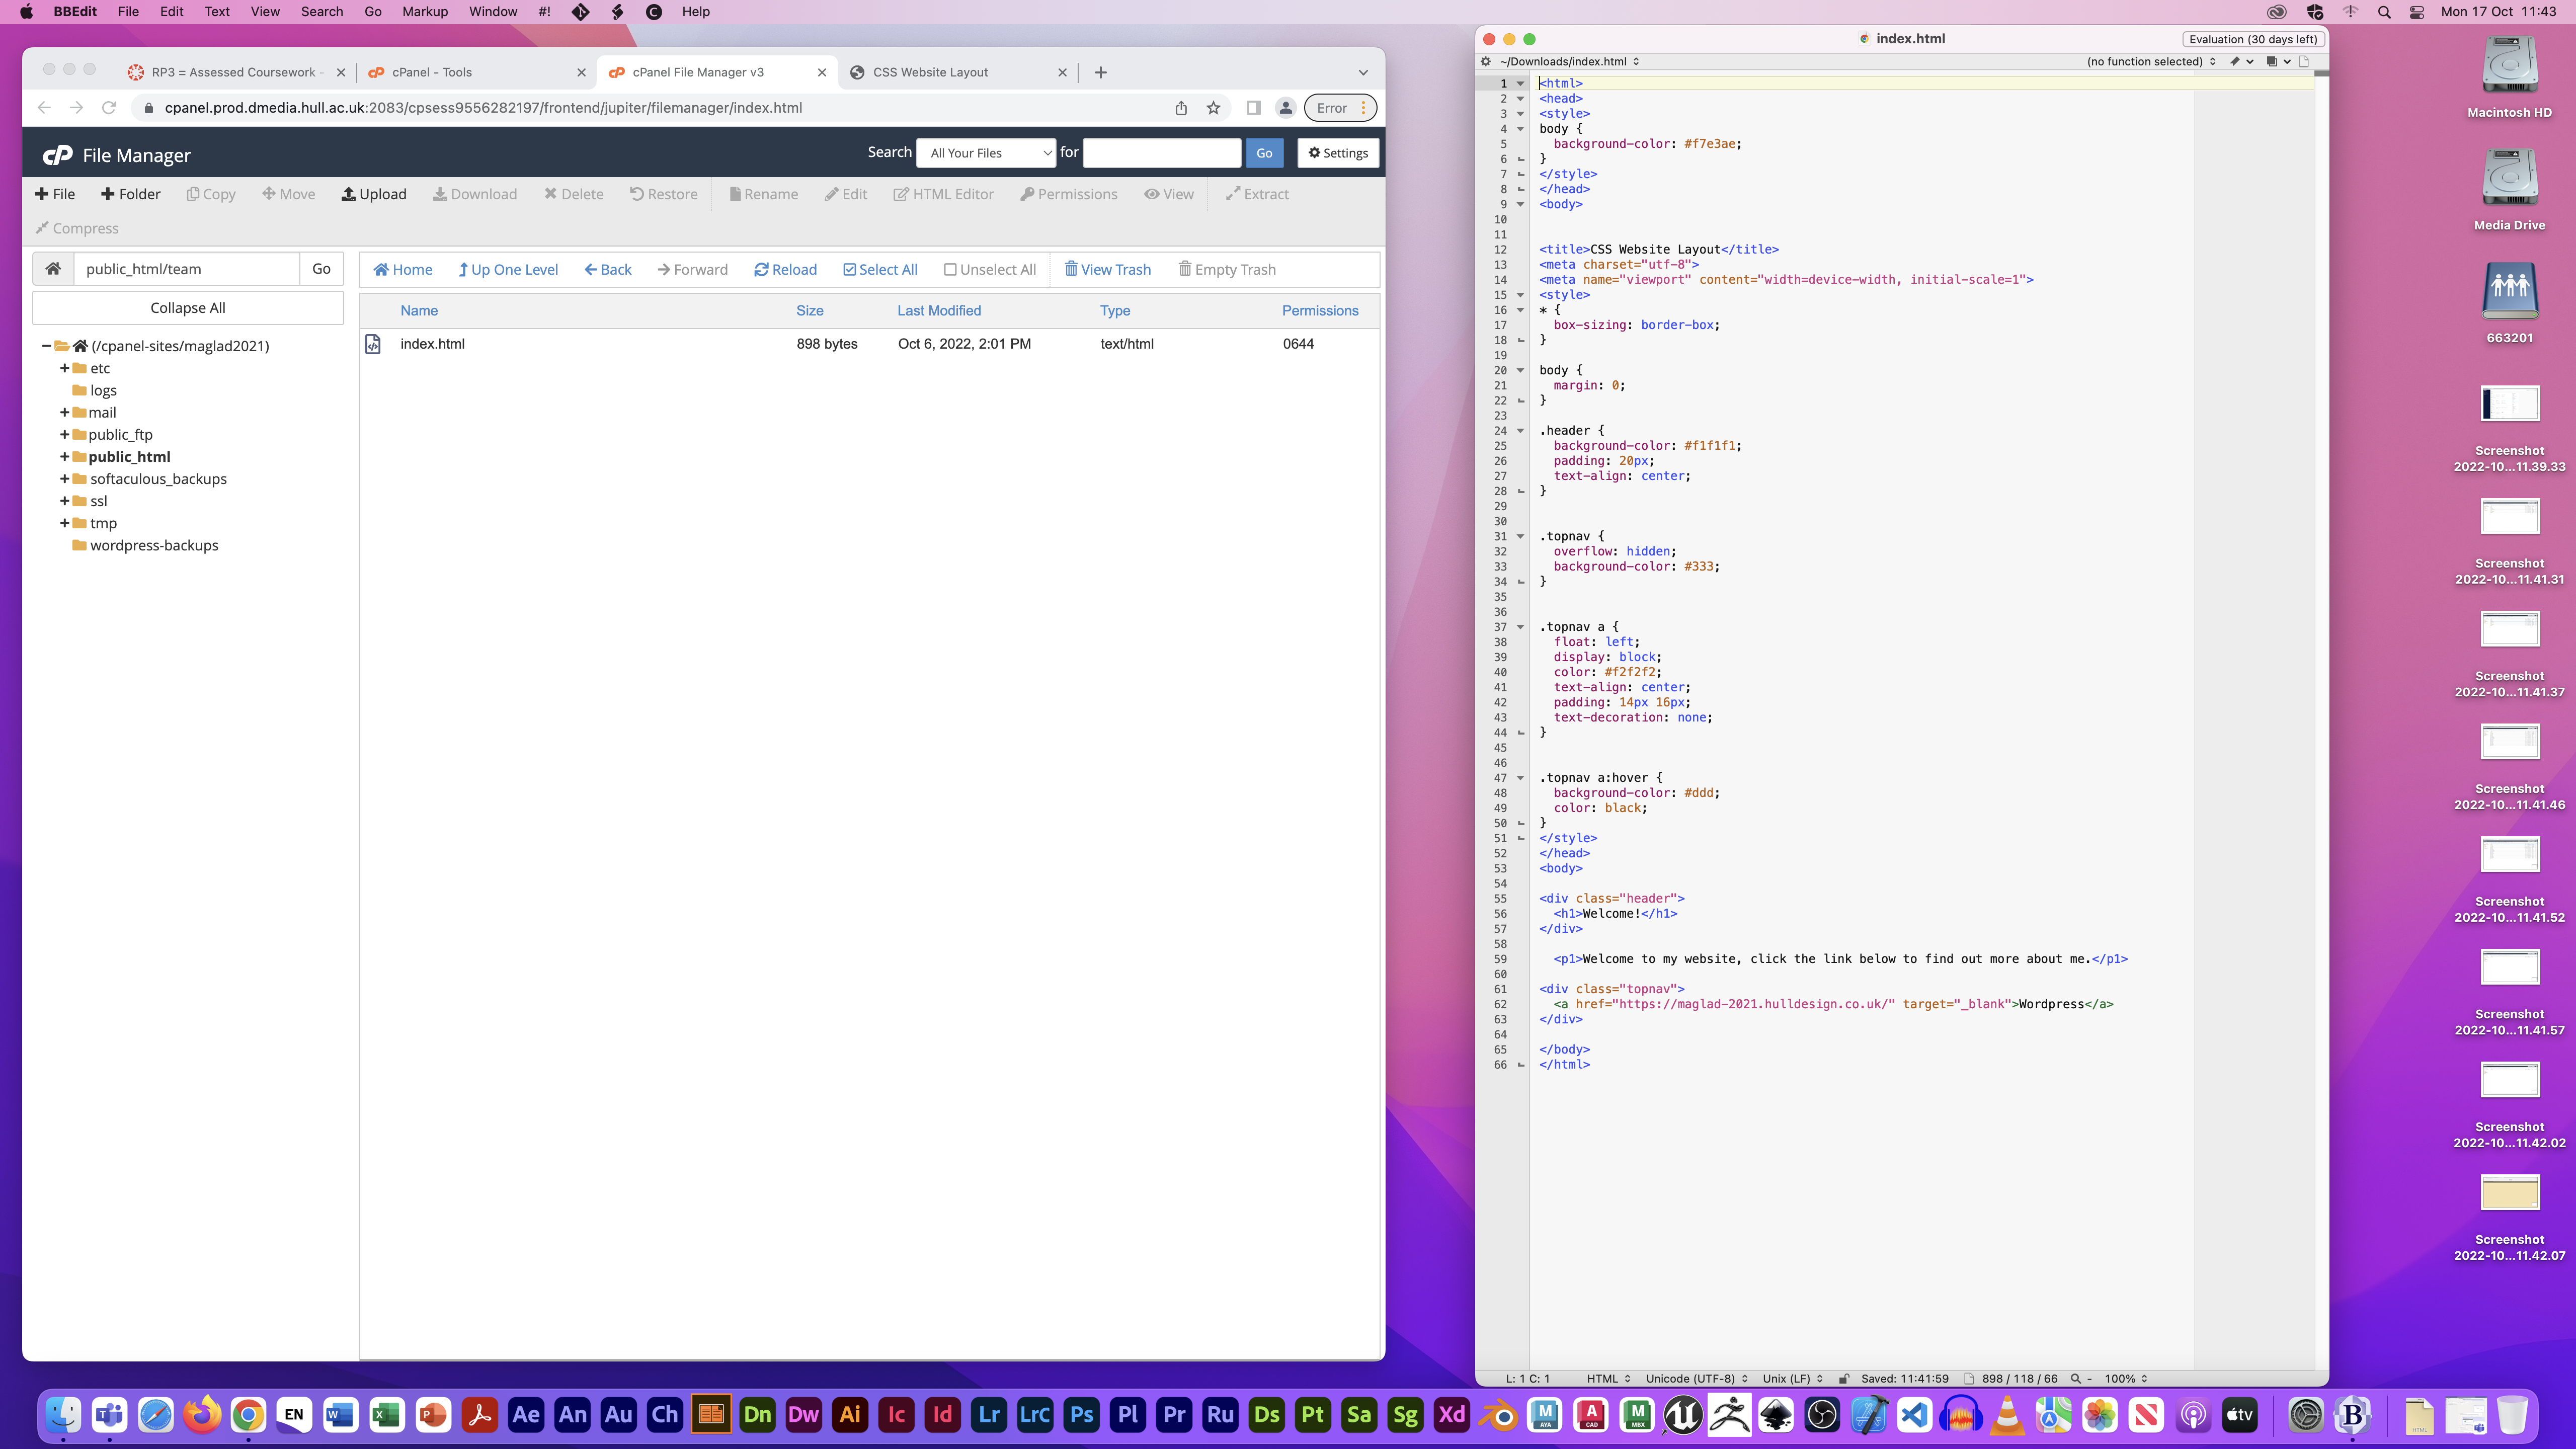
I think went above and searched for “BBEdit”, an application that help allows me to write and download a piece of written code to help create my webpage.
“BBEdit” opens up as an empty page with a numbered list on the side, this list helps organise and number every section of code to help the computer system calculate the steps to produce the designed webpage through this software.
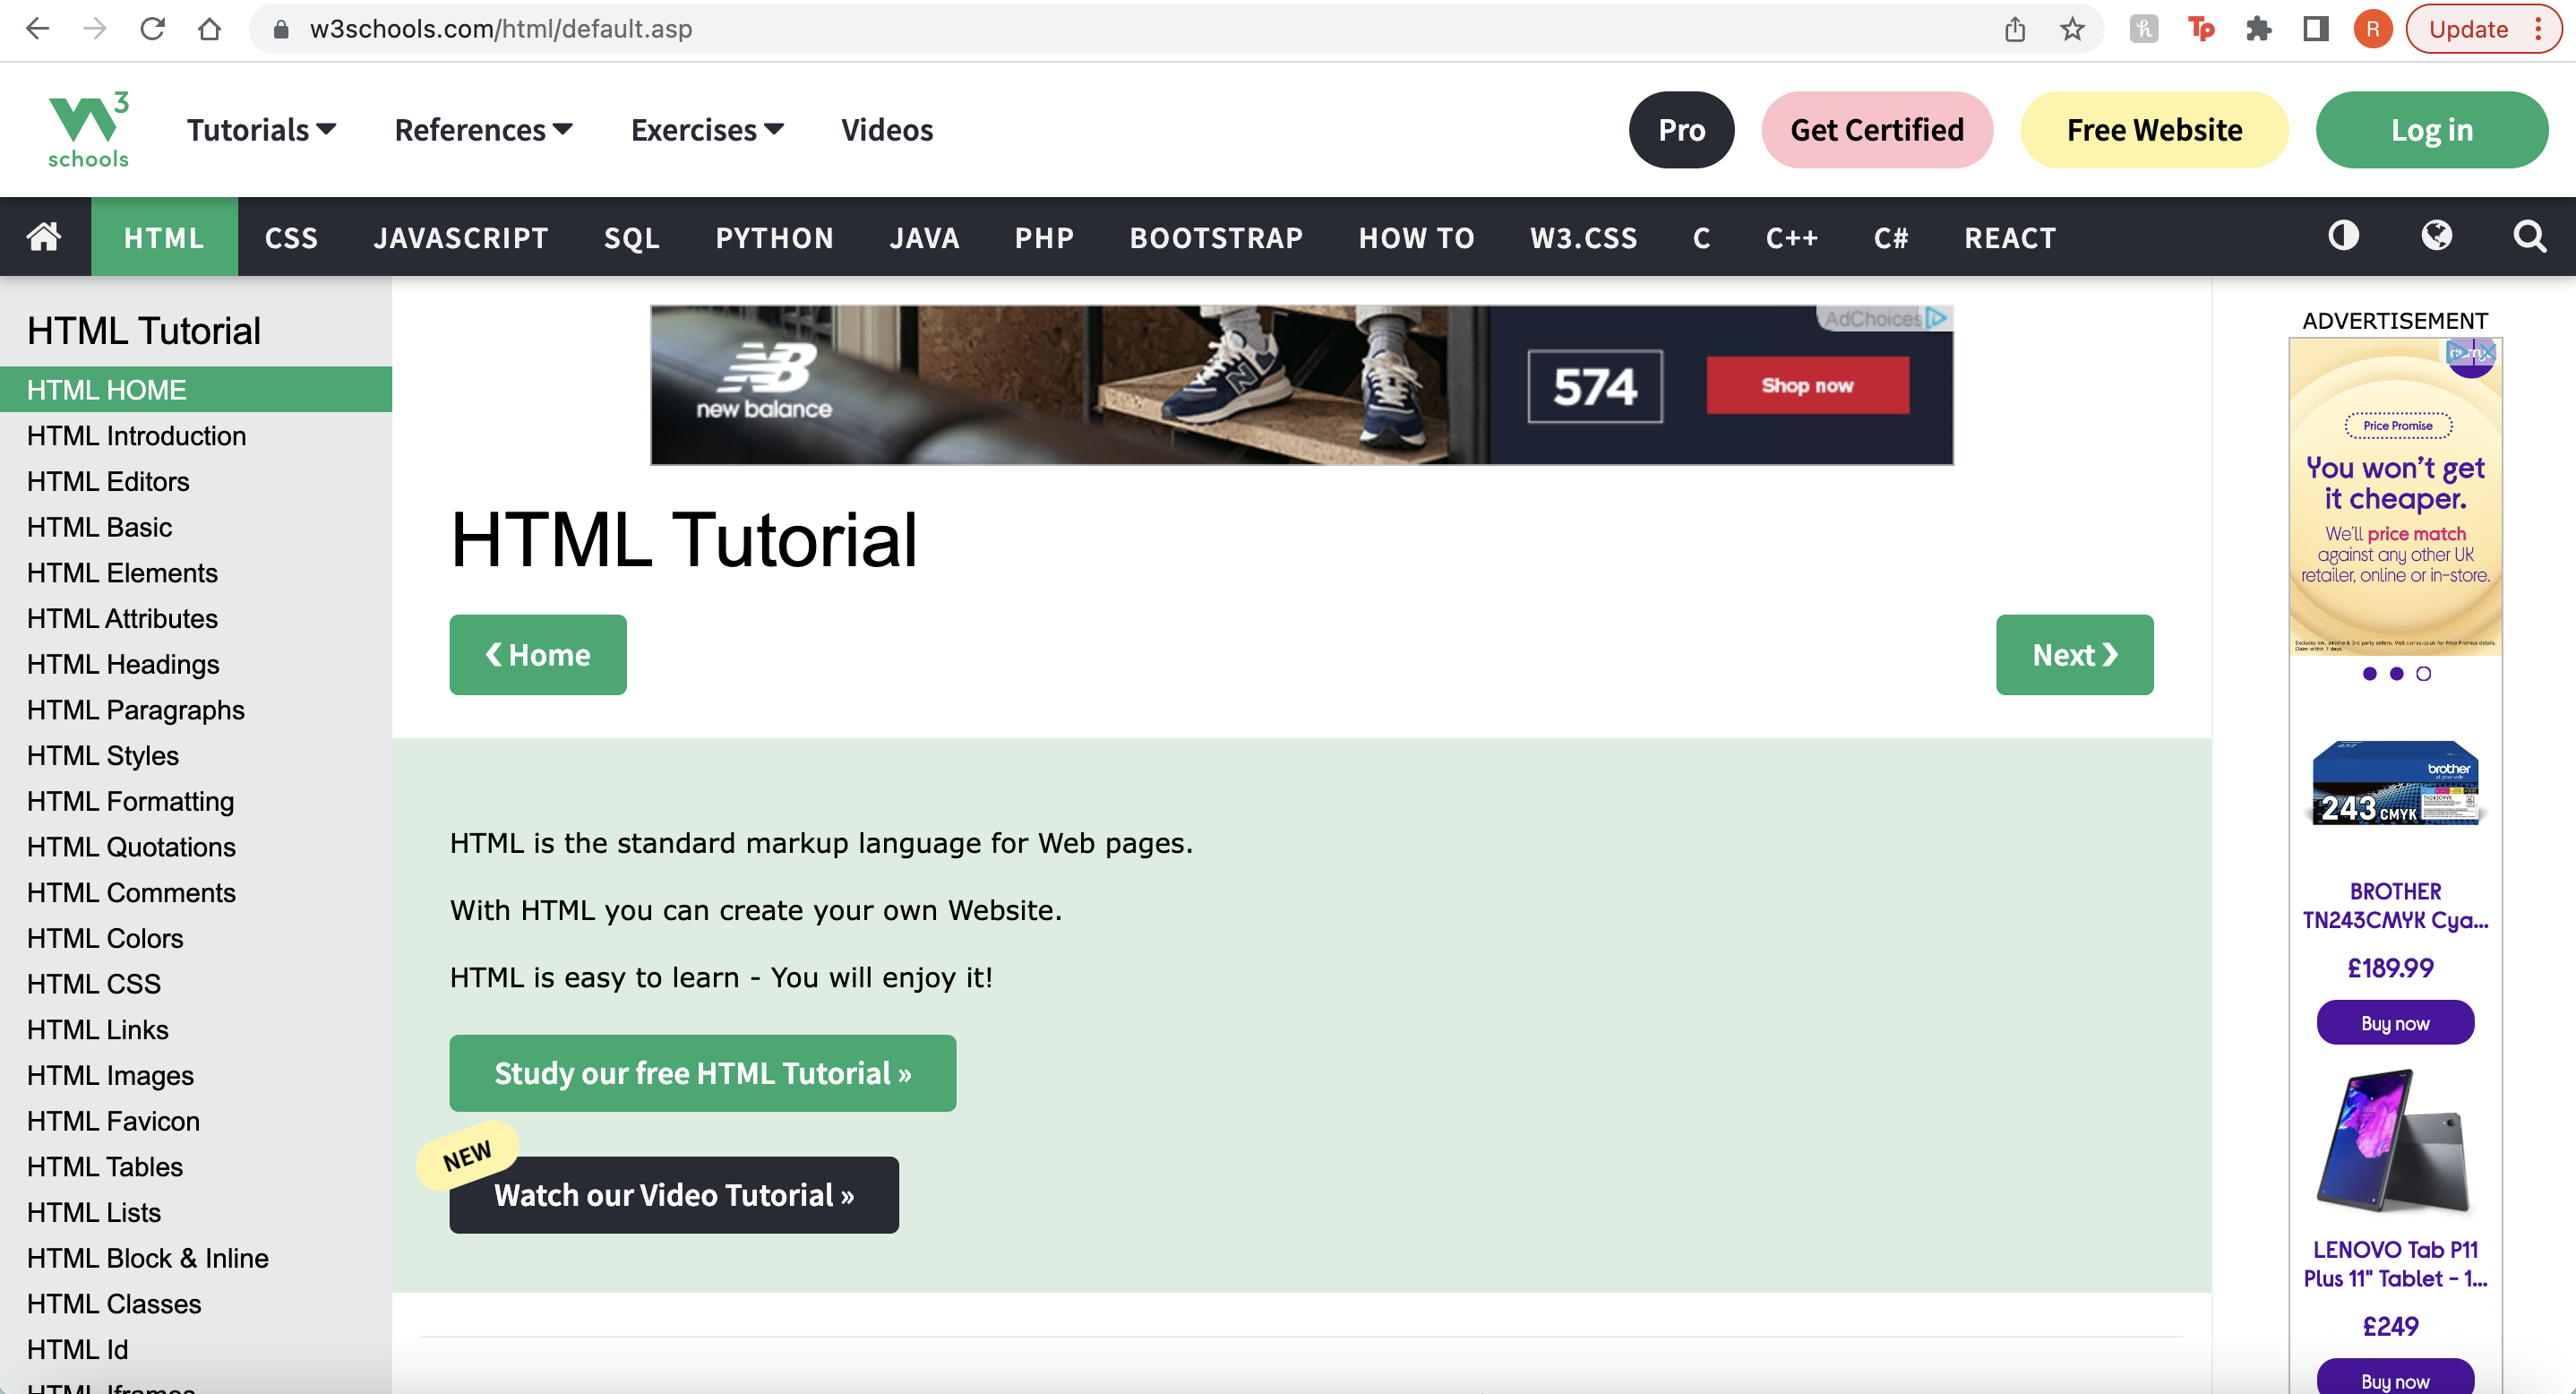
W3Schools is a website that includes many different packages of tutorials to help create a webpage. It consists of different ‘HTML’ and ‘CSS’ styles to create and style your webpage through different writings of code. Each one created in its special way can be copied and pasted to your BBEdit page, and saved to create your styled webpage. The HTML section is to help create the website itself and created your style of layout, any paragraphs and headings you wish to add to your website can be done through this section. The CSS style is a separate page that allows you to ‘decorate’ and style your website the way you wish, such as adding colours and a structured layout design to your website, can be added to this section.
Using the W3Schools website, I selected a couple of written examples of code from the tutorial to help create an opening to my webpage. Selecting these examples, I added them to my empty BBEdit page, and saved this sheet as a ‘home page’.
Once I had written up all my coding pages, I then saved them and went back to my CPanel page. I went to the section for downloading files and uploaded my create ‘home page’ to my ‘Teams’ file. This was successfully downloaded and saved which then allowed me to open up my saved piece of coding as a ‘home page’ website online.
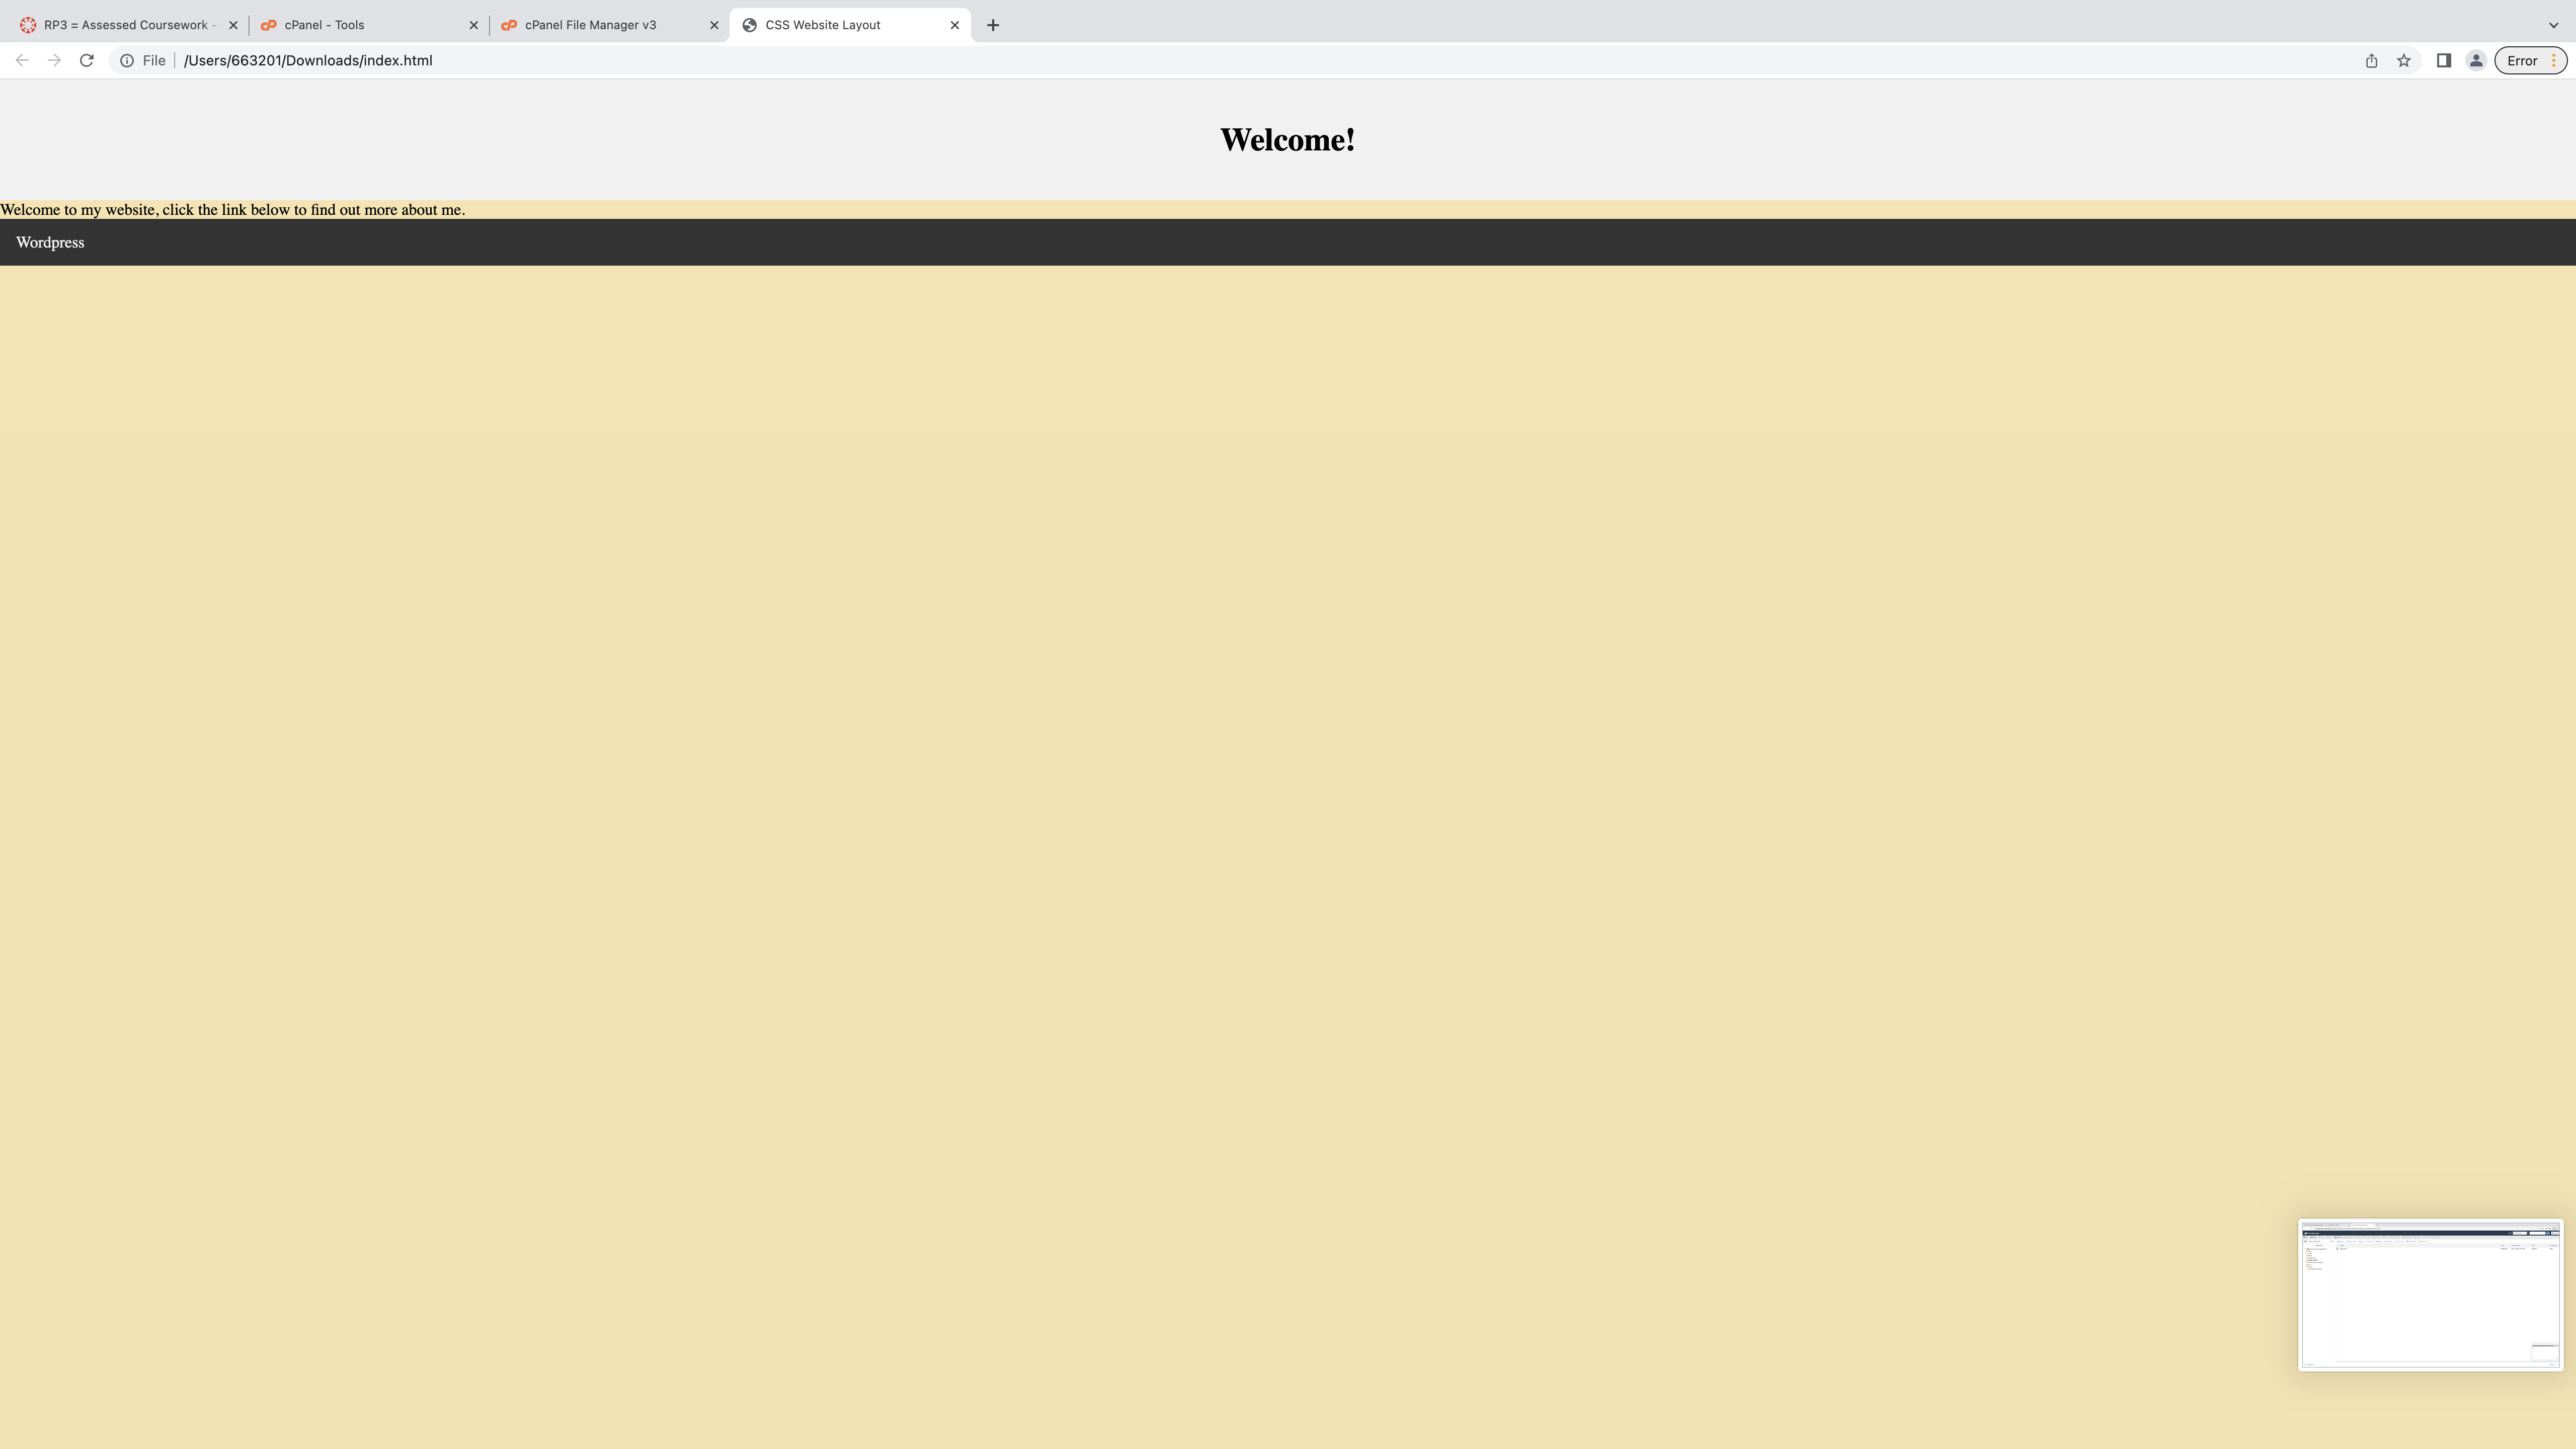
Given from the piece of coding I had written through BBEdit, as displayed above, includes all the work applied to present in this form, this includes the CSS style page which displays the colours and font style the website has chosen to present. The small introduction at the top is written quite small which I would then need to alter through BBEdit and make the size to readable size.
The Group Work
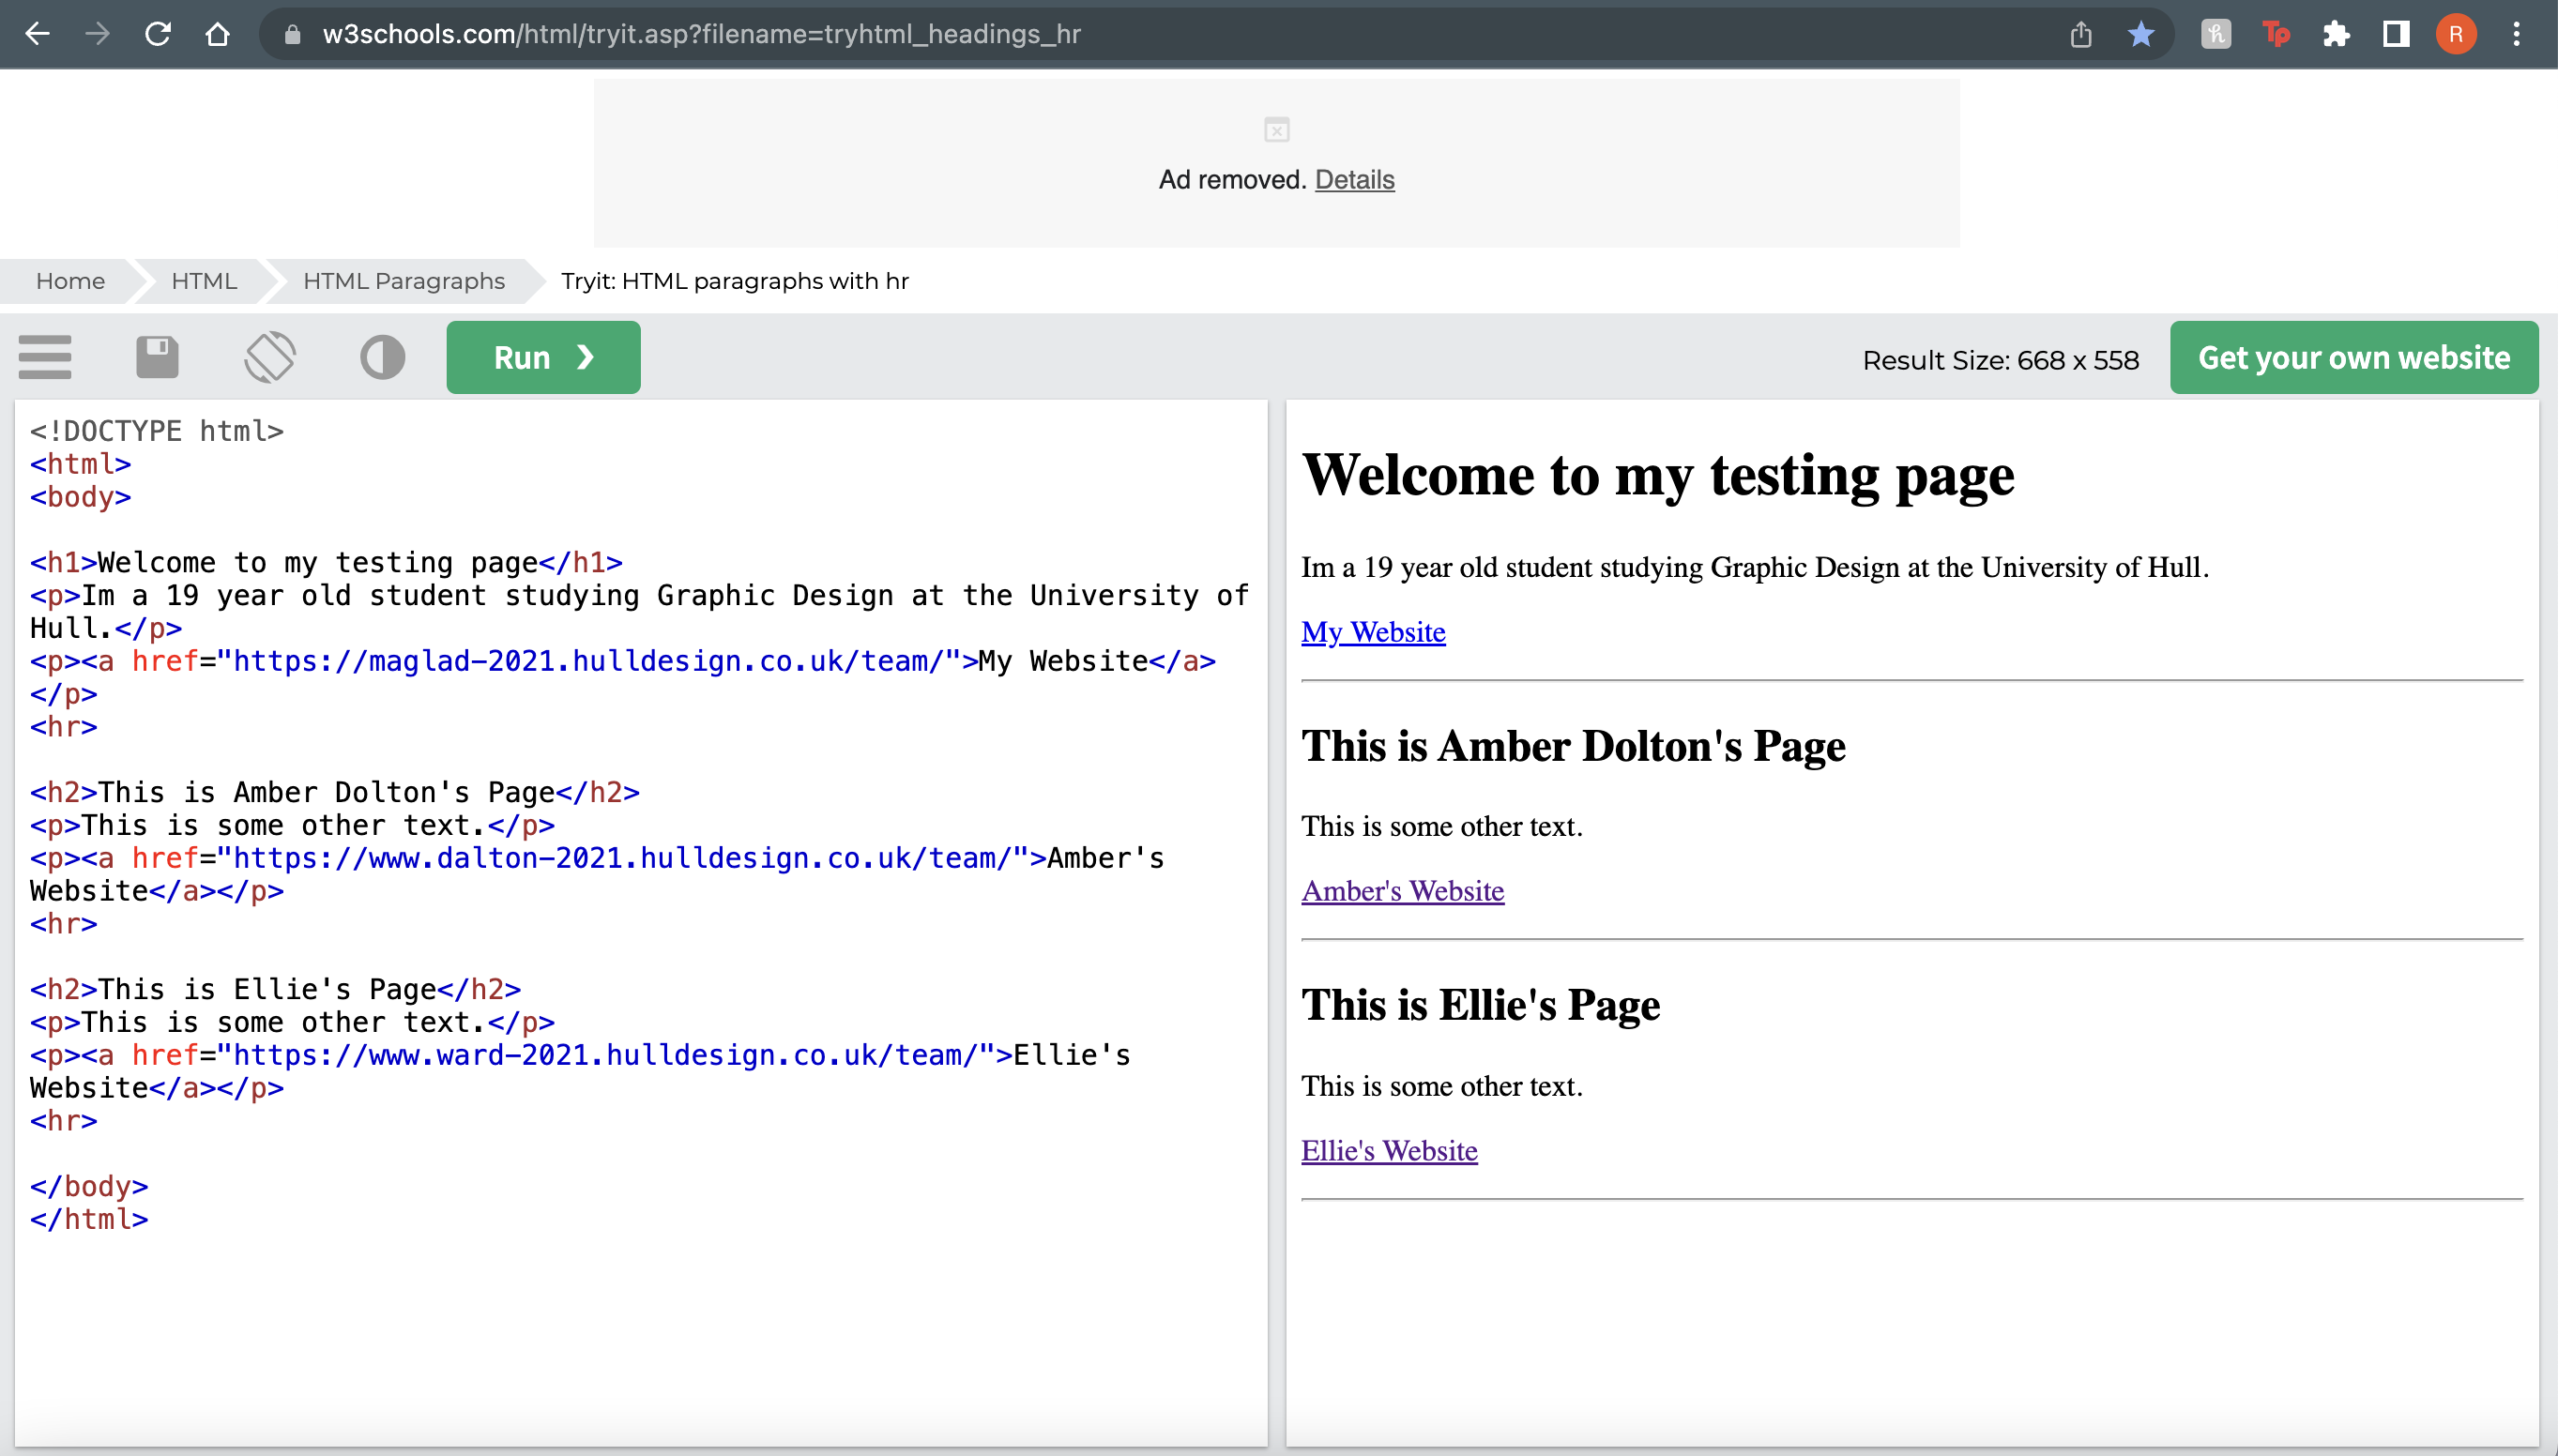
Using the W3Schools website that provided multiple code guides, I used the paragraph code template which allowed me to have three different sections. For every section, I included a subtitle of the person’s website with their name, followed by a sample text, and finally a link that takes them to their created web page.
Each piece of written code has a special identity. For example:
Headings identify as: “<h1>” which stands for “Heading 1”
Paragraphs identify as: “<p>” which stands for “Paragraph”
Links identify as: “<a href =”_______”which creates a code to the written website link in the lines provided.
To simply close off each piece of code, you add its title with a “/” at the start.
Example: “<h1>” TO CLOSE: </h1>
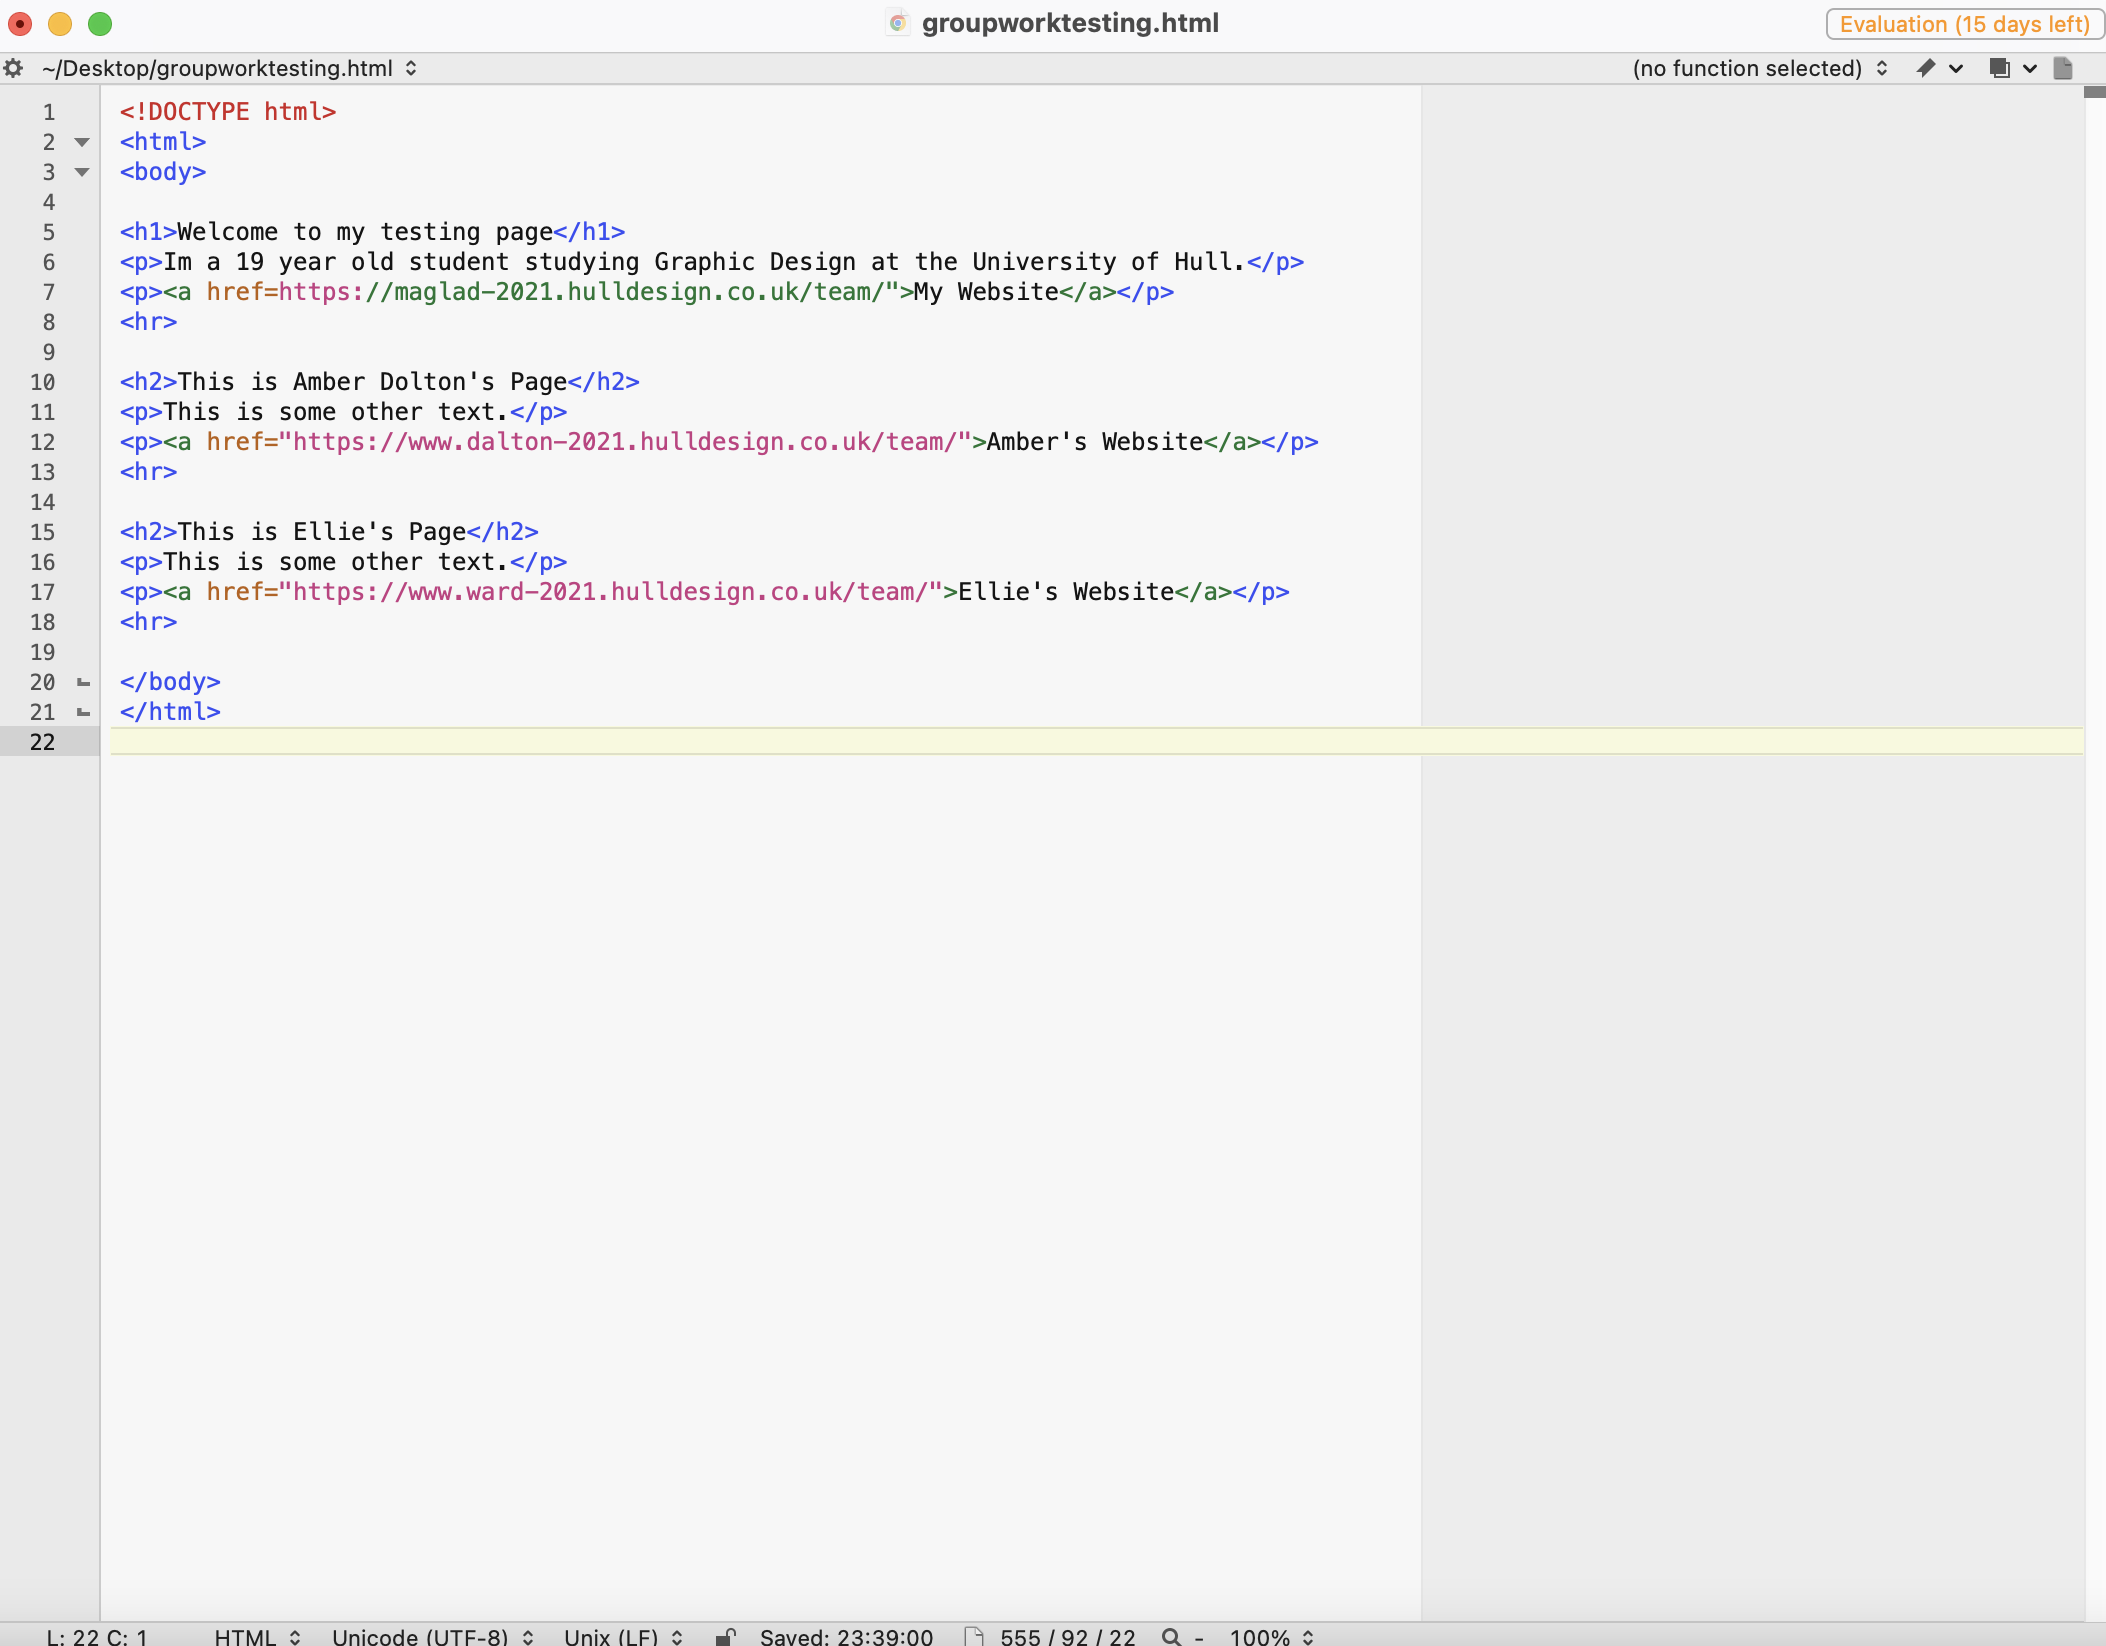
BBEdit allows the piece of code to then be saved as an ‘HTML’ piece, which can then be converted to a page that can then be opened up to the browser when the links would activate and work. Colour changes on the code piece happen to identify each section of code.
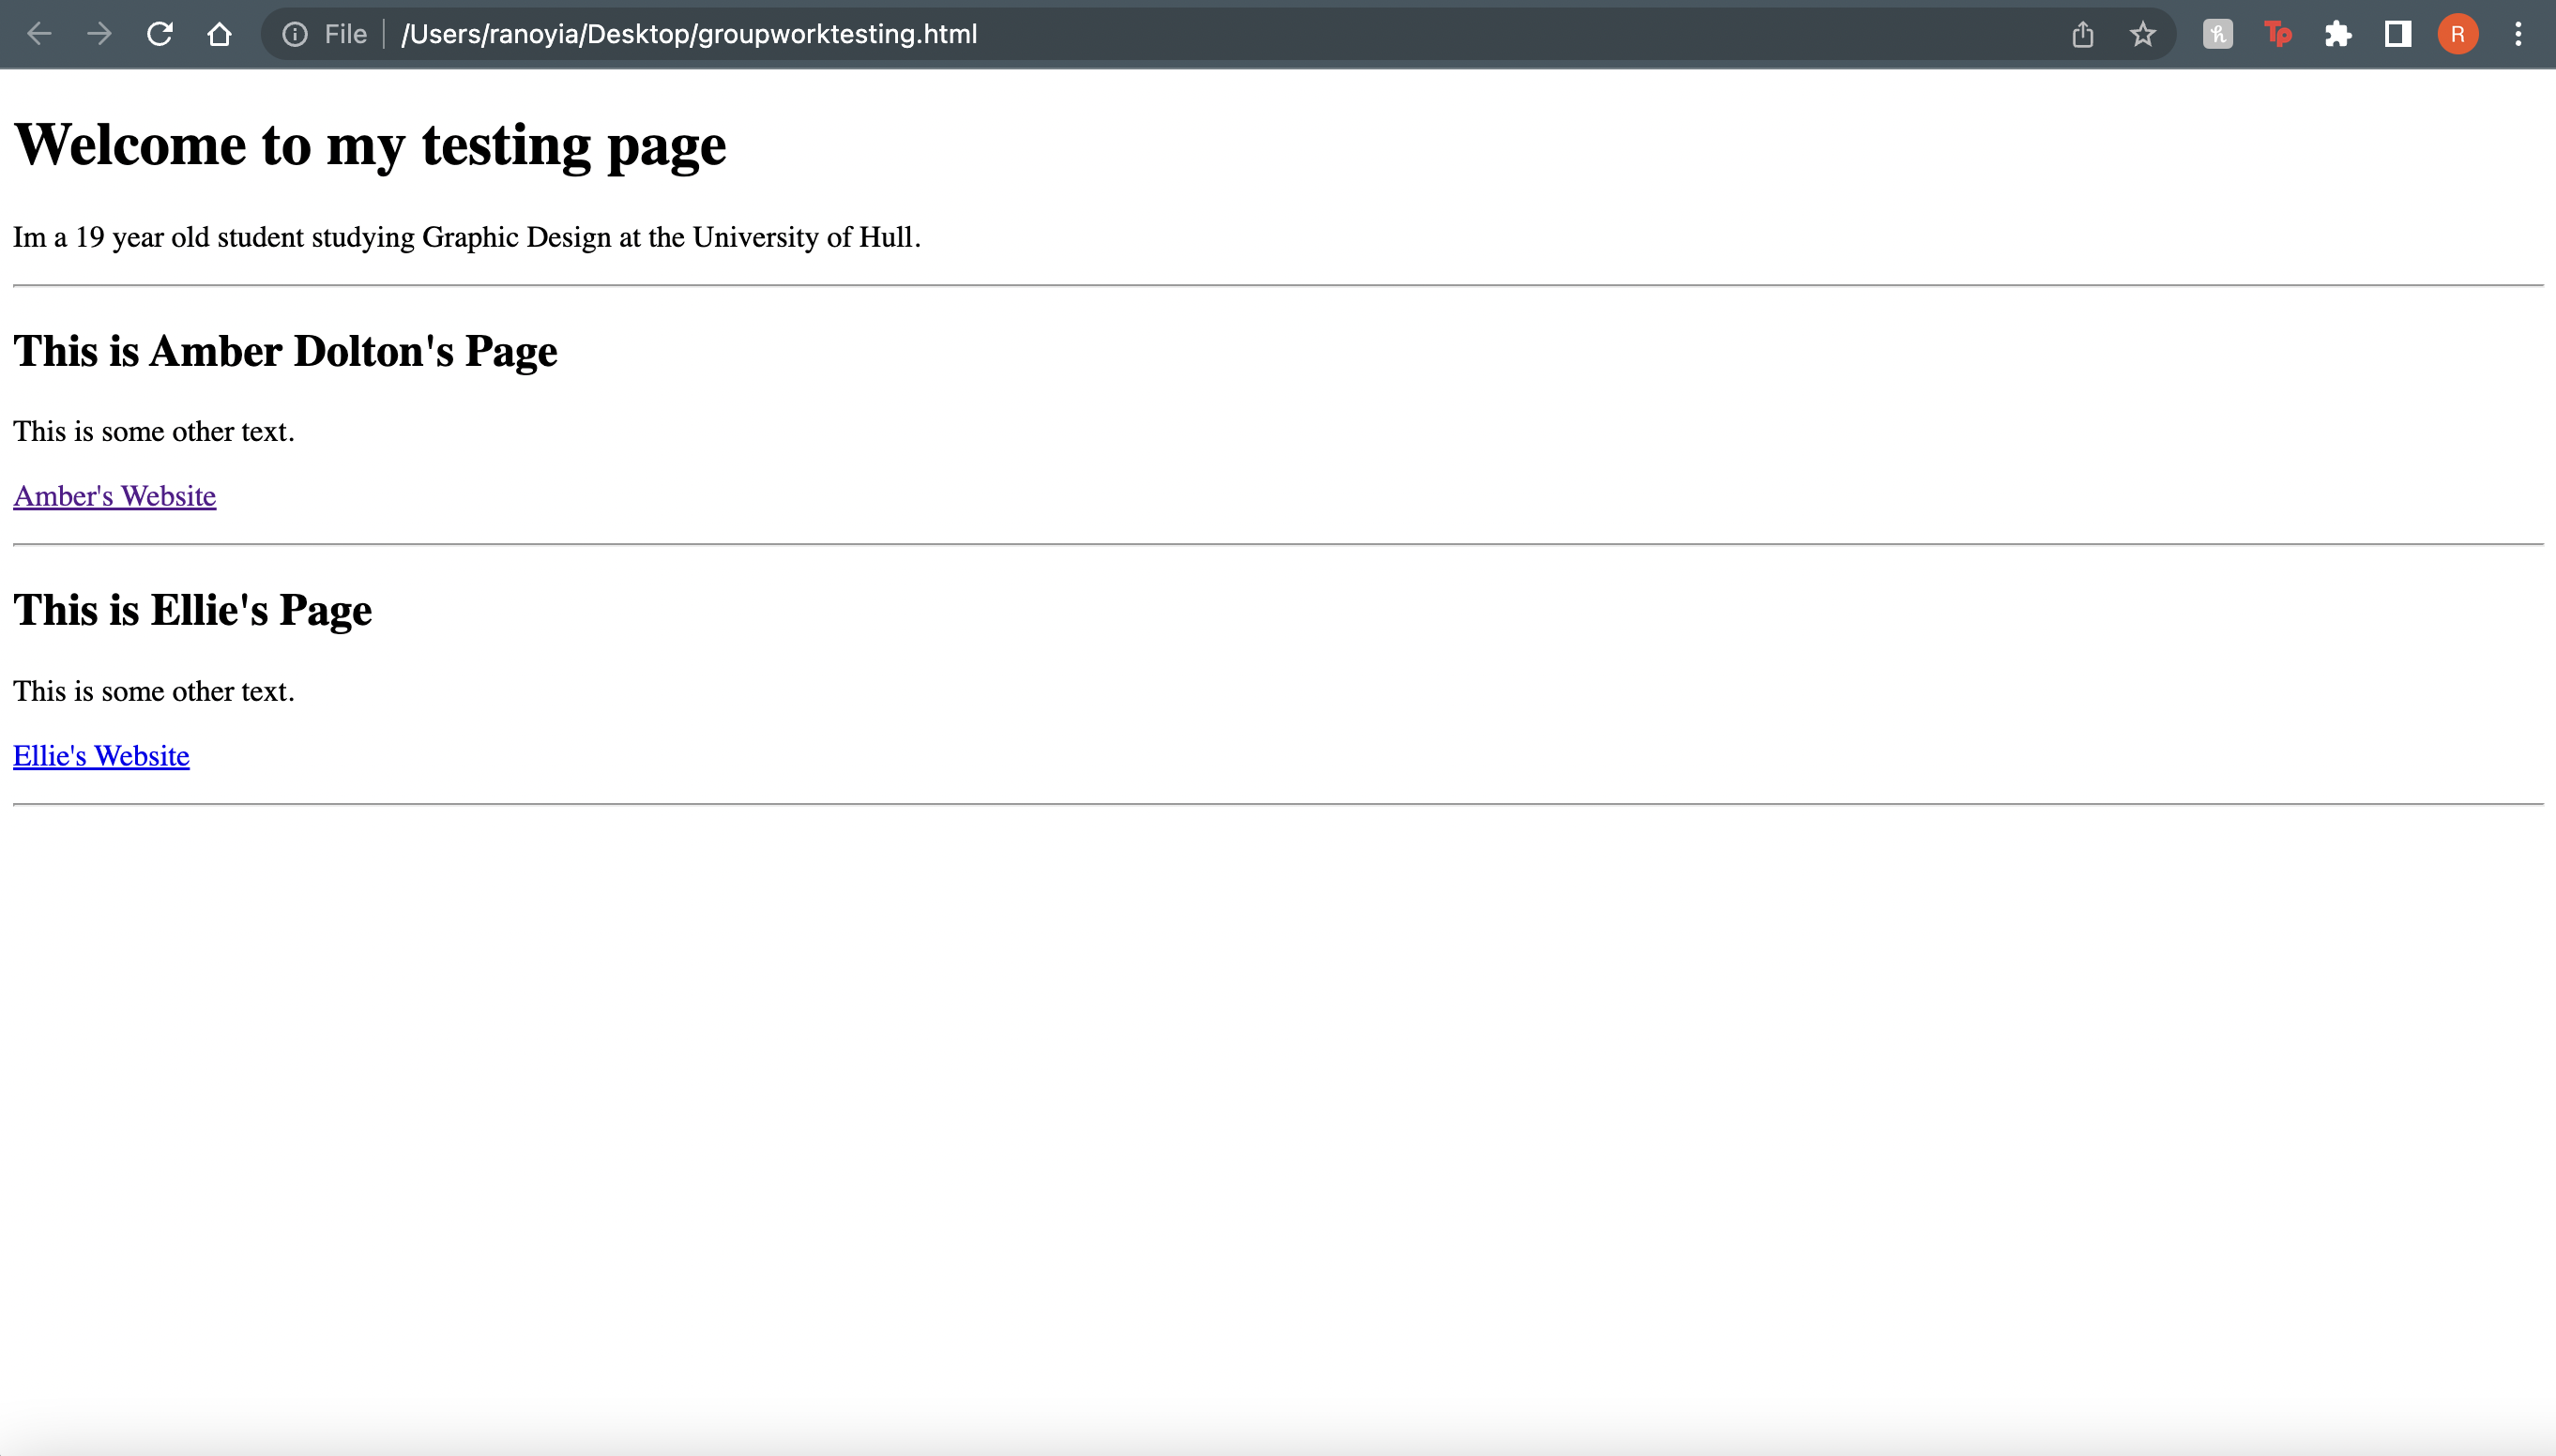

After saving the HTML piece of code from the BBEdit program, I then opened it up to the browser to test if the links I had added in work and adapted to the page. Each section is laid out above the other, making it visually clear which website link belongs to who.
Before clicking on the link: Royal Blue
After clicking on the link: Purple

Finally, I applied the code I had written up from the BBEdit software onto my original work, saved it as an HTML page and then tested it to see if it covered everything I had added new. The figure above shows the written code I added below, including my own link to this website page.
References:
View CPanel: https://cpanel.prod.dmedia.hull.ac.uk:2083/
View HTML: file:///Users/ranoyia/Desktop/originalwork.html | https://maglad-2021.hulldesign.co.uk/team/