
My video
Step Guide
Setting up:

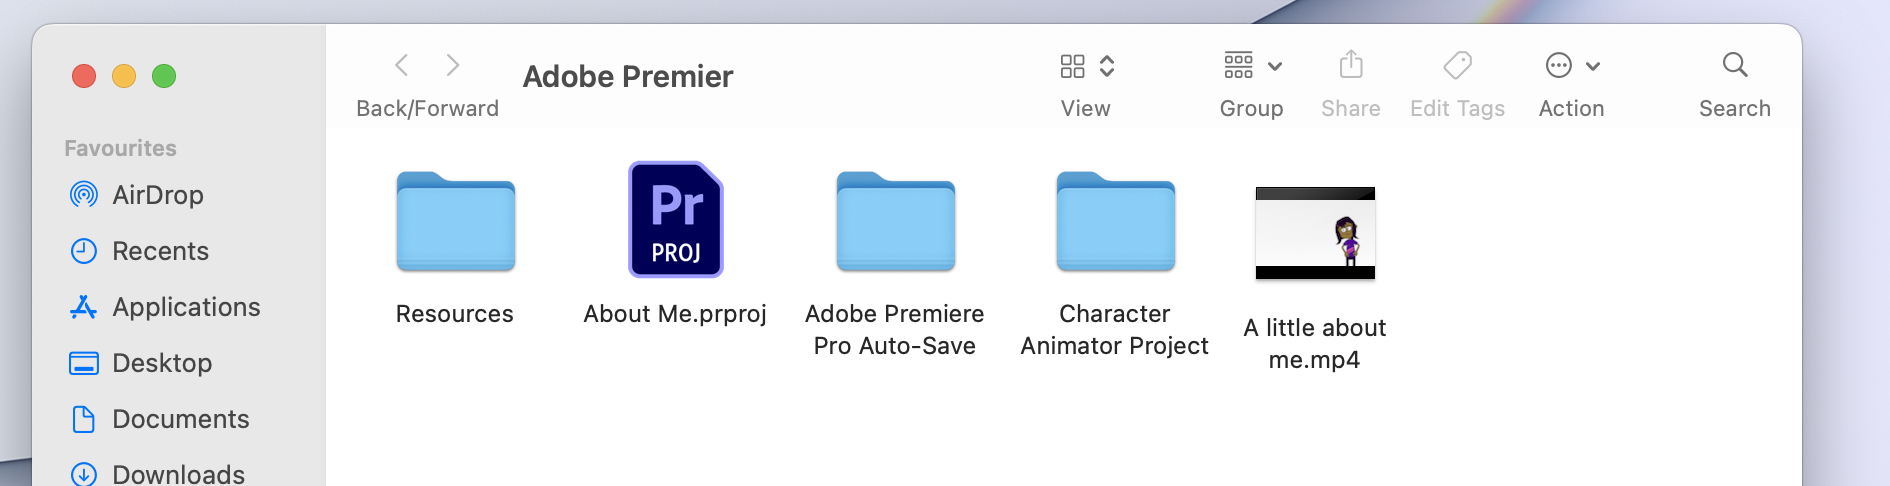
Before I began using Adobe Premiere, I made sure I had a separate file that would keep all of my work, videos and images in one place. Making it easier for the software to adapt and keep up.

Once it had loaded up and opened, I was met with the following figure above. I take the time to name my project which can be seen at the top of the screenshot, and clicked ‘Create’.

After naming my project and selecting ‘Create’, various screens and sections that can be seen in the image above are available for me to use to edit different sections of my videos and images.

Adobe Premiere can be quite complex in terms of keeping your workspace neat, so after adjusting and changing positions to some of my sections that were in my workspace, I then went to ‘Windows and selected ‘Workspace’ to then scroll down and select ‘Save as new workspace’ to keep the same workspace every time I use the software.
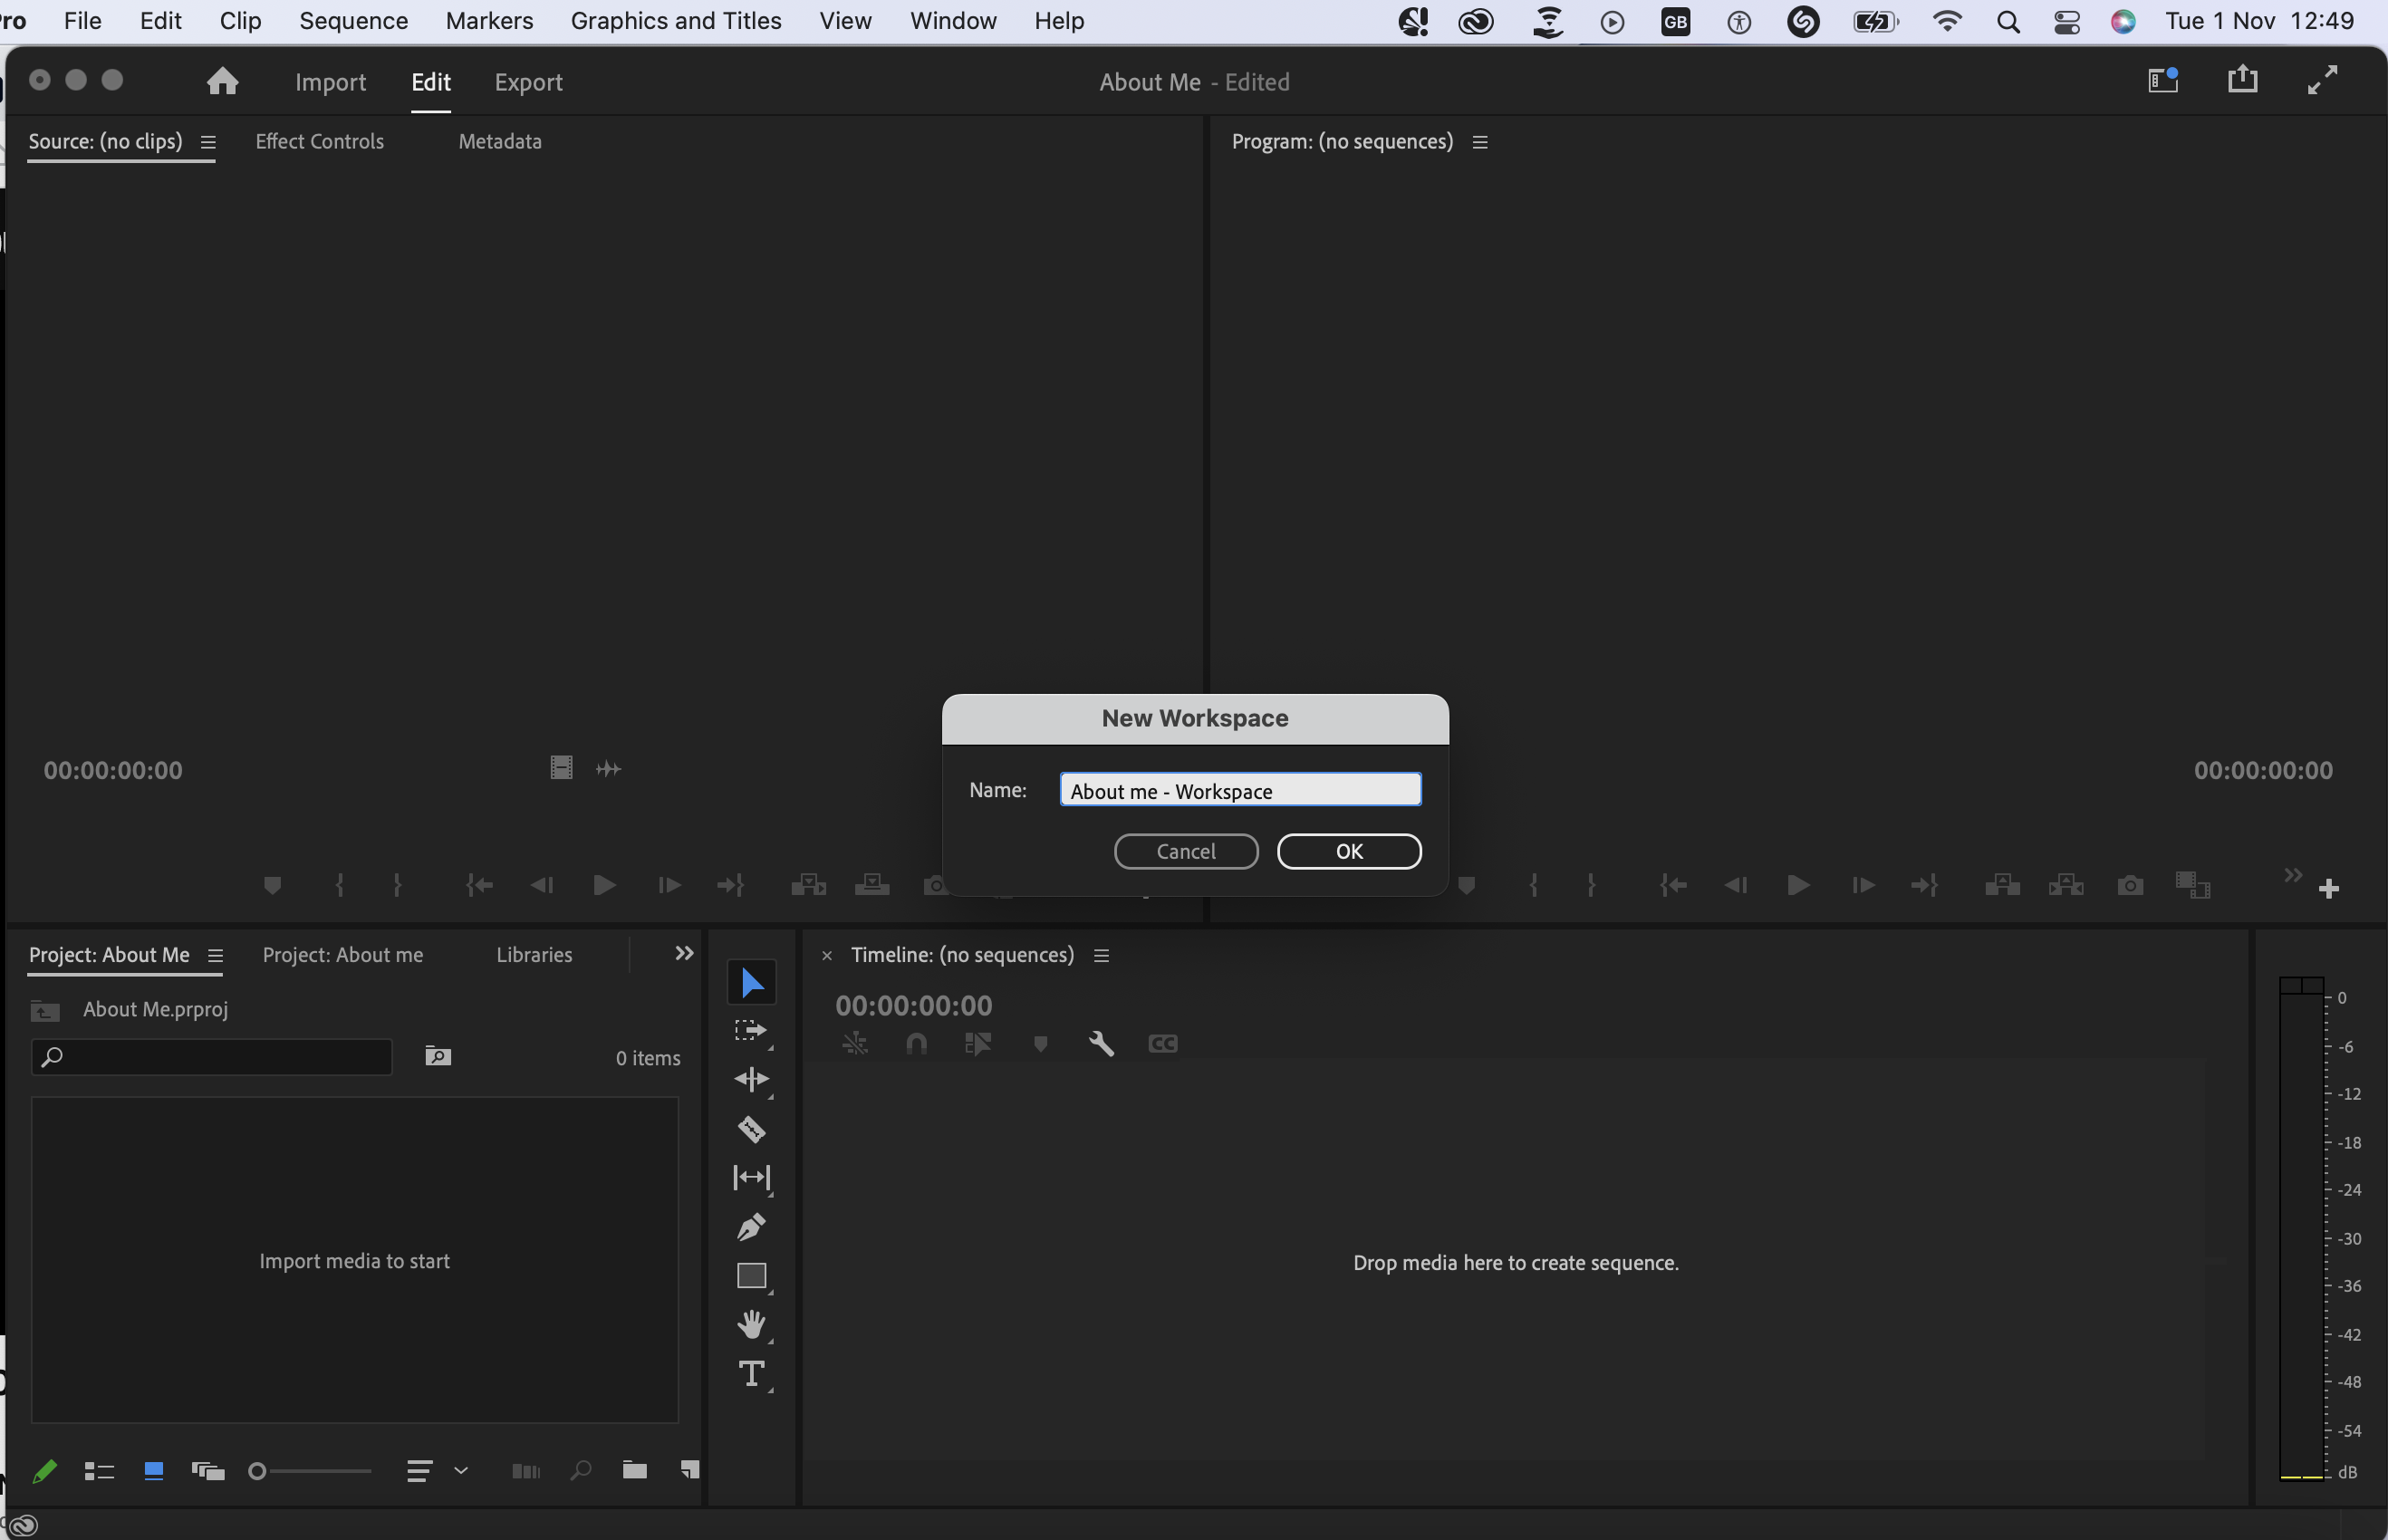

So I could identify which one was mine the next time I use this software, I saved it as ‘About me’ workspace which would help me find and open up the same workspace that I’m comfortable with in its layout.
Importing:

To start editing my videos, I uploaded all my resources and images, videos to a file named ‘Resources’ I had created within my Adobe Premiere file. This made it easier not only for myself but for the software to find my images and videos for me to use and import.
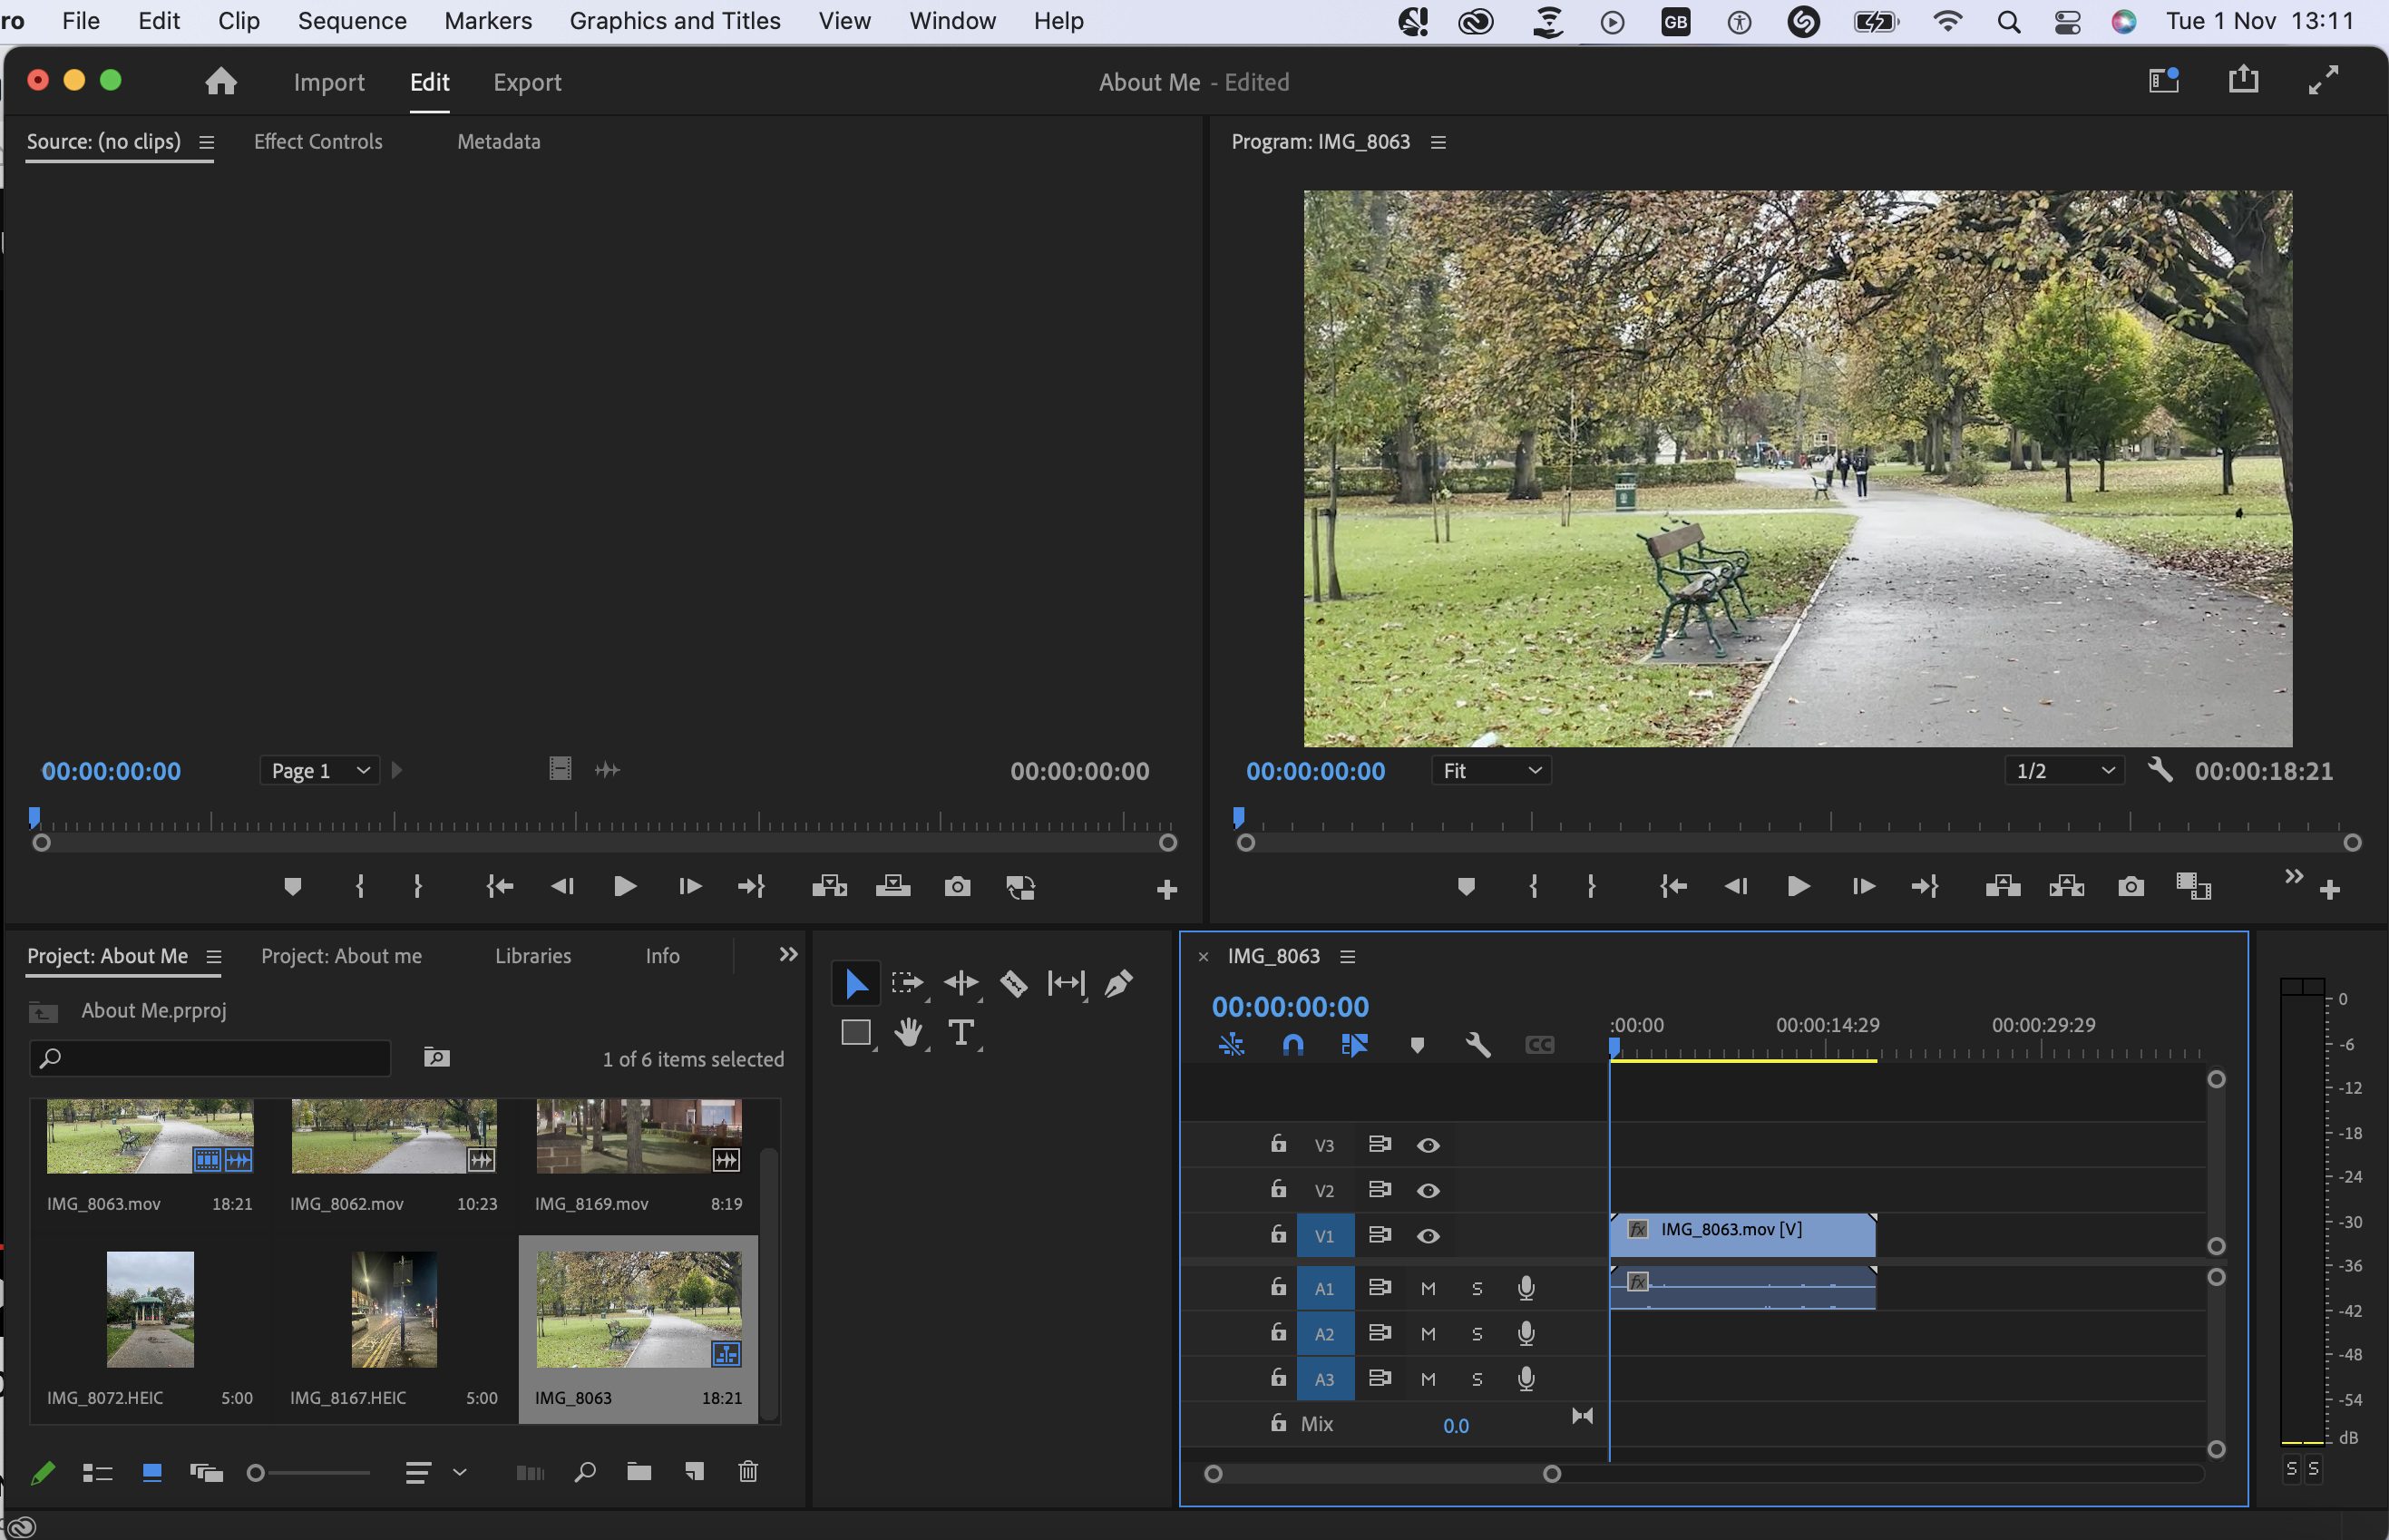
After uploading my videos and chosen images, I then went ahead and dragged a video of my choice to start editing further.

Although I had only moved and dragged one video, I decided that I wanted to put together two different videos. I went ahead and dragged another video that I earlier imported and dragged it beside the first video I placed.
Picking out parts of a video:

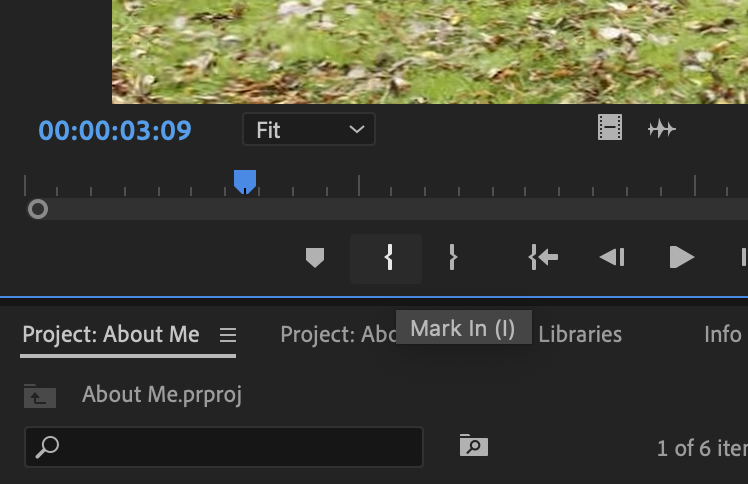
You may have noticed the video I had previously selected was placed on the right side of the screen. Since I wanted to select only a small section from the video, I then dragged it from the bottom right work area to the top left work area.
Using the two ‘Mark In’ Tools, I then dragged the left panel to where I wanted the video to start, then used the right panel and placed it where I wanted the video to end.

Once I had selected the specific part of the video, I returned it to the bottom right area of my workspace to begin editing that part alone.
Cutting and Testing:
As previously shown in the screenshots, the video below demonstrates only that selected part of the video playing.
Whilst further editing the video, I then decided I wanted to add another small section to this cut part of the video and add another part of that same long video to this small part that I added in.

The second small video was added and placed right after the first small video, which is demonstrated in the video below as one small long video taken from a very long video.
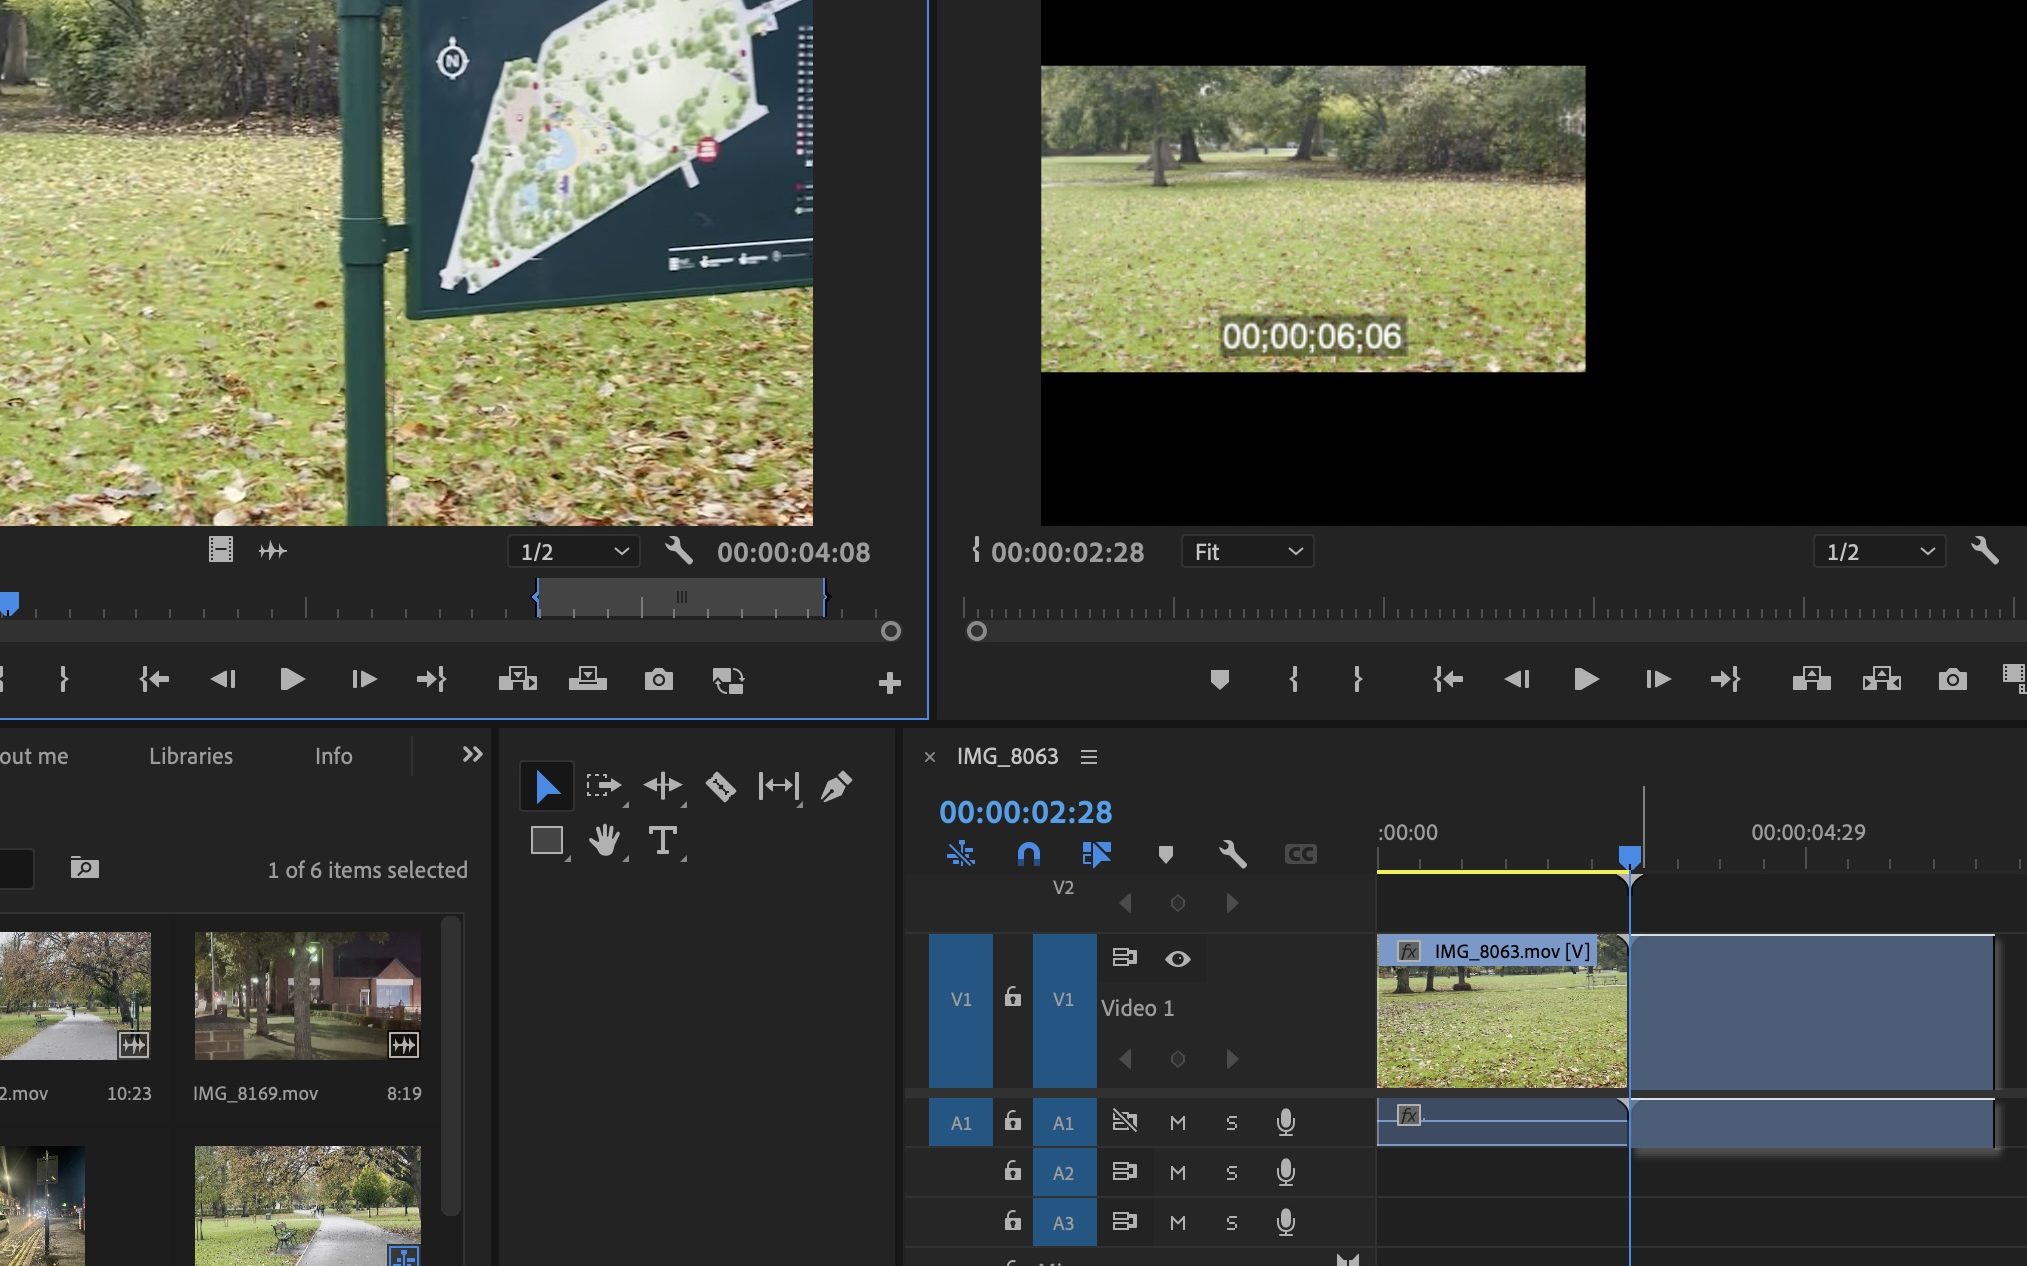
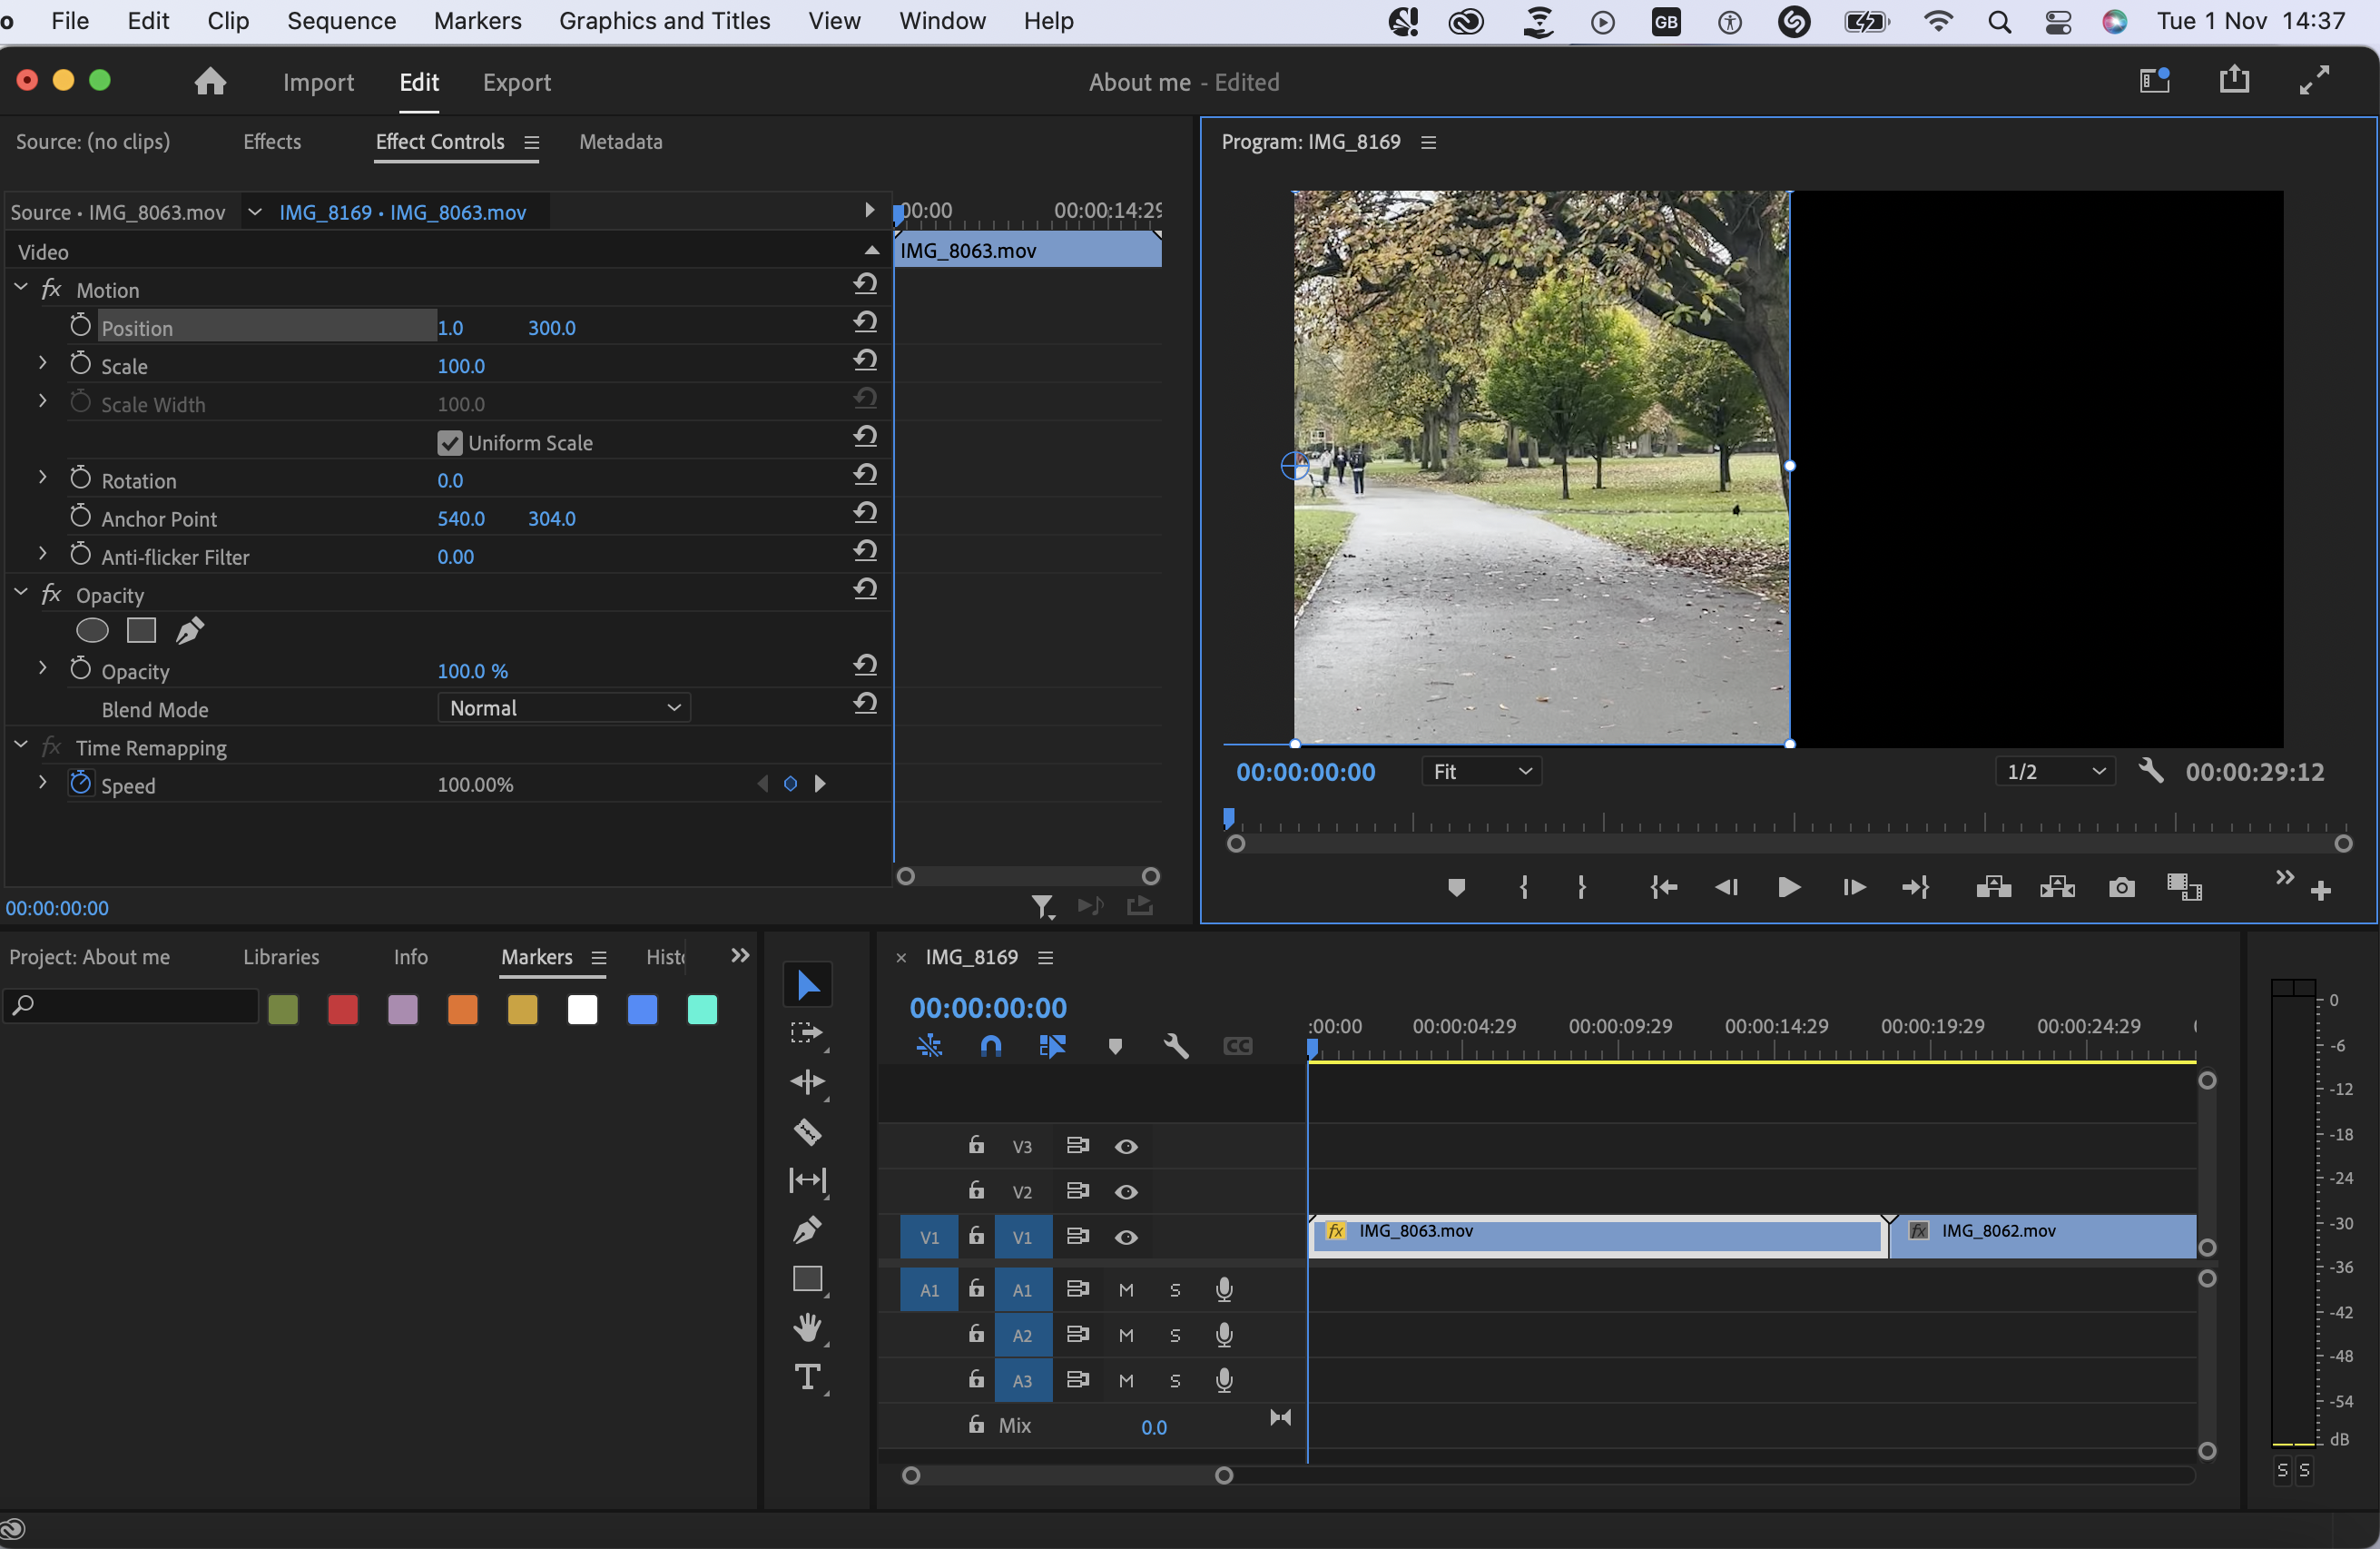
Picture in a video & Scaling the size:

Earlier I had imported not only videos but two different selections of photos that I wanted to now include. I imported one of the photos above the video shown in the figure above.
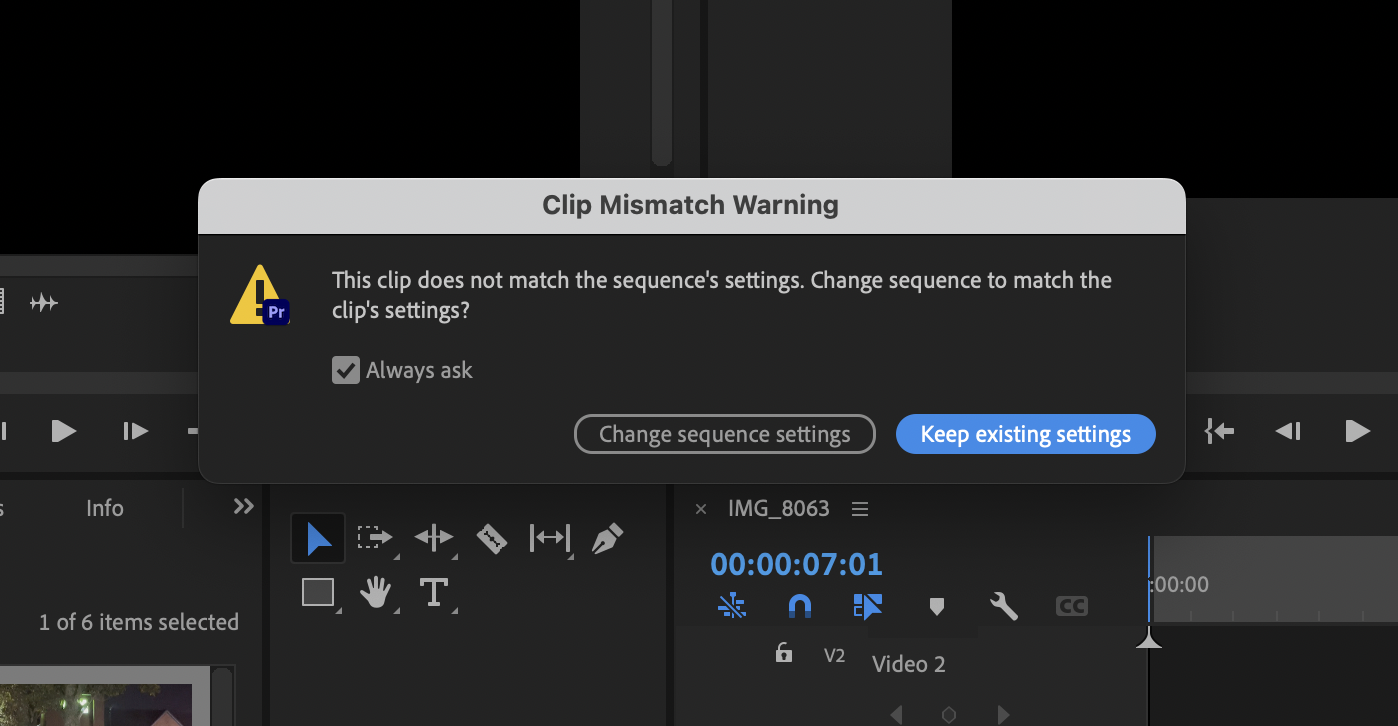
Sometimes when photos or videos clash together in different settings, this notification can come up above.

Resolving the following problem meaning to rescale and sizing the selected item, in this case, it’s the imported photo I placed in. Selecting ‘Scale to Frame Size’ would change the image to fit the video.
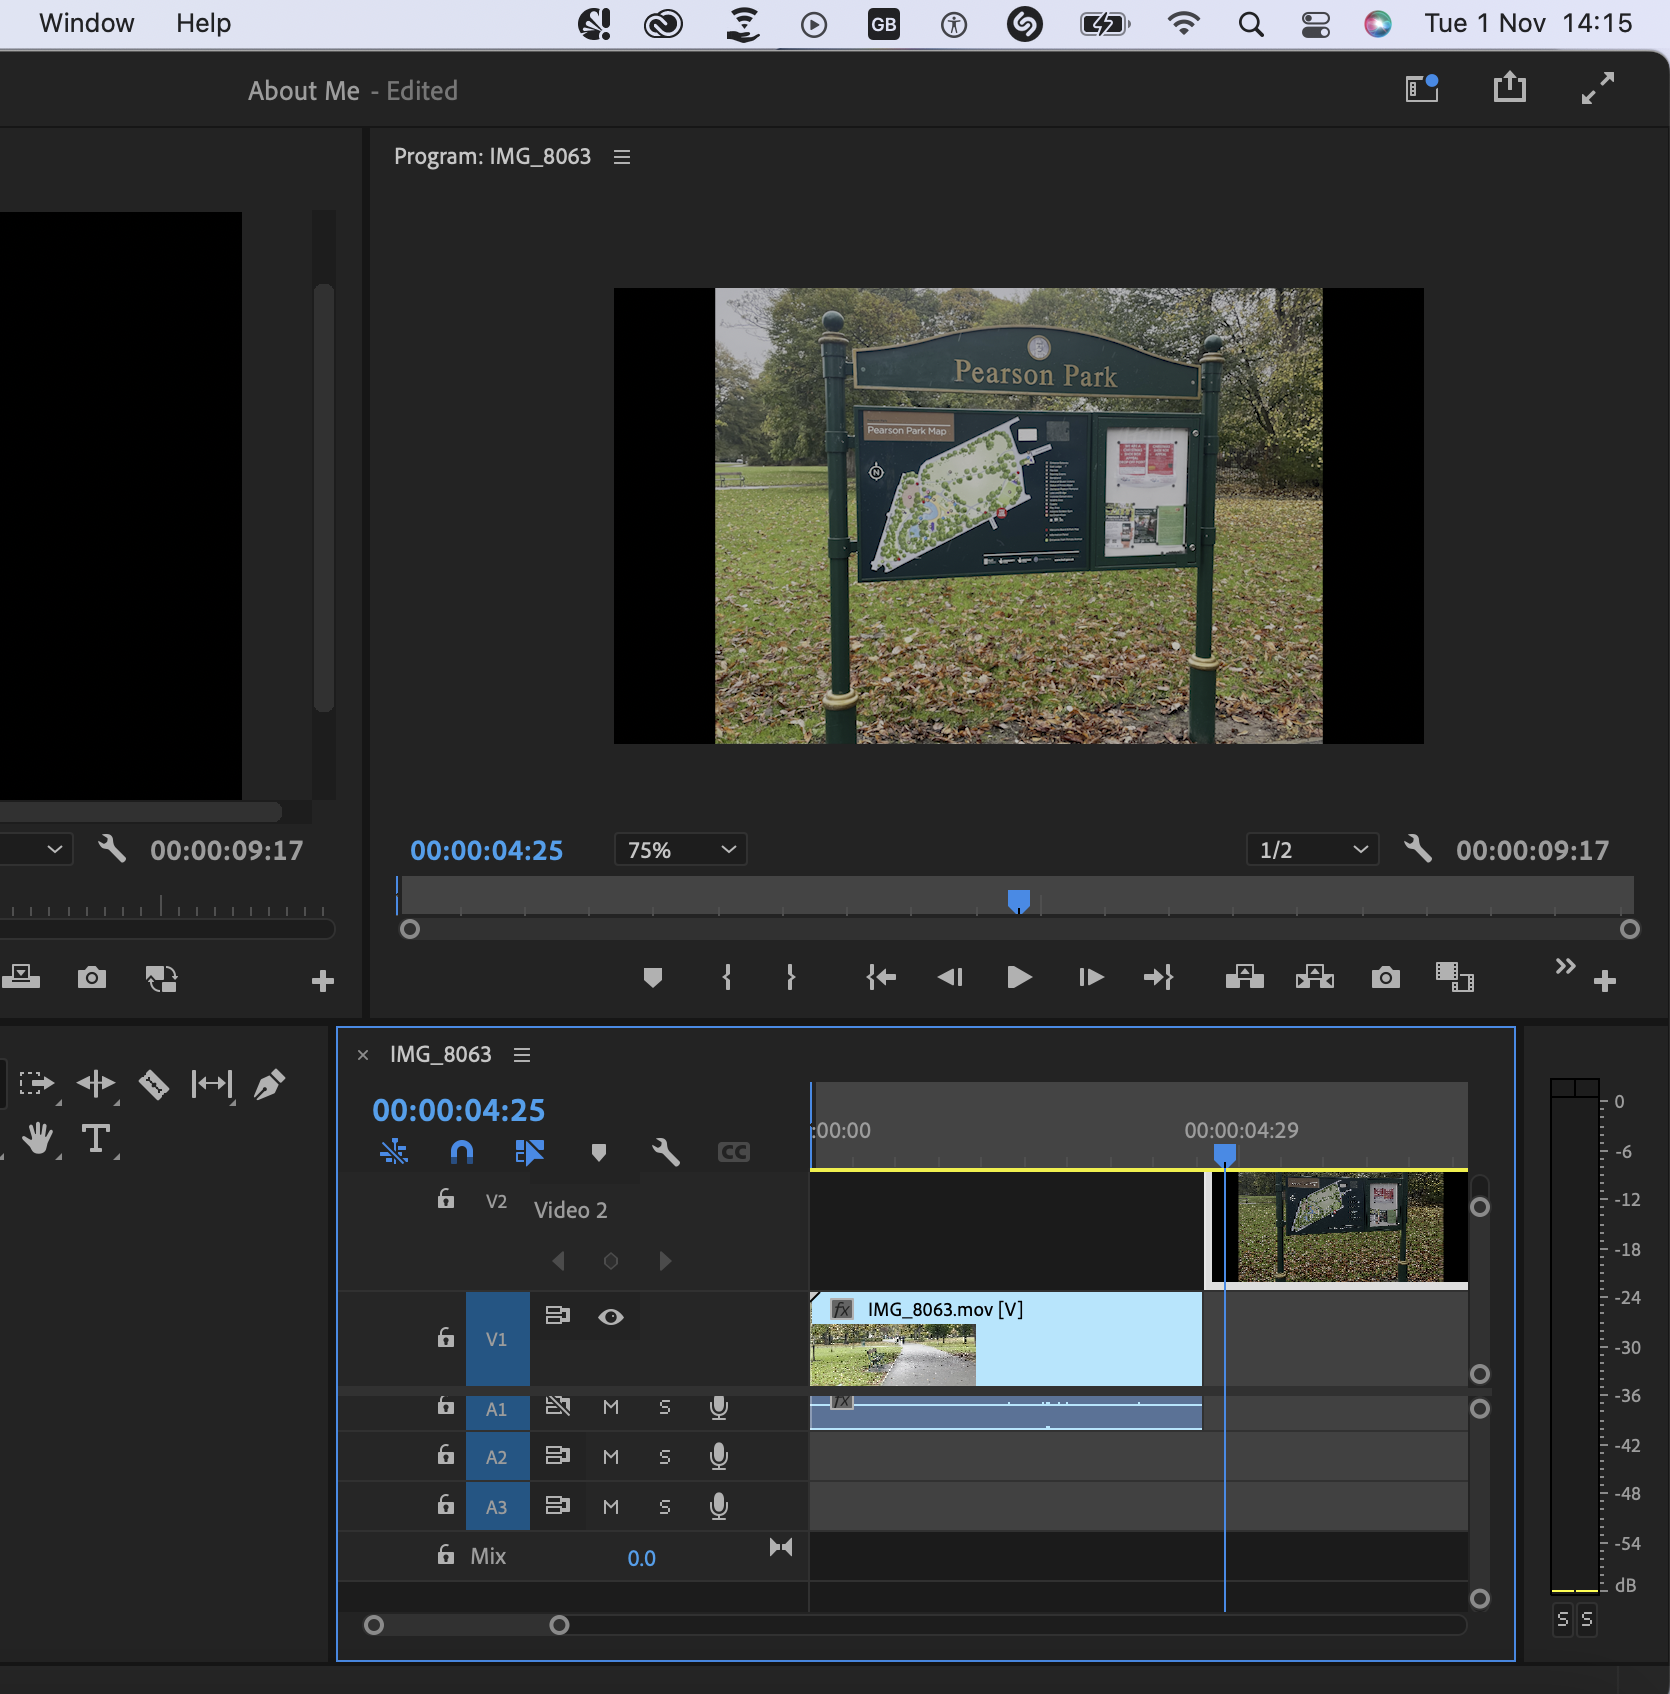
The figure above shows the image from before the scale when it had zoomed in too much because of its size, to now fitting the page in its frame size.
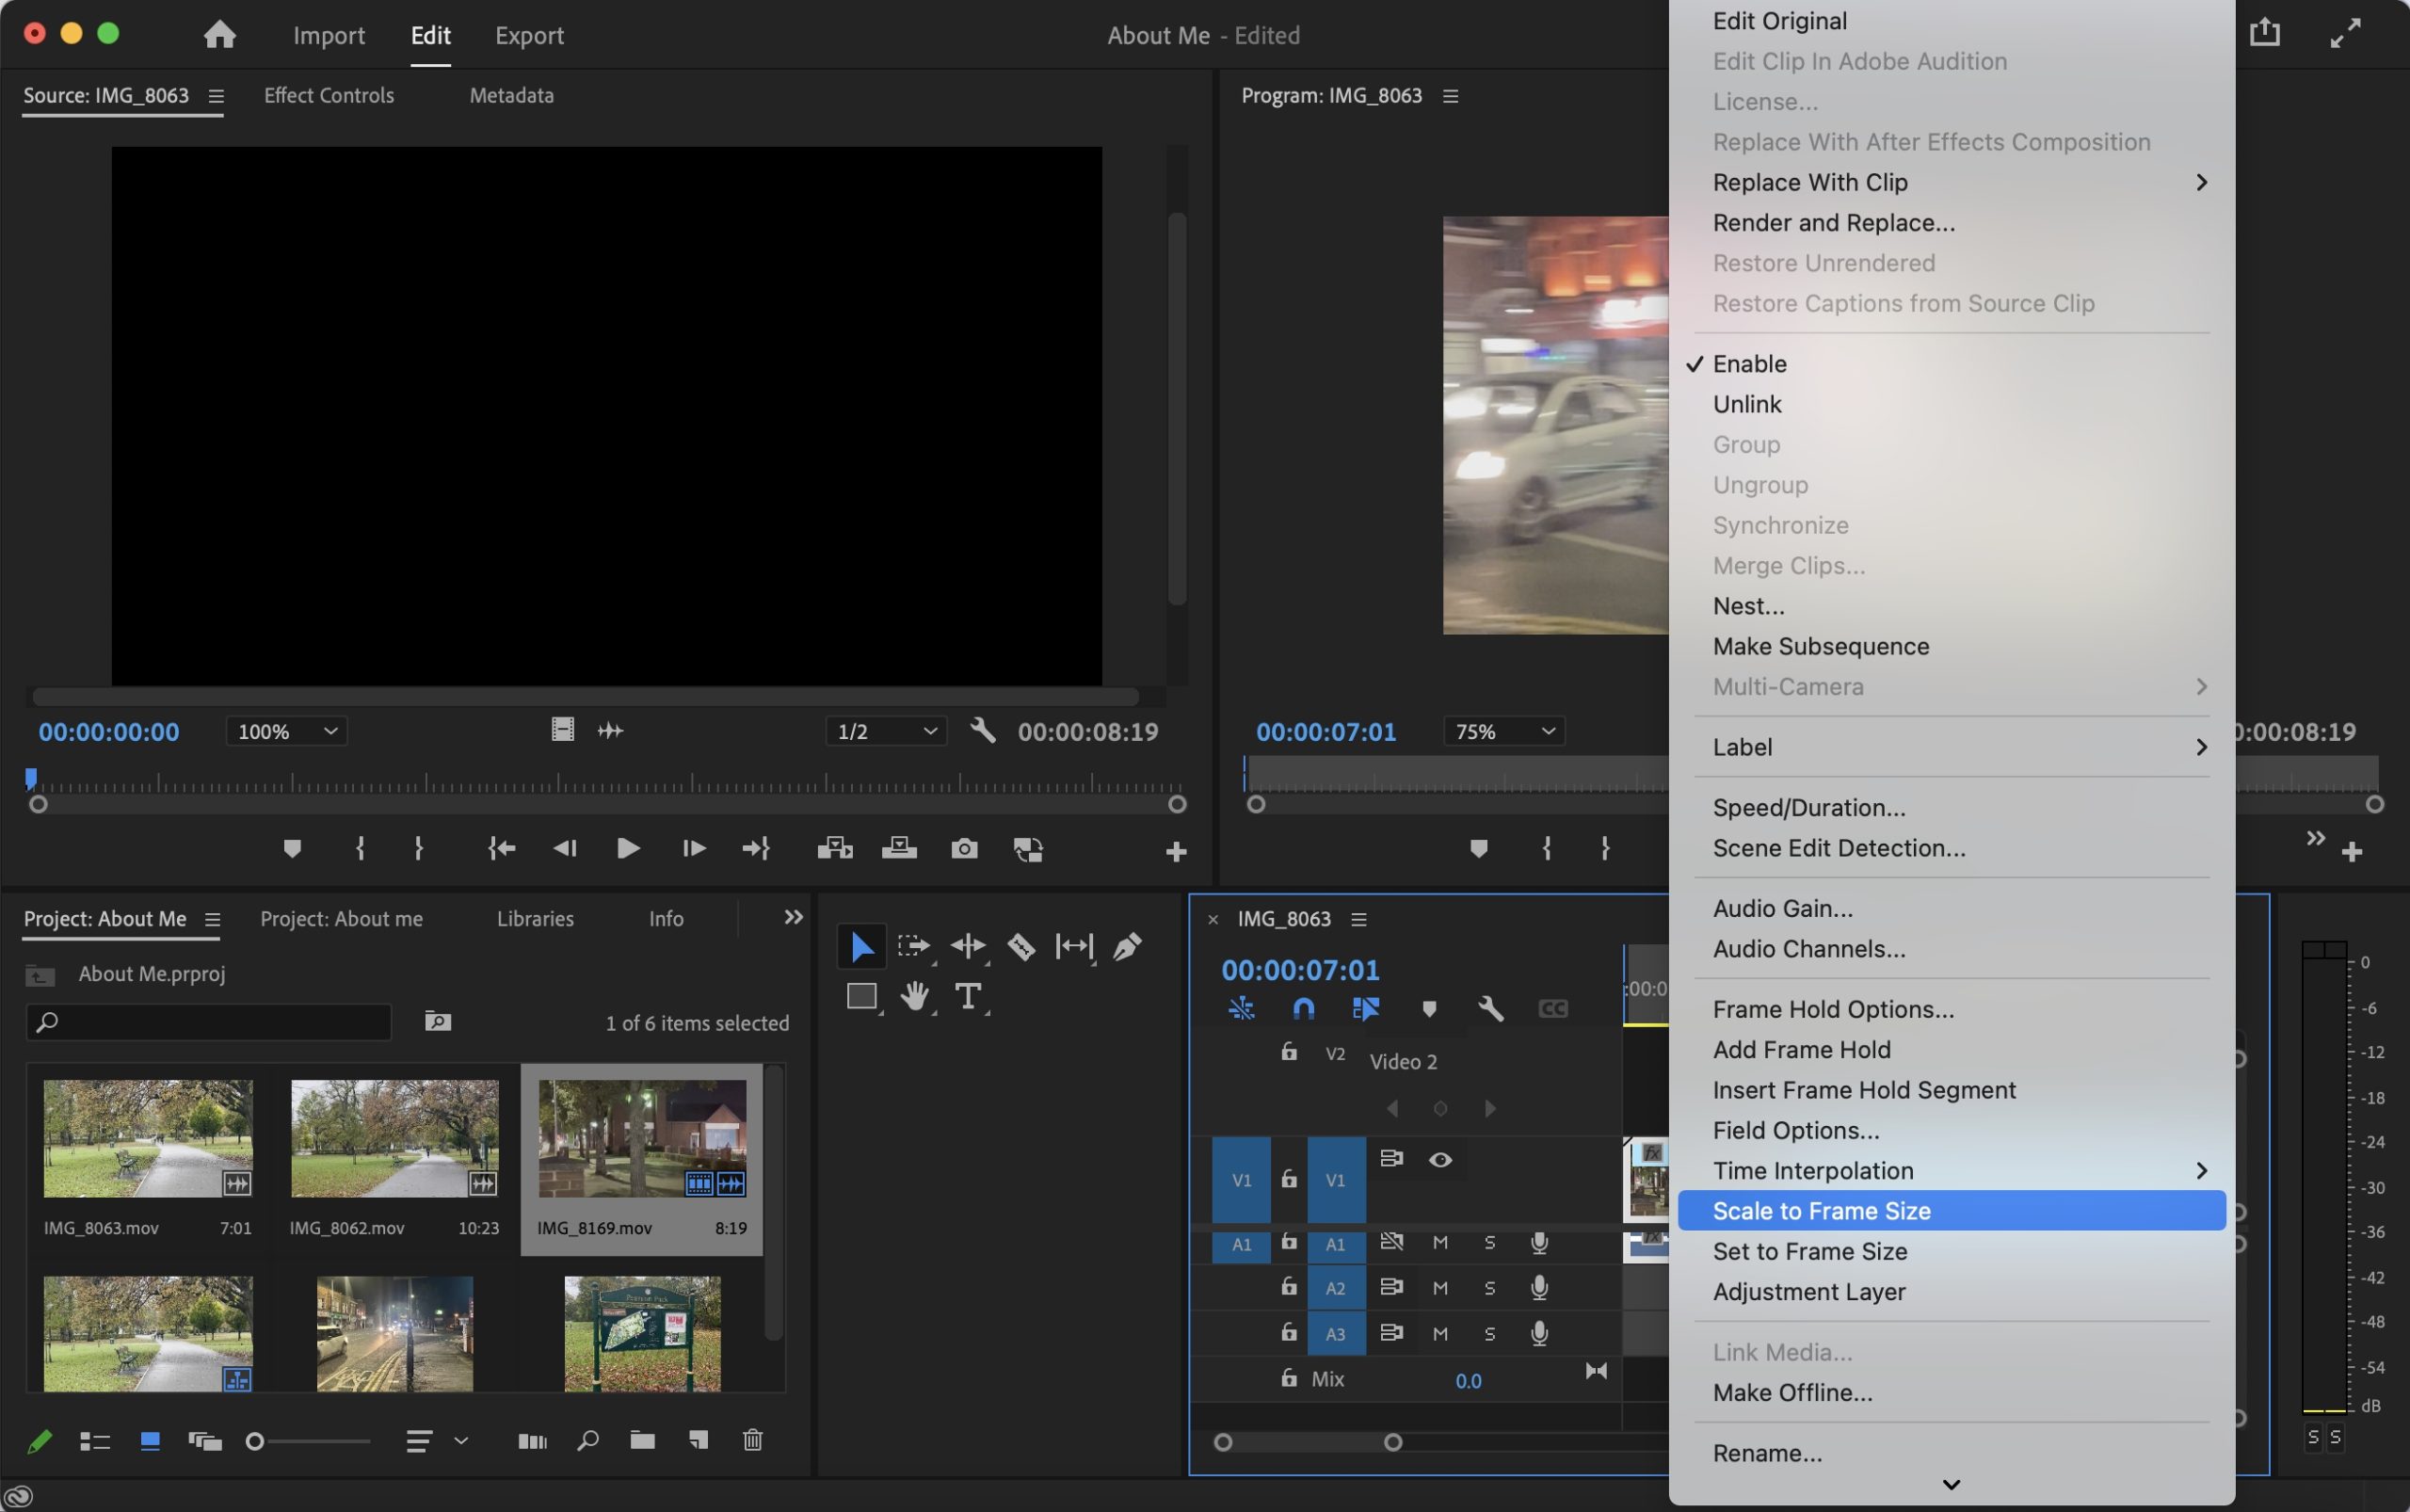
This problem can also occur with videos that may have a different size setting, you can also do the same by adjusting them and selecting ‘Scale to Frame Size’ which would change the video size to fit the frame.
I placed the image above the video in a specific part, for when the sign in the video shows up, the image appears to give a much more clear view of what the sign is to my audience. The photo is edited in the video to appear and disappear at a specific time and place.
Unlinking audio from its video:

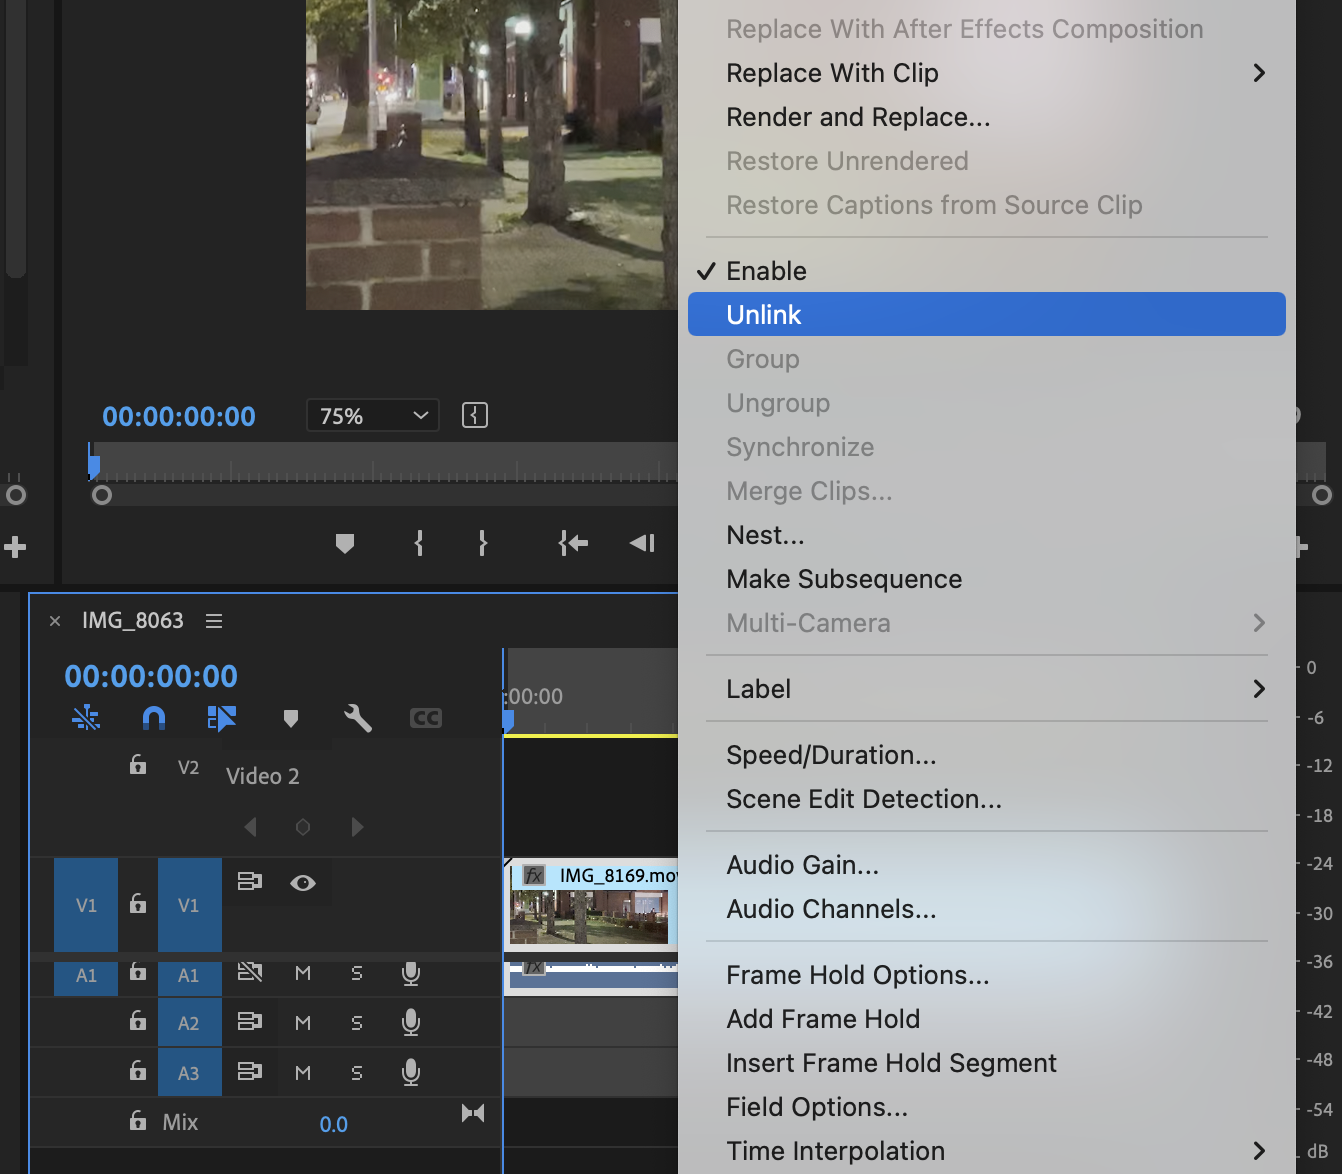
If your wanting to only have a video imported with no sound or audio, right-click on your mouse to then scroll down to ‘Unlink’ would allow your video and audio to split from one another, making it easier for you to remove the sound without any complications.
Adding in a transition between two different videos:

To begin editing your videos even further, you can add transitions between two videos, or across one video.

Two videos were added, and I added the split between both videos with a change in position to change the transition between the two videos.
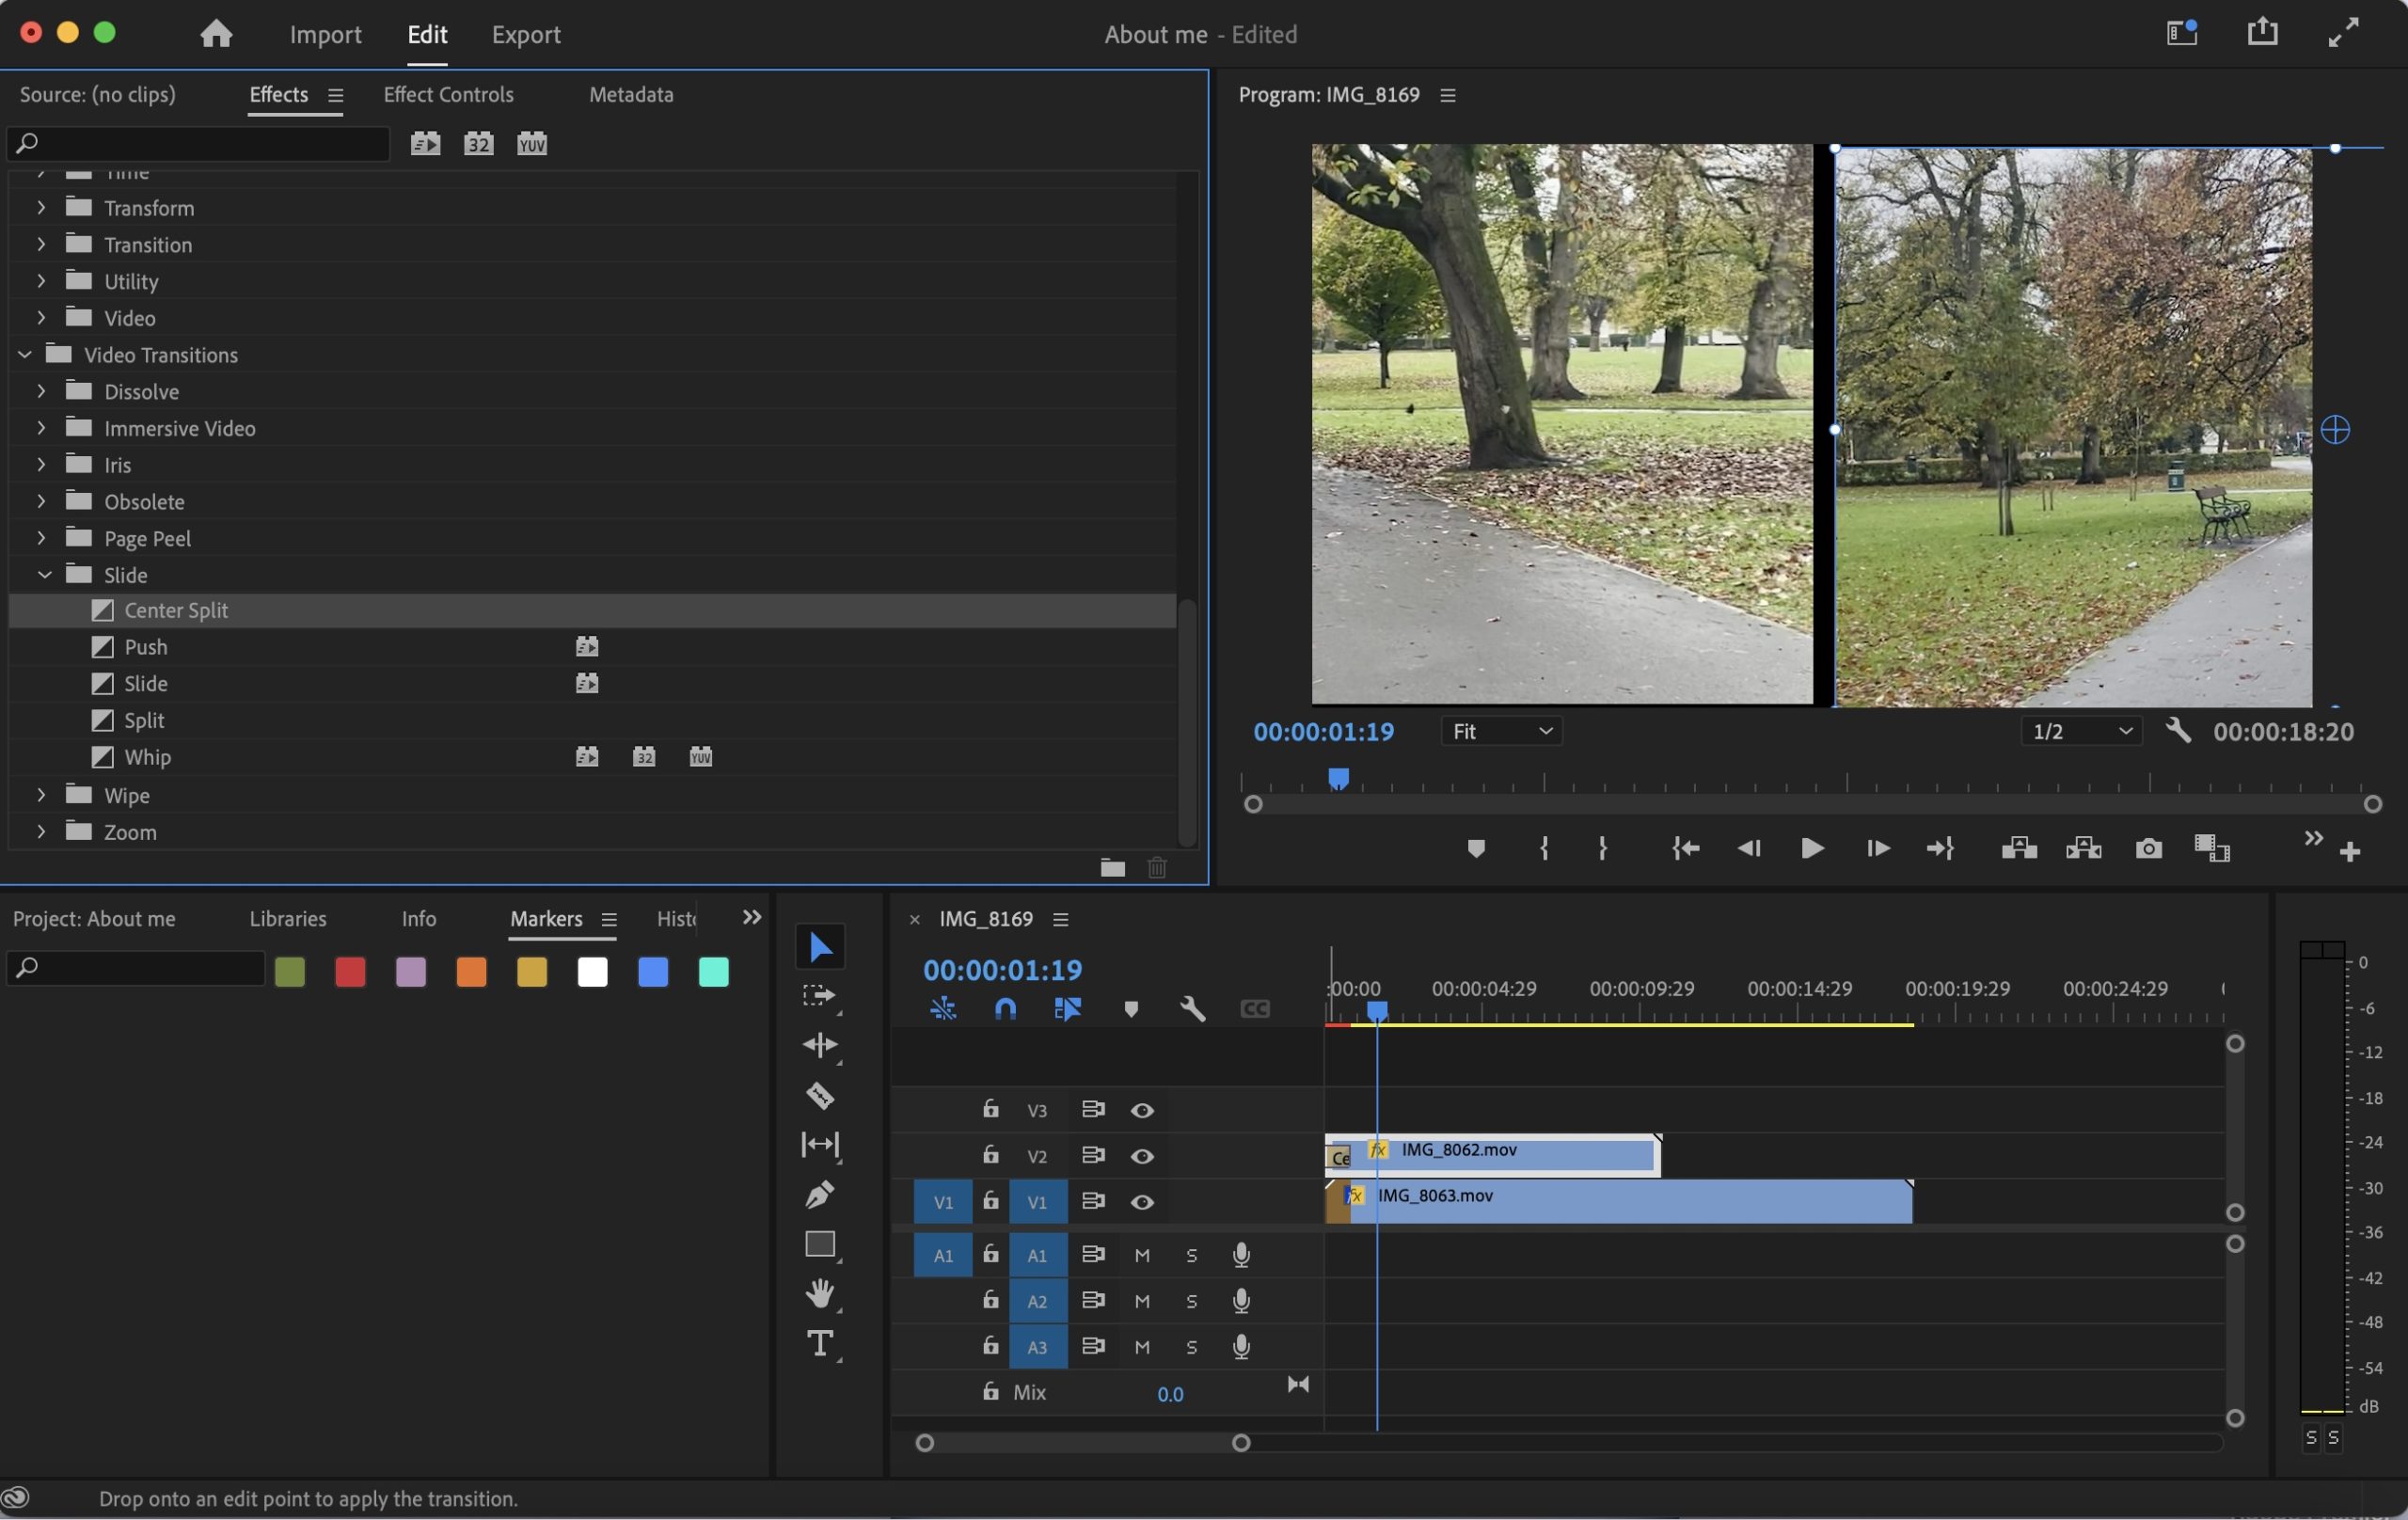
As shown in the figure above, the ‘Centre Split’ from the left menu bar had been dragged and put into the video bar at the bottom right-hand side of the workspace, at the start of the video to create that split.
The video above shows a demonstration of the two videos in a split, but both play from a different point of view from the same area.
Adding an effect to the video:

I wanted to test out further some more of Adobe Premiere’s effects, by selecting the ‘colour tint’ effect and adding it to one side of my videos rather than both, to see a difference and change.
The video above shows a demonstration of the selected effect ‘Tint’ that I only included in the right side video, in comparison to the left side video.
Knowing about the sequences:

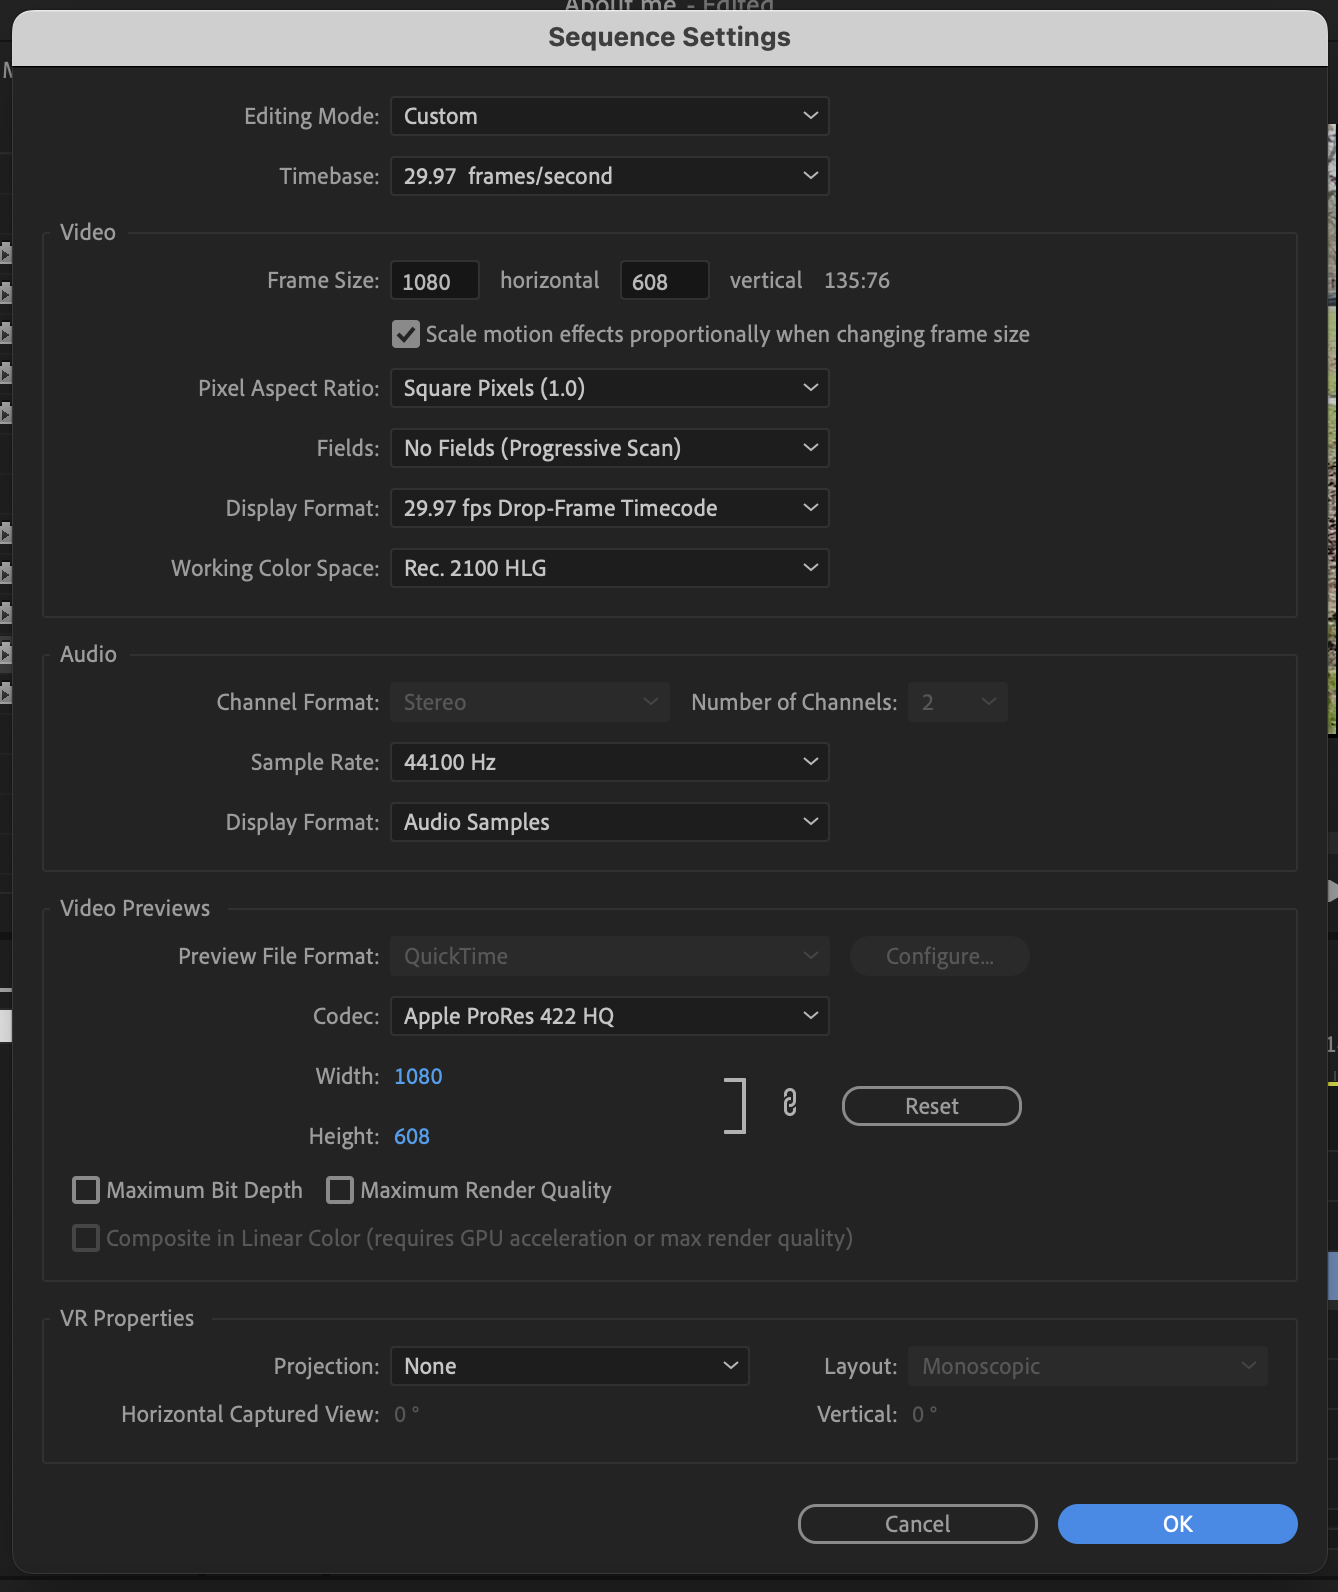
When wanting to add a sequence to your video, simply find ‘sequence’ at the top of your MacBook screen. Select ‘Sequence Setting’ to then apply and further edit your sequence settings before applying that sequence to your project.
Adding in Text to make my credit scene:
Adding the following text to a rectangular box to the screen for my credits is shown in the figure below.

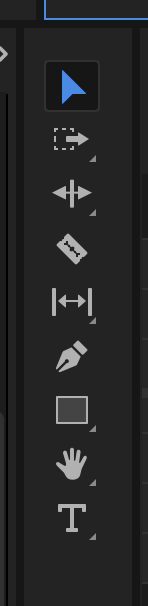
Adobe Premiere provides tools at the bottom of your screen, which can be located anywhere in your workspace, simply to allow you to drag or select a tool to apply to your videos or image edits.
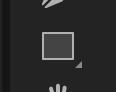

The images above show two different tools I used from the toolbar in order to further edit my credit scene within my project video. The credits screen can be seen at the end of my video.
How to export your video:

At the top of my workspace, you can find where it says ‘Import’ ‘Edit’ and ‘Export’.

To then export your created project, make sure the correct name for your project is changed and placed in the section provided called ‘File Name’, then adjust the ‘Preset’ to a size that best fits your needs, and then select ‘Export’ at the bottom to begin exporting your video.
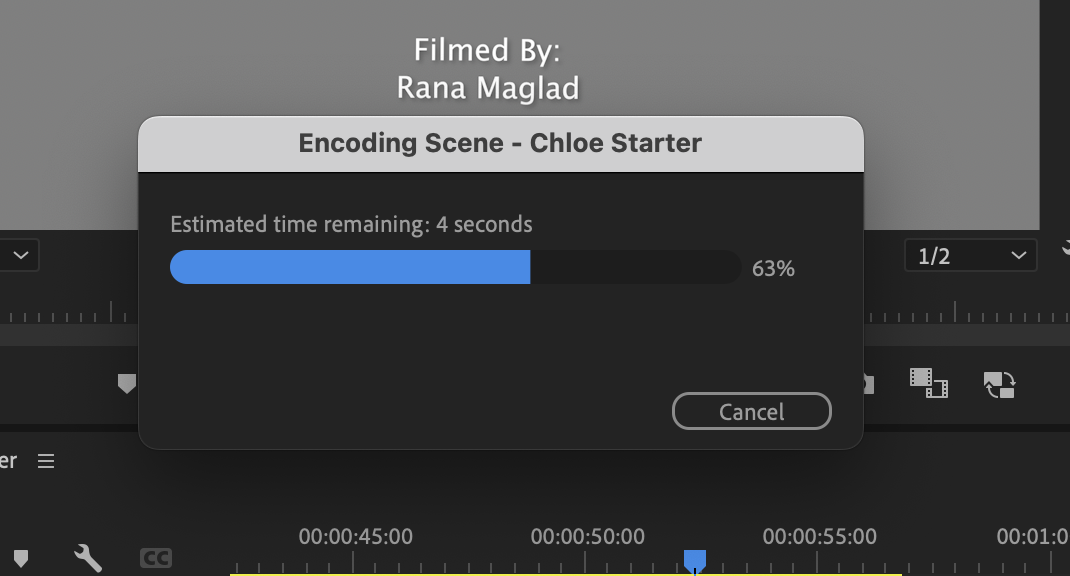
Once the exporting loading bar has reached 100%, you should find the exported video that you have created in your files, or wherever you may have chosen to save it.